About
This is the 3rd versio of my map controller now branded under Saju Systems. It has lots of options and can be a static map with simple zoom or full movable navigation system. This map has the best movement on the workshop in my opinnion as it moves where you press on the map. This map should work on all of the monitor sizes.
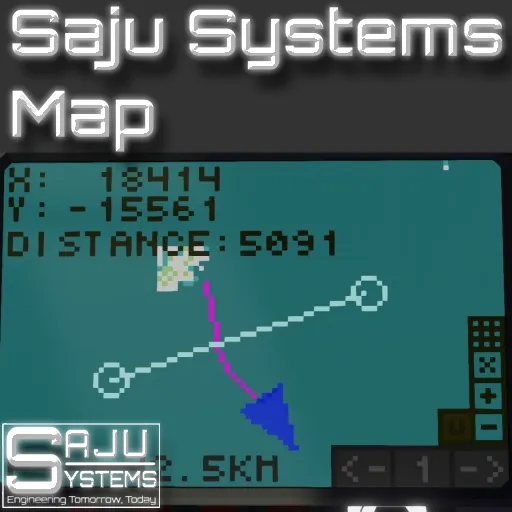
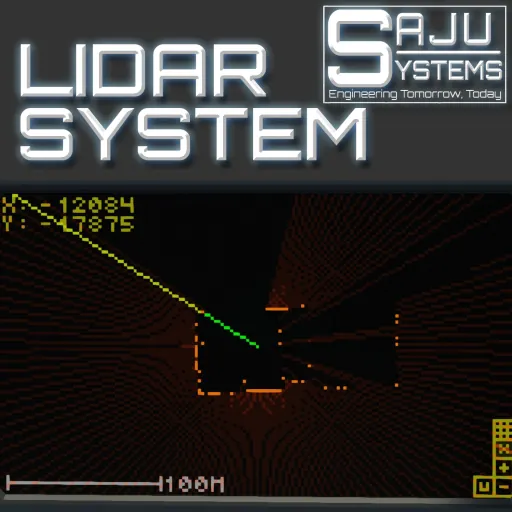
Trail rendering
This map supports drawing a trail history of the vehicle. The color, distance between points and the max number of points are all customizable in the properties of the microcontroller. Depth/altitude is rendered next the the trail when zoomed in. The frequency of the dept/altitude numbers next to the trails can be adjusted in the properties.
Remote Vehicle
This map supports rendering of another arrow for a remote vehicle. It can show its speed and lable. These values and the size and color of the arrow can be customized in the properties. Usage is simple. Just send data from a physics sensor from the other vehicle to this microcontroller. Then hook up the composite signal.
As a navigatio platform
This map is very versitile as it supports a wide arrangement of addon modules. Currently there are radar, autopilot and lidar modules all by Saju Systems. Lidar module has even support for fully autonomous autopilot that can navigate rivers all by it self.
Features
- Togglable map movement
- Touch settings to configure the map on the fly
- Trail to see where you have been
- Remote vehicle support: See where your ships helicopter is live!
- Support for Saju Systems Autopilot, Lidar and Radar systems
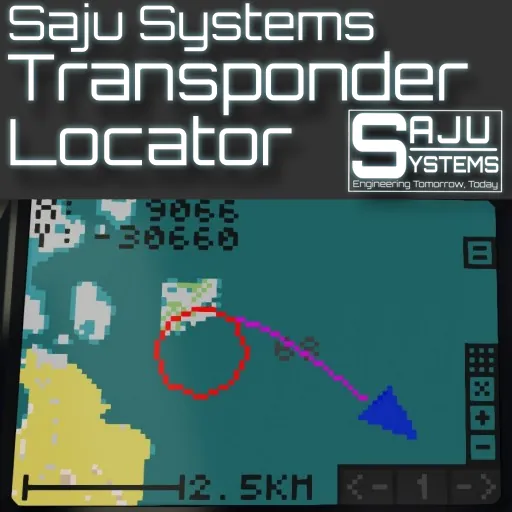
- Support for 2d Transponder Locator
- Added in 1.01: Ruler tool! Measure distance between points easily!
Usage
The map is easy to use and setup.
Setup
Connect a physics sensor to the map. (Big arrow facing forwards, small to the right side of the vehicle.)
Connect the touch screen signal from a monitor to the map
If using external modules, always connect the video signal FROM the map to the modules. If not, the map is drawn on top of the UI elements of the other modules. Remember to connect the on/off disable signals to the map.
Usage
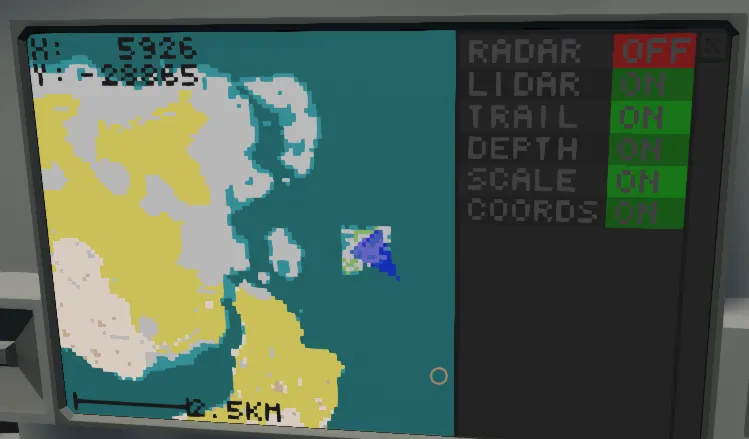
Navigating the map interface is simple. First focus your attention to the bottom right of the monitor. Here you can see + and - symbols. Use these to change the zoom of the map. 3rd button (X) from the bottom up is the map center toggle button. Press this to remove the automatic map centering. Now you can move the map by pressing anywhere on the map. Activate the button to recenter again. 4th button (Hamburger menu) is the settings toggle. Here you can enable and disable different parts of the system like the autopilot or the radar.
Configuration
This map controller has a wide range of different options in the properties tab of the microcontroller. You can enable or disable features and customize the colors of every UI element. Make sure to keep the commas between the values or it wont work.
Color reduction = the contrast value between setting entries
Update History
- 1.01 Added ruler tool, added option to hide settings and center buttons. Does not break combatibility.
- 1.02 Added support for Saju Systems Multifunction Panel Type B. 1.01 WILL NOT WORK WITH IT.
- 1.03 Added support for map color presets, default zoom setting and optimized code.
If you like the controller, Buy Me a Coffee![buymeacoffee.com]