LIDAR Seabed Scanner V2 + Advanced collision war
[b]This improved version of the Seabed Scanner offers a bunch of new features, the most noticeable ones being:[/b]
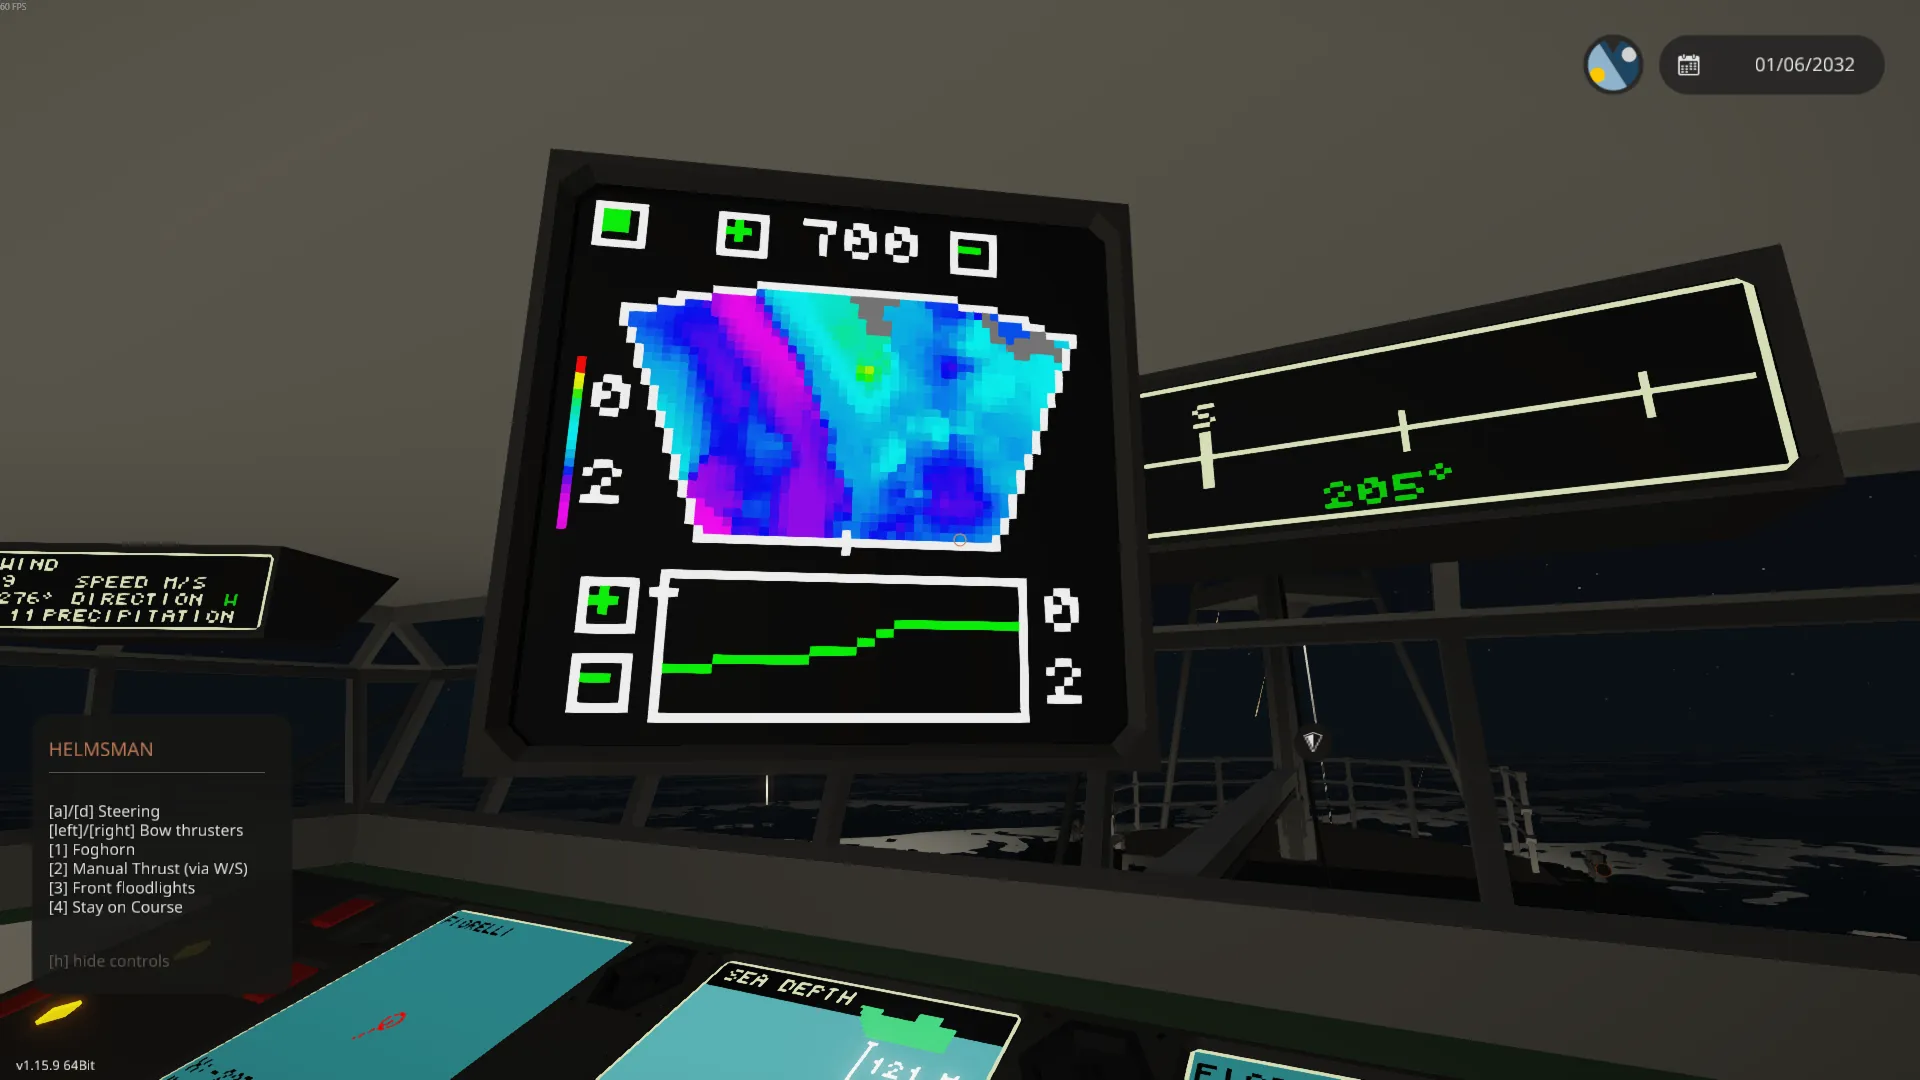
🗺️ [u]Greatly improved scan image[/u]
A total of 8 laser distance sensors measures several hundreds of points each second, but what really stands out in this update is that unknown points are interpolated from nearby known points. The result is a superb scan image with great detail.
📢[u]Advanced collision warning[/u]
Collision detection is calculated every tick with high resolution. You won't even hit a single fish!
🌊 [u]Depth Analysis[/u]
You can now click directly on the radar image to see detailed information on single points. Further refine the image with range down to 25M and gridsize 1x1M..
Check out the [url=https://steamcommunity.com/sharedfiles/filedetails/?id=3645740643] example ship [/url] to test them yourself
- - - USER MANUAL - - -
The scanner's main purpose is to provide a meaningful representation of the seabed and give early warning of potentially dangerous shallows. This is achieved in realtime while moving at normal cruising speed, no user input is required.
[list]
[u]Useful settings to know:[/u]
[*] [b]Gridsize:[/b] the world is divided into squares. Each square's depth is calculated by taking the average of the scans in this square. Smaller gridsize(1x1) is useful for mapping points of interest, while larger(10x10) is better for general scanning and exploration.
[*] [b]Submarine mode:[/b] Displays depth relative to submarine's depth, instead of mean sea level.
[*] [b]Refresh rate:[/b] obviously this is just FPS for the display, but generating the radar screen is performance intensive. The calculation is spread out over each tick between frames. I prefer to use 1 FPS, but choose as you like yourself. For the sake of performance, selecting FPS 30 or 60 will disable interpolation between points.
[/list]
- - - INSTALLATION - - -
The installation is quick and easy:
1. Load LSS V2 into workbench and use selection grid to cut/move
2. Load the creation you want to install LSS V2 into.
3. Paste LSS V2 alongside your creation.
4. Use the selection tool again to move the components into your creation.
5. If using one of the larger monitors provided, remember to hook up composite and video to monitor.
The laser distance sensors are divided into two groups, one group pointing forward and the other downward. The sensors may be placed anywhere one your ship, but do NOT change their orientation(including the physics sensors). The lasers must be located nearby their respective physics sensors.
- - - CREDITS - - -
Ship used in promo-video:
- "NordahlLunden NLM203 Europa - SAR Patrol Vessel" by qwop
- "Fiorelli - Exploration Vessel" by Othar
Other video:
- "R.S.V Algari (Deep-Sea Diving Mothership) + Diving Bell + Minisub + Heli + ROV" by 454SS
Have fun!