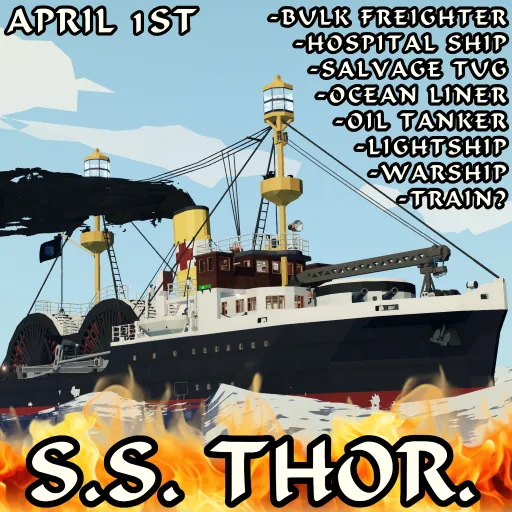
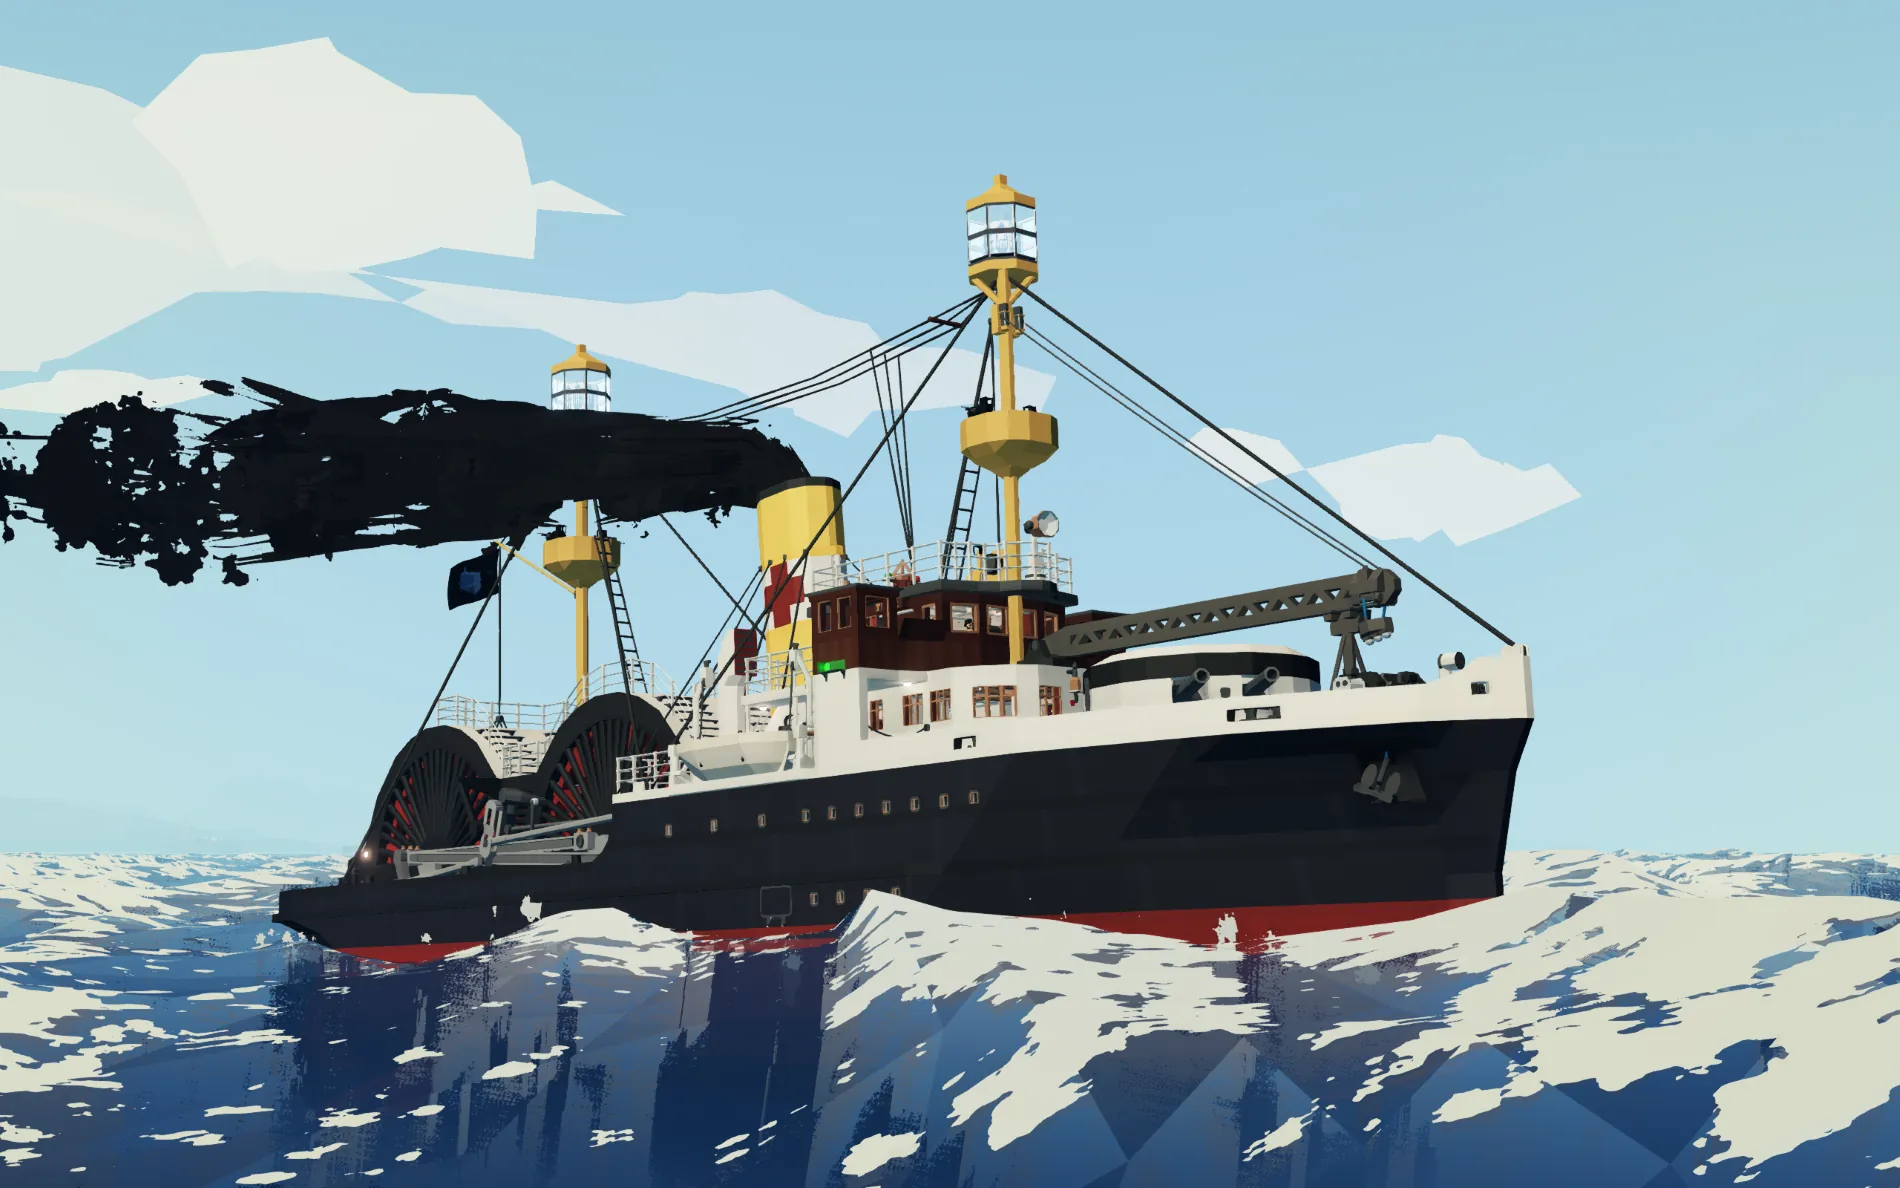
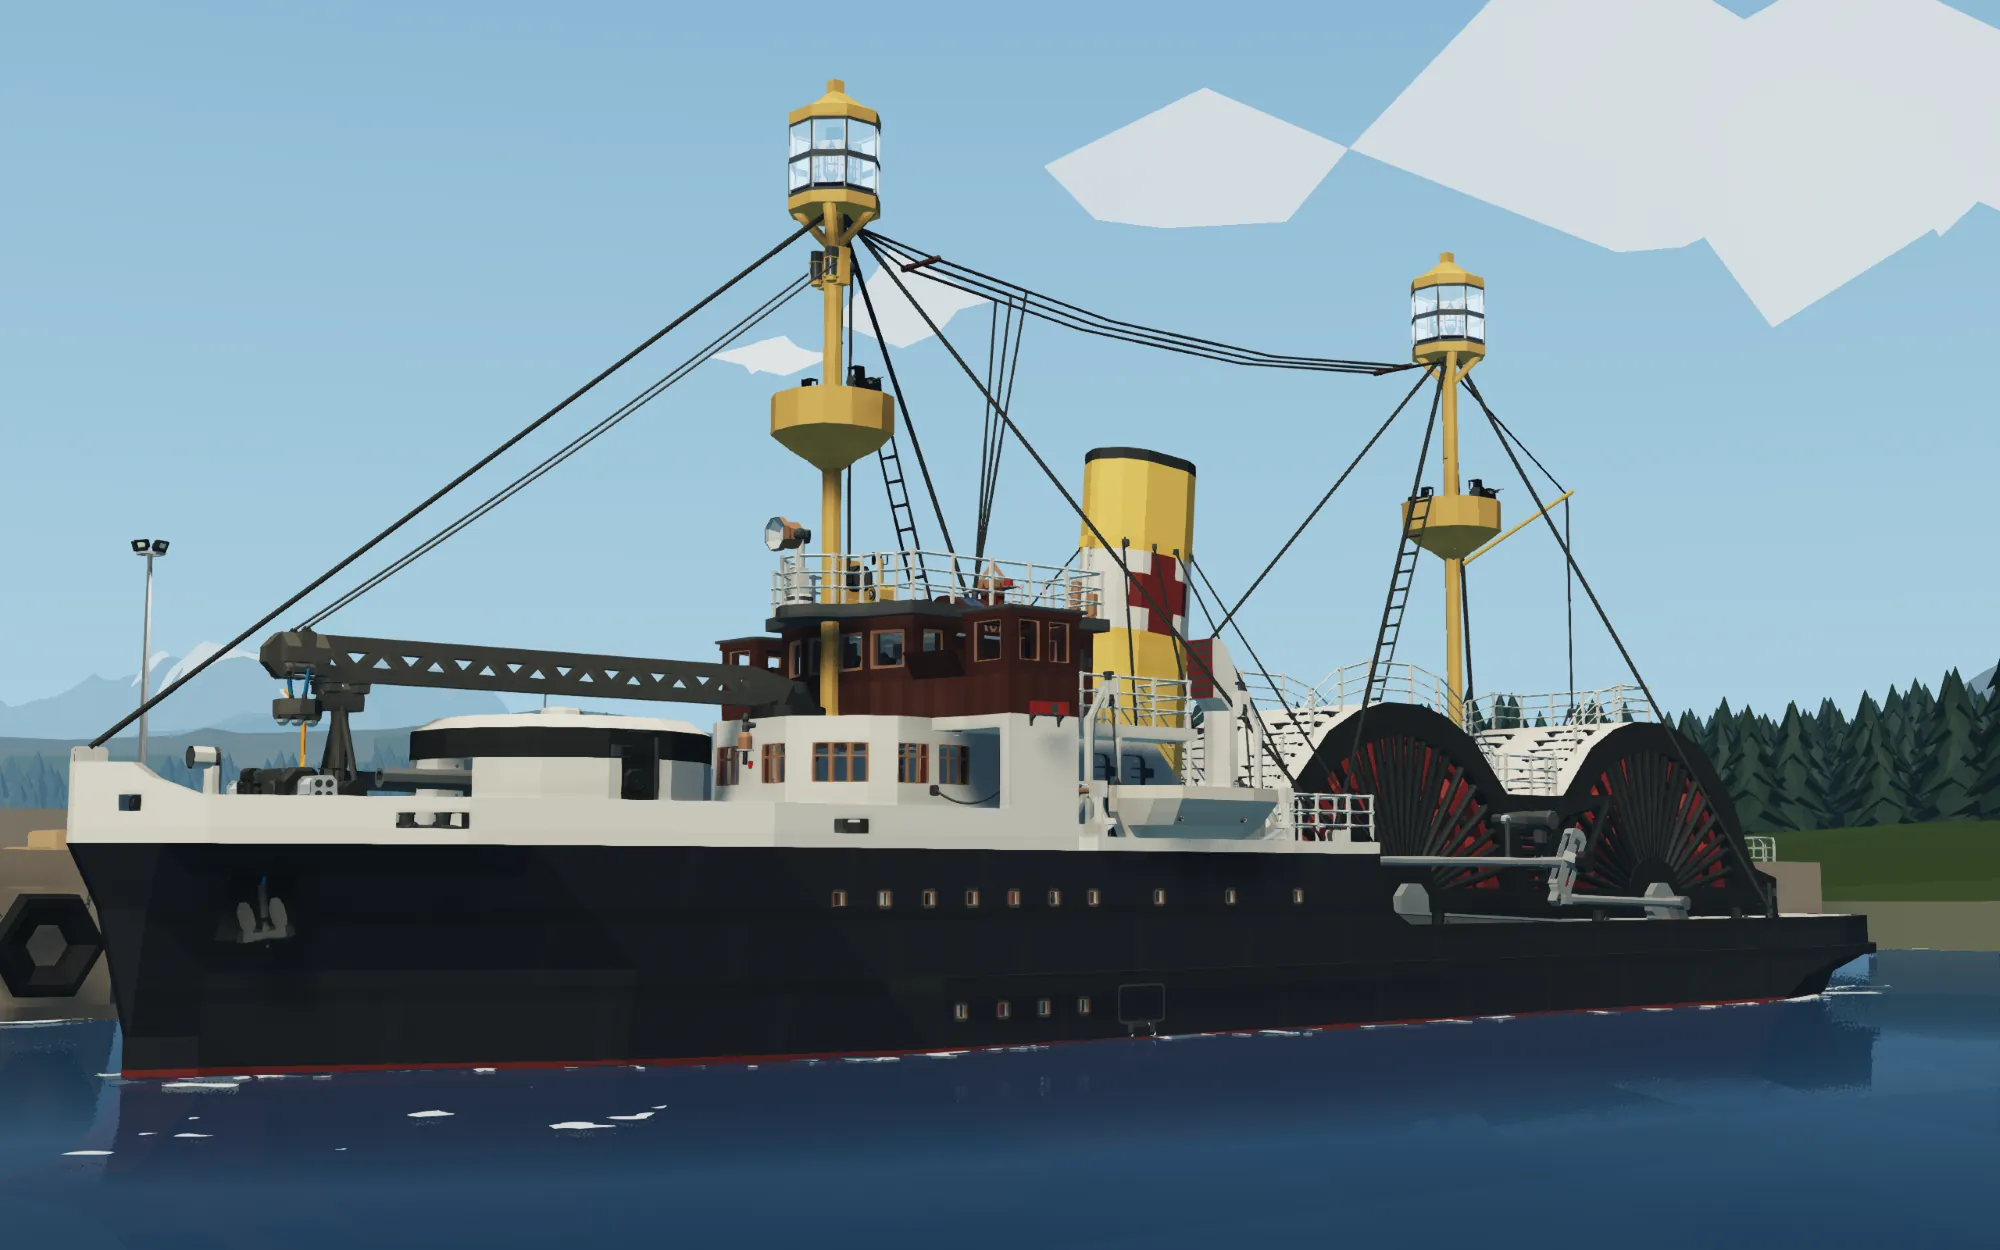
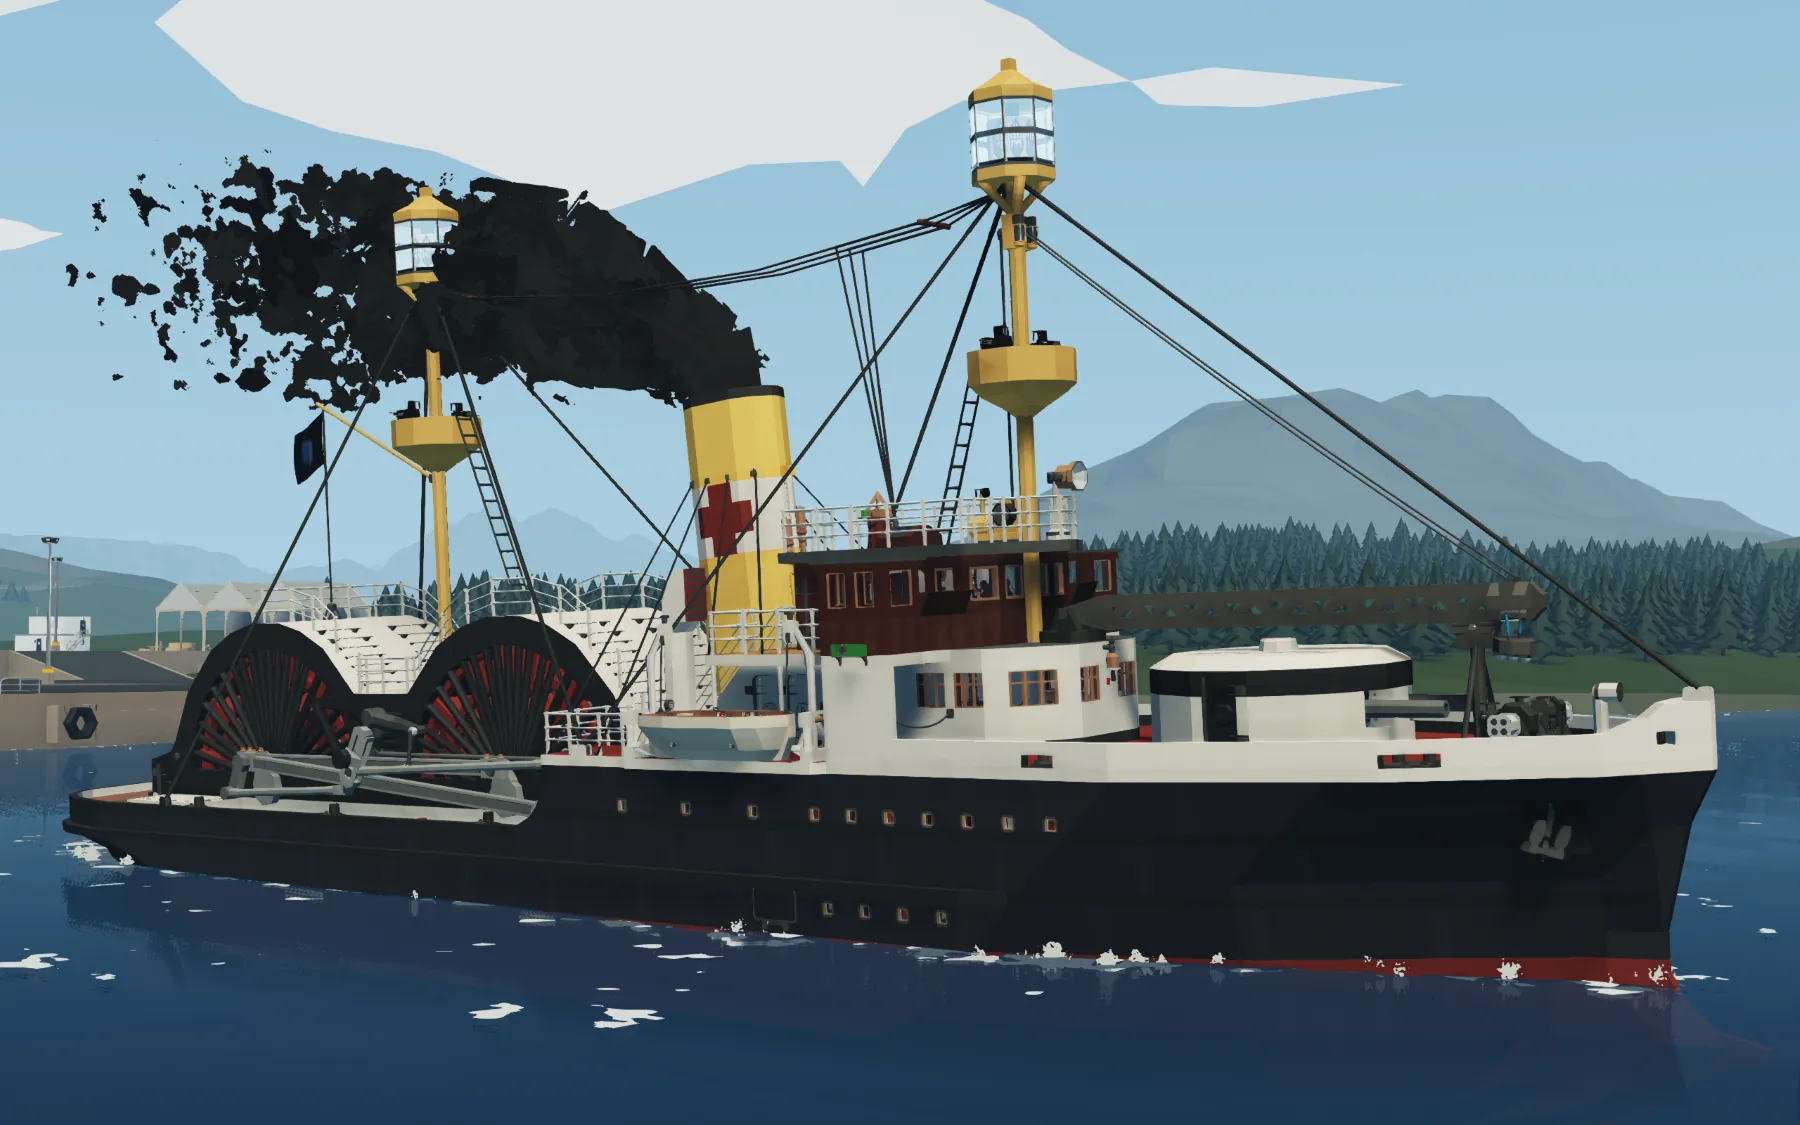
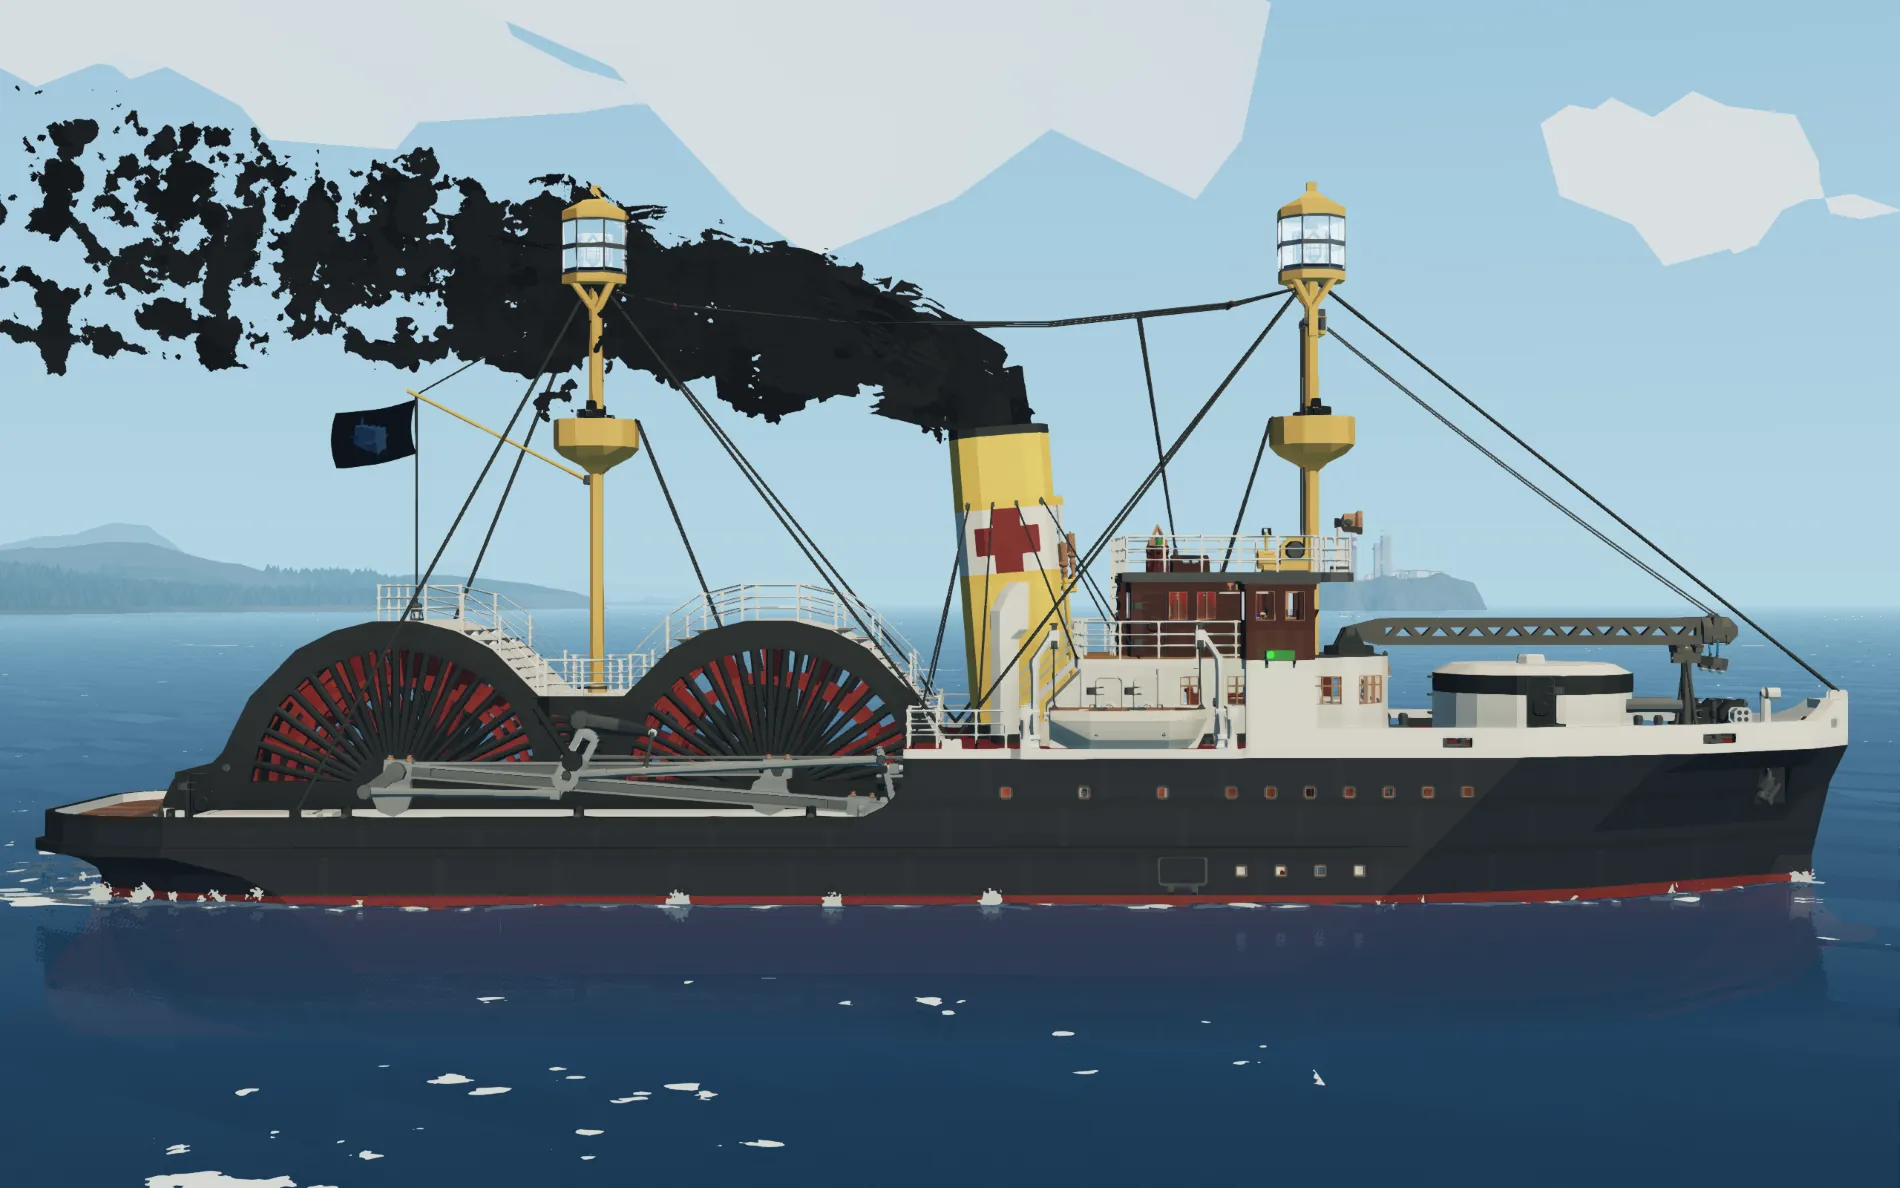
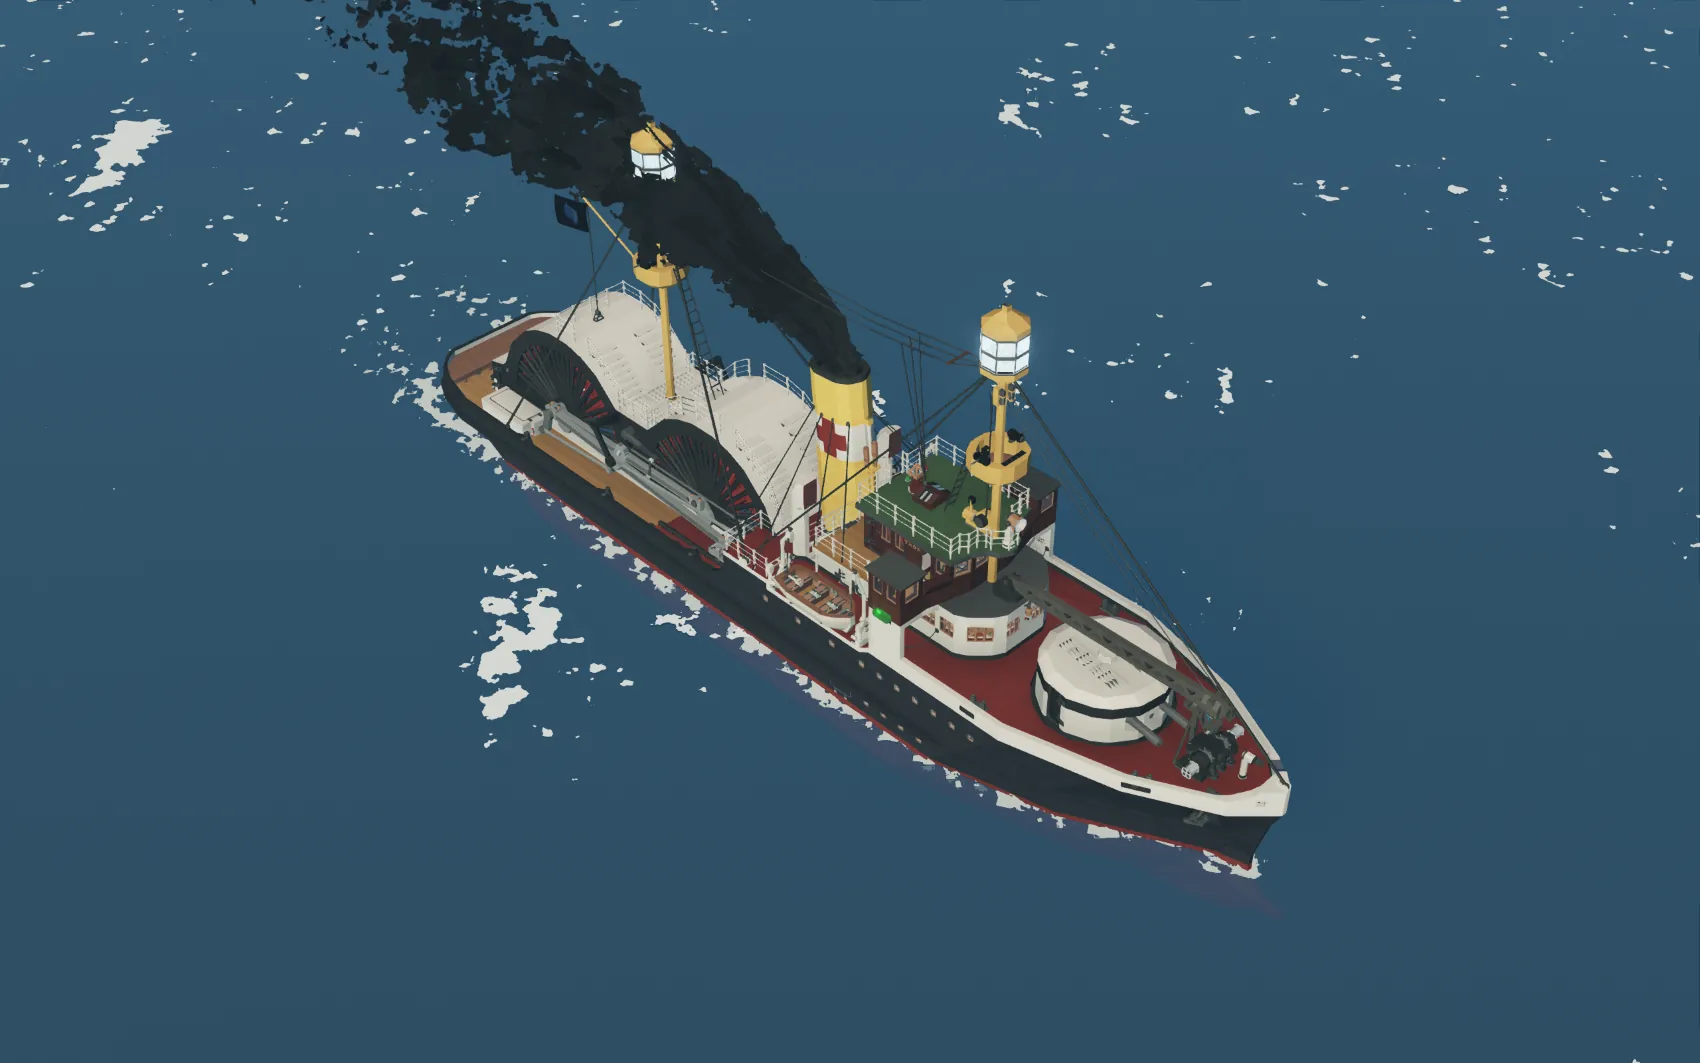
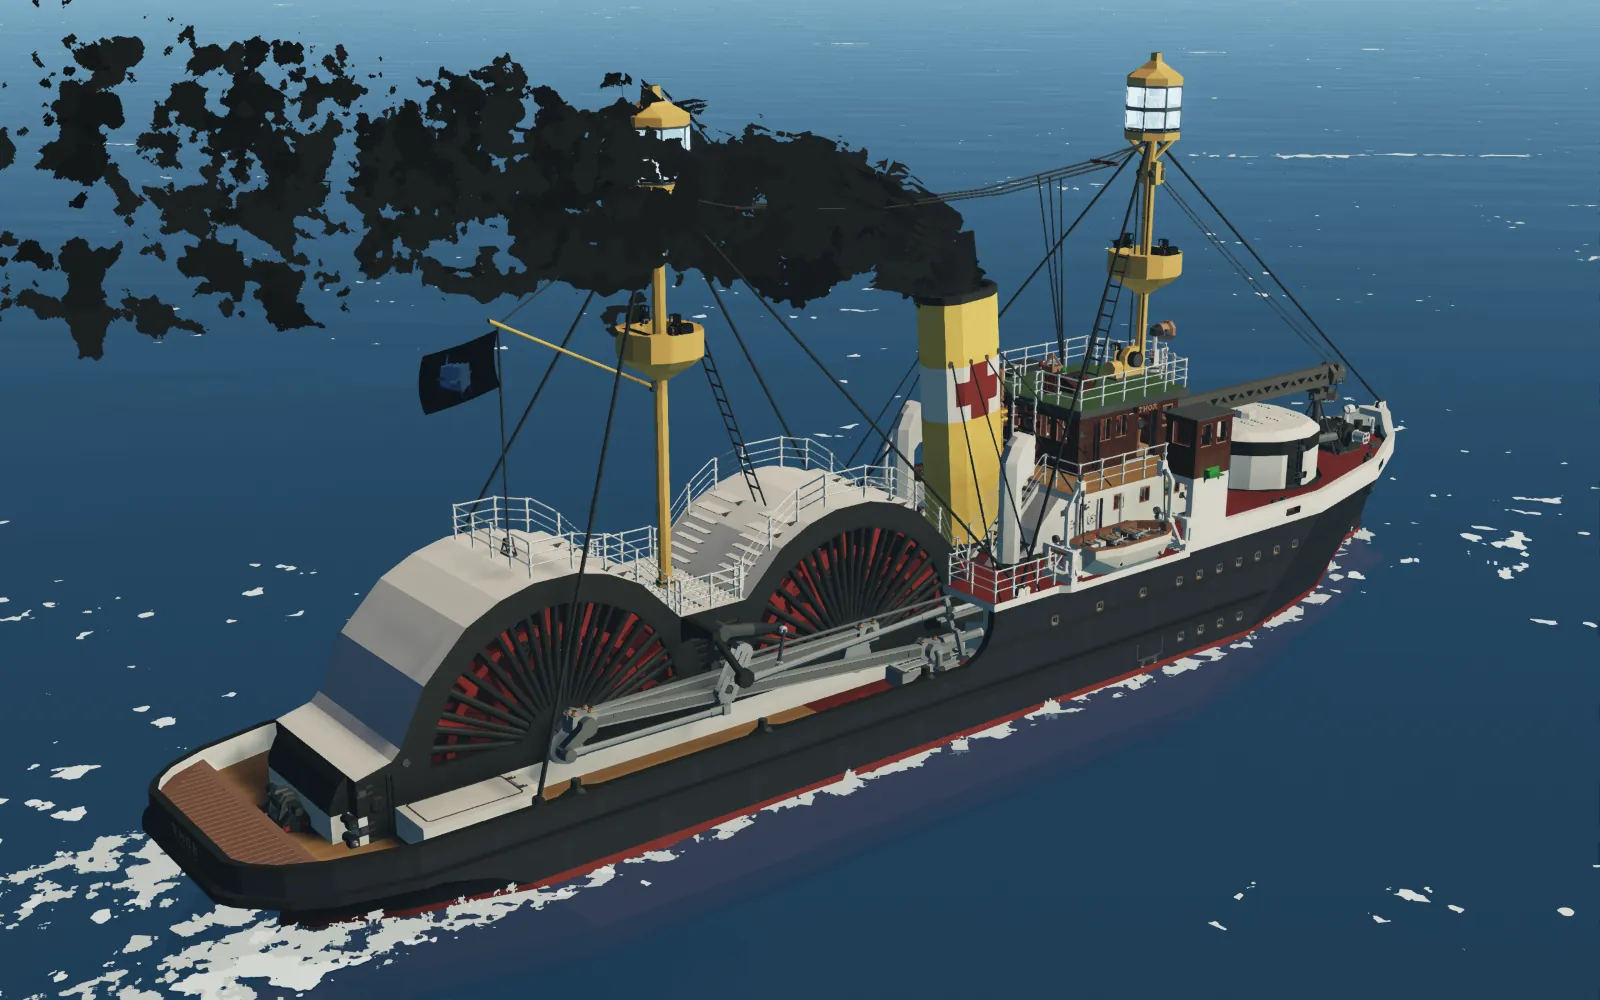
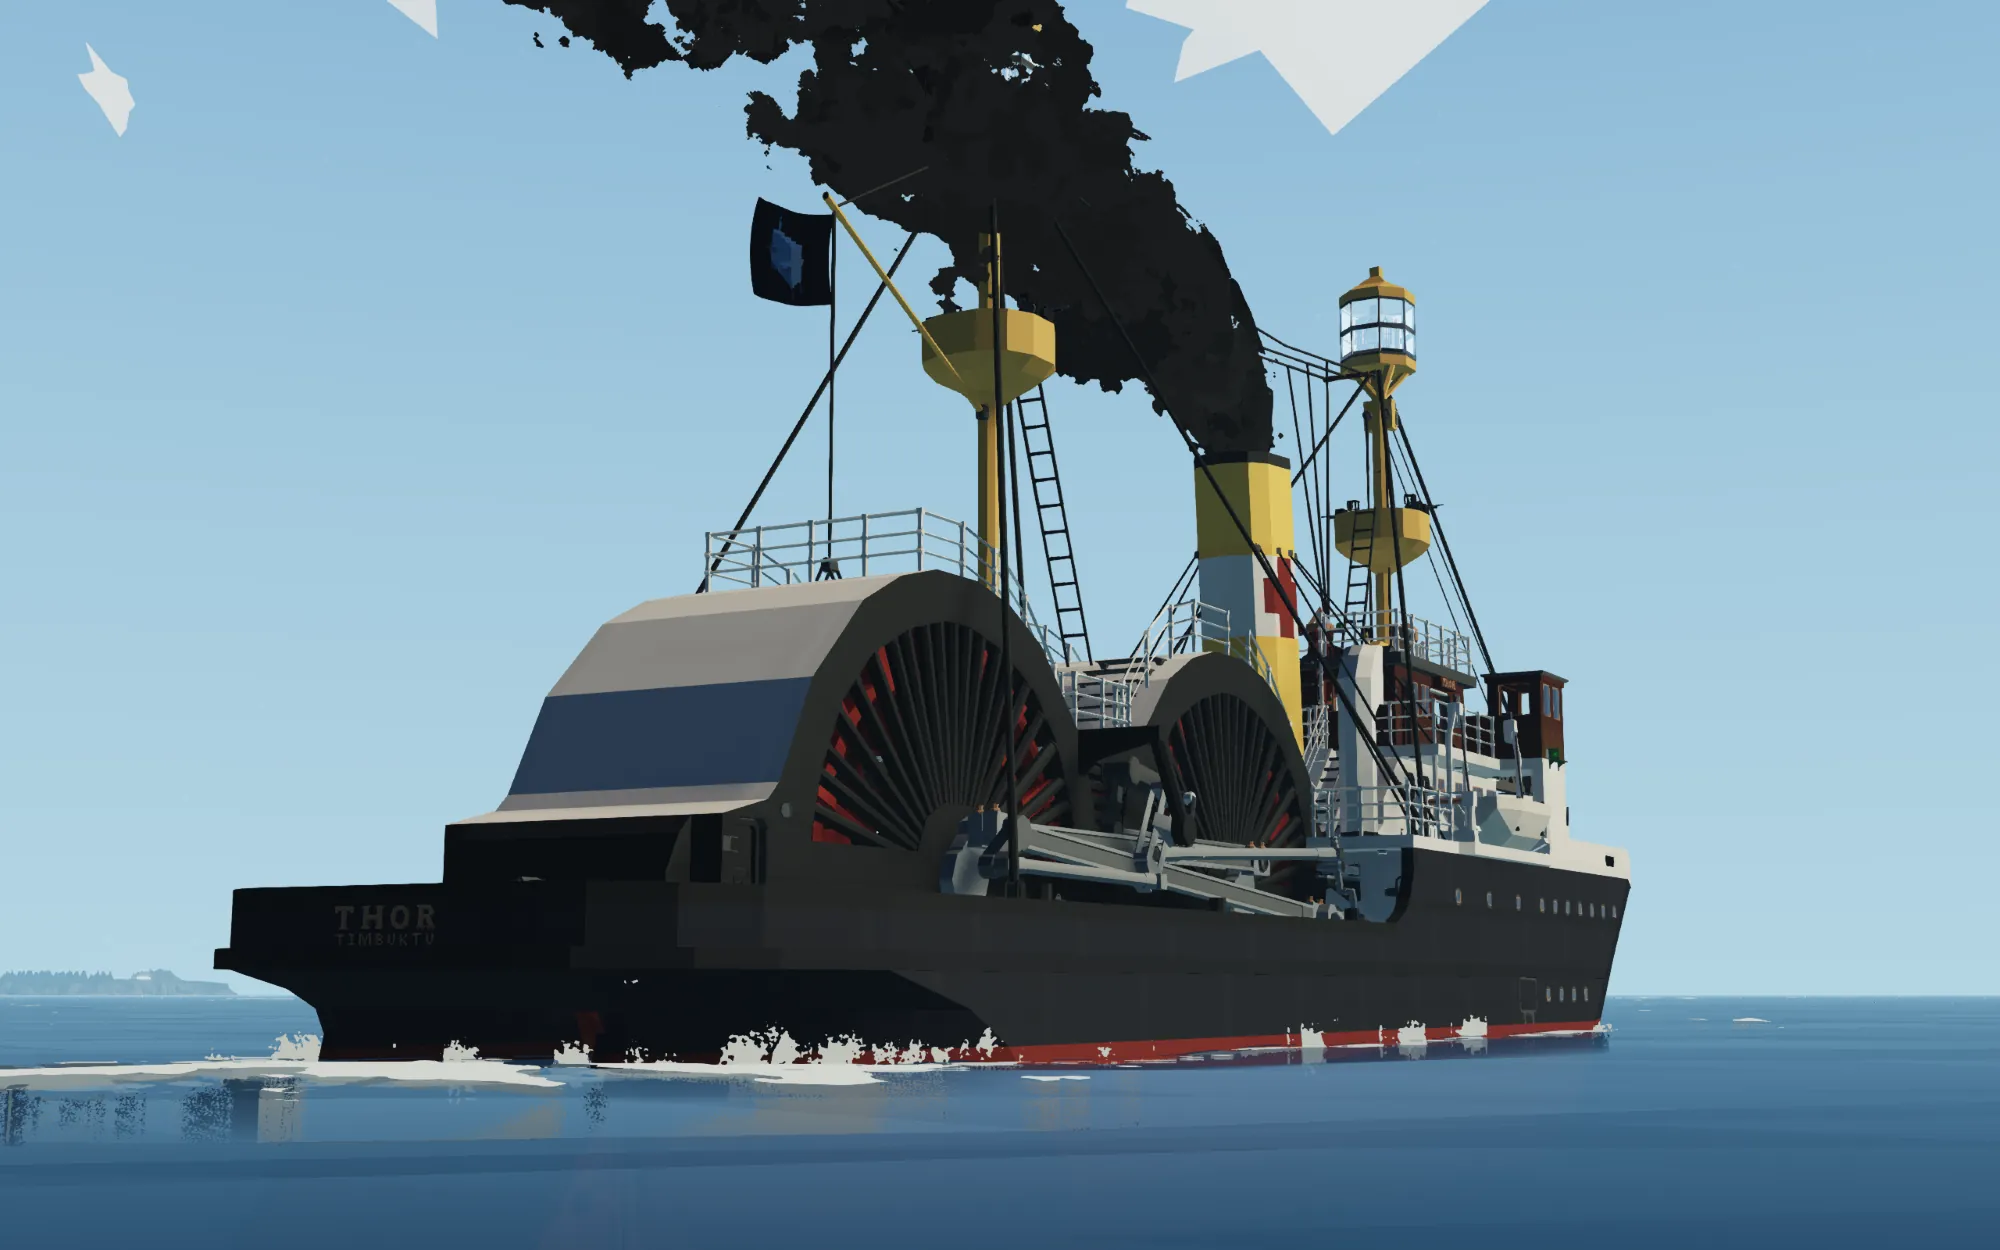
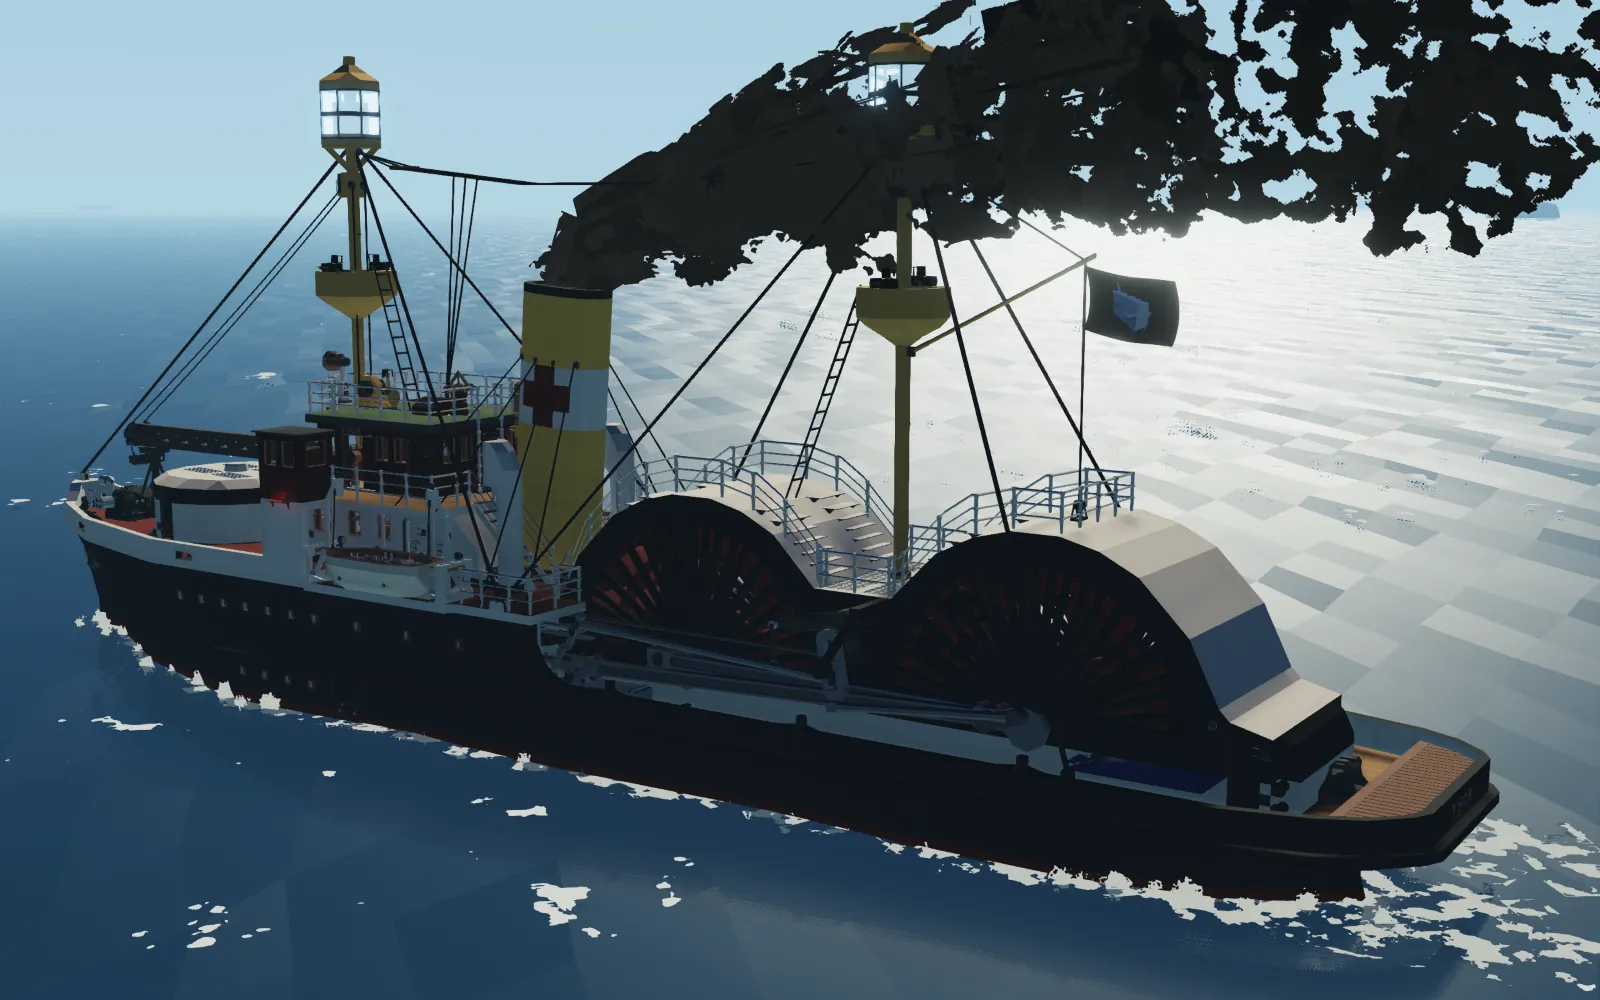
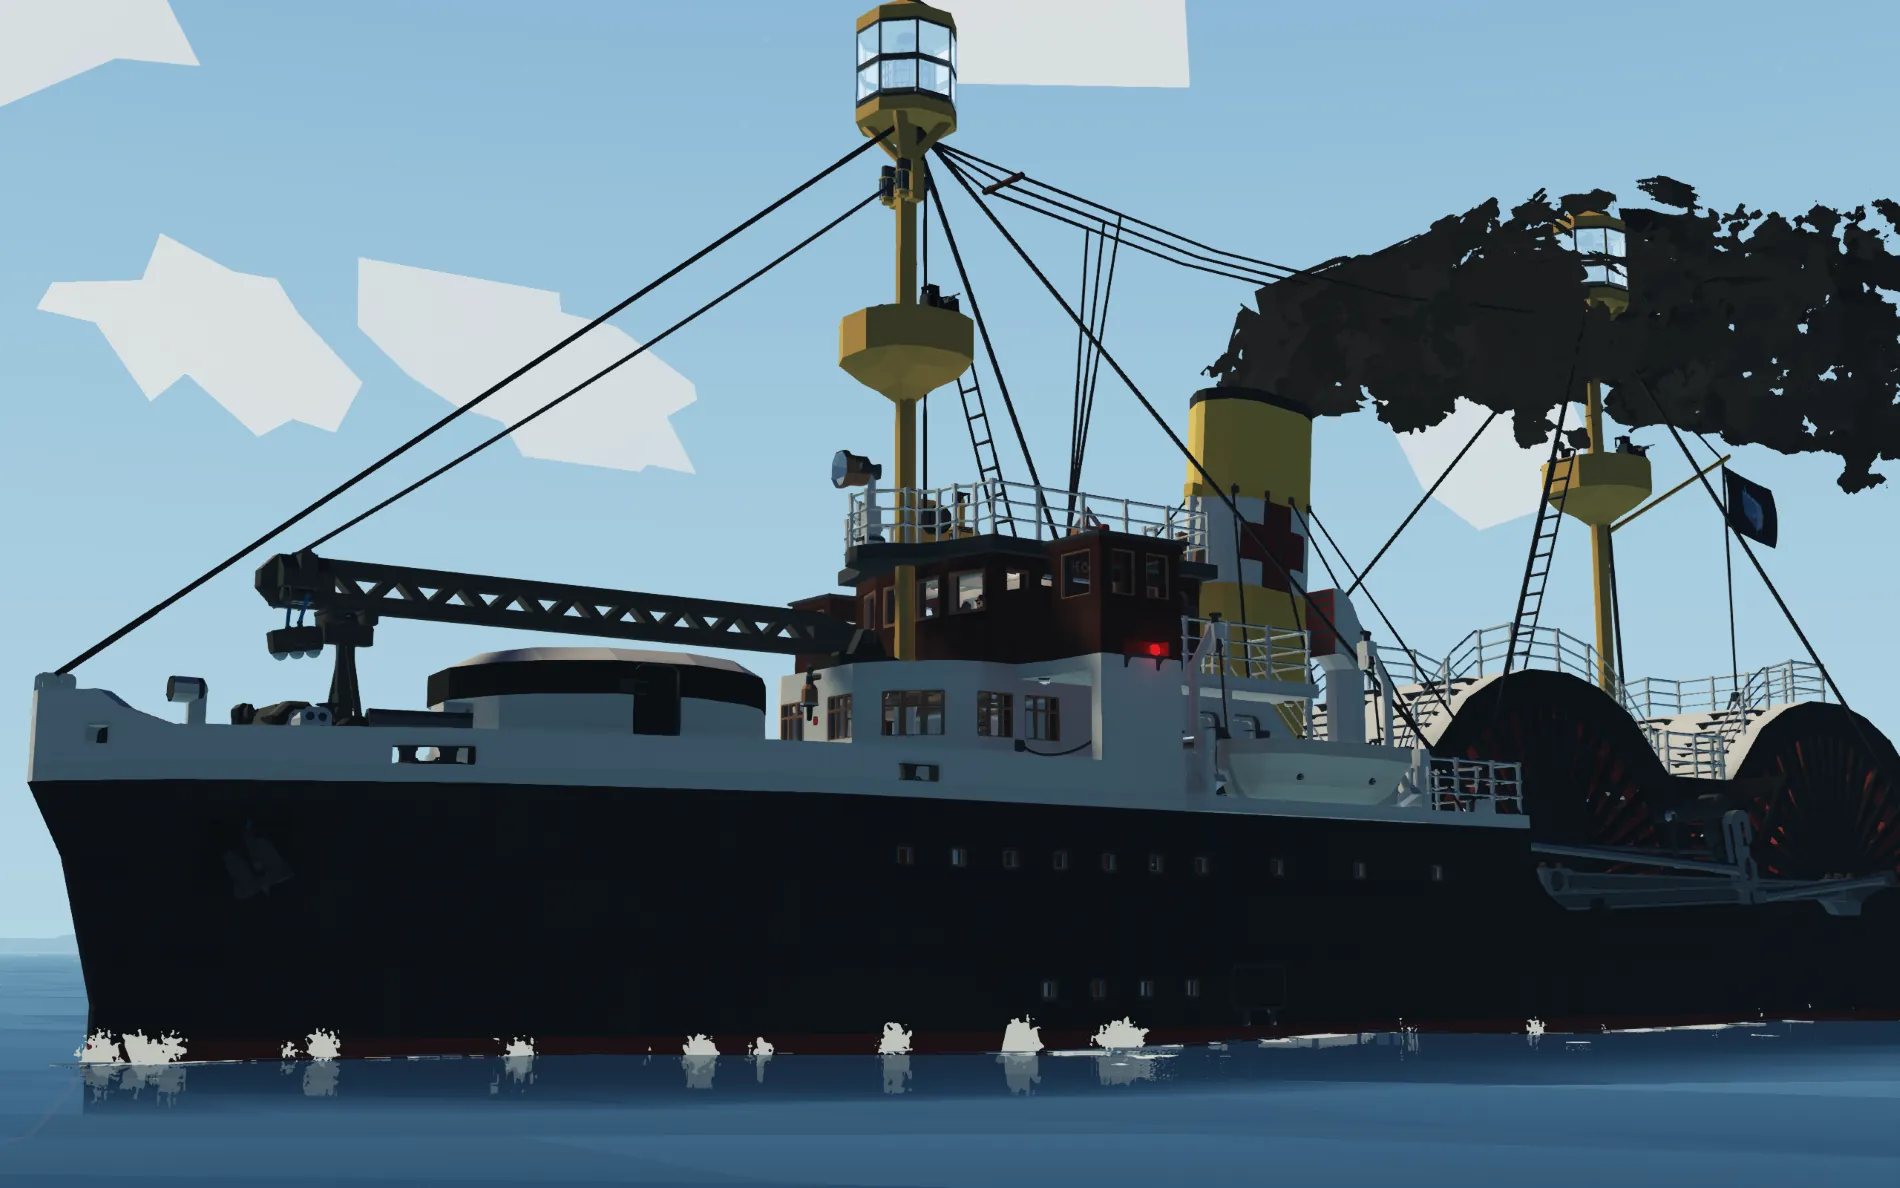
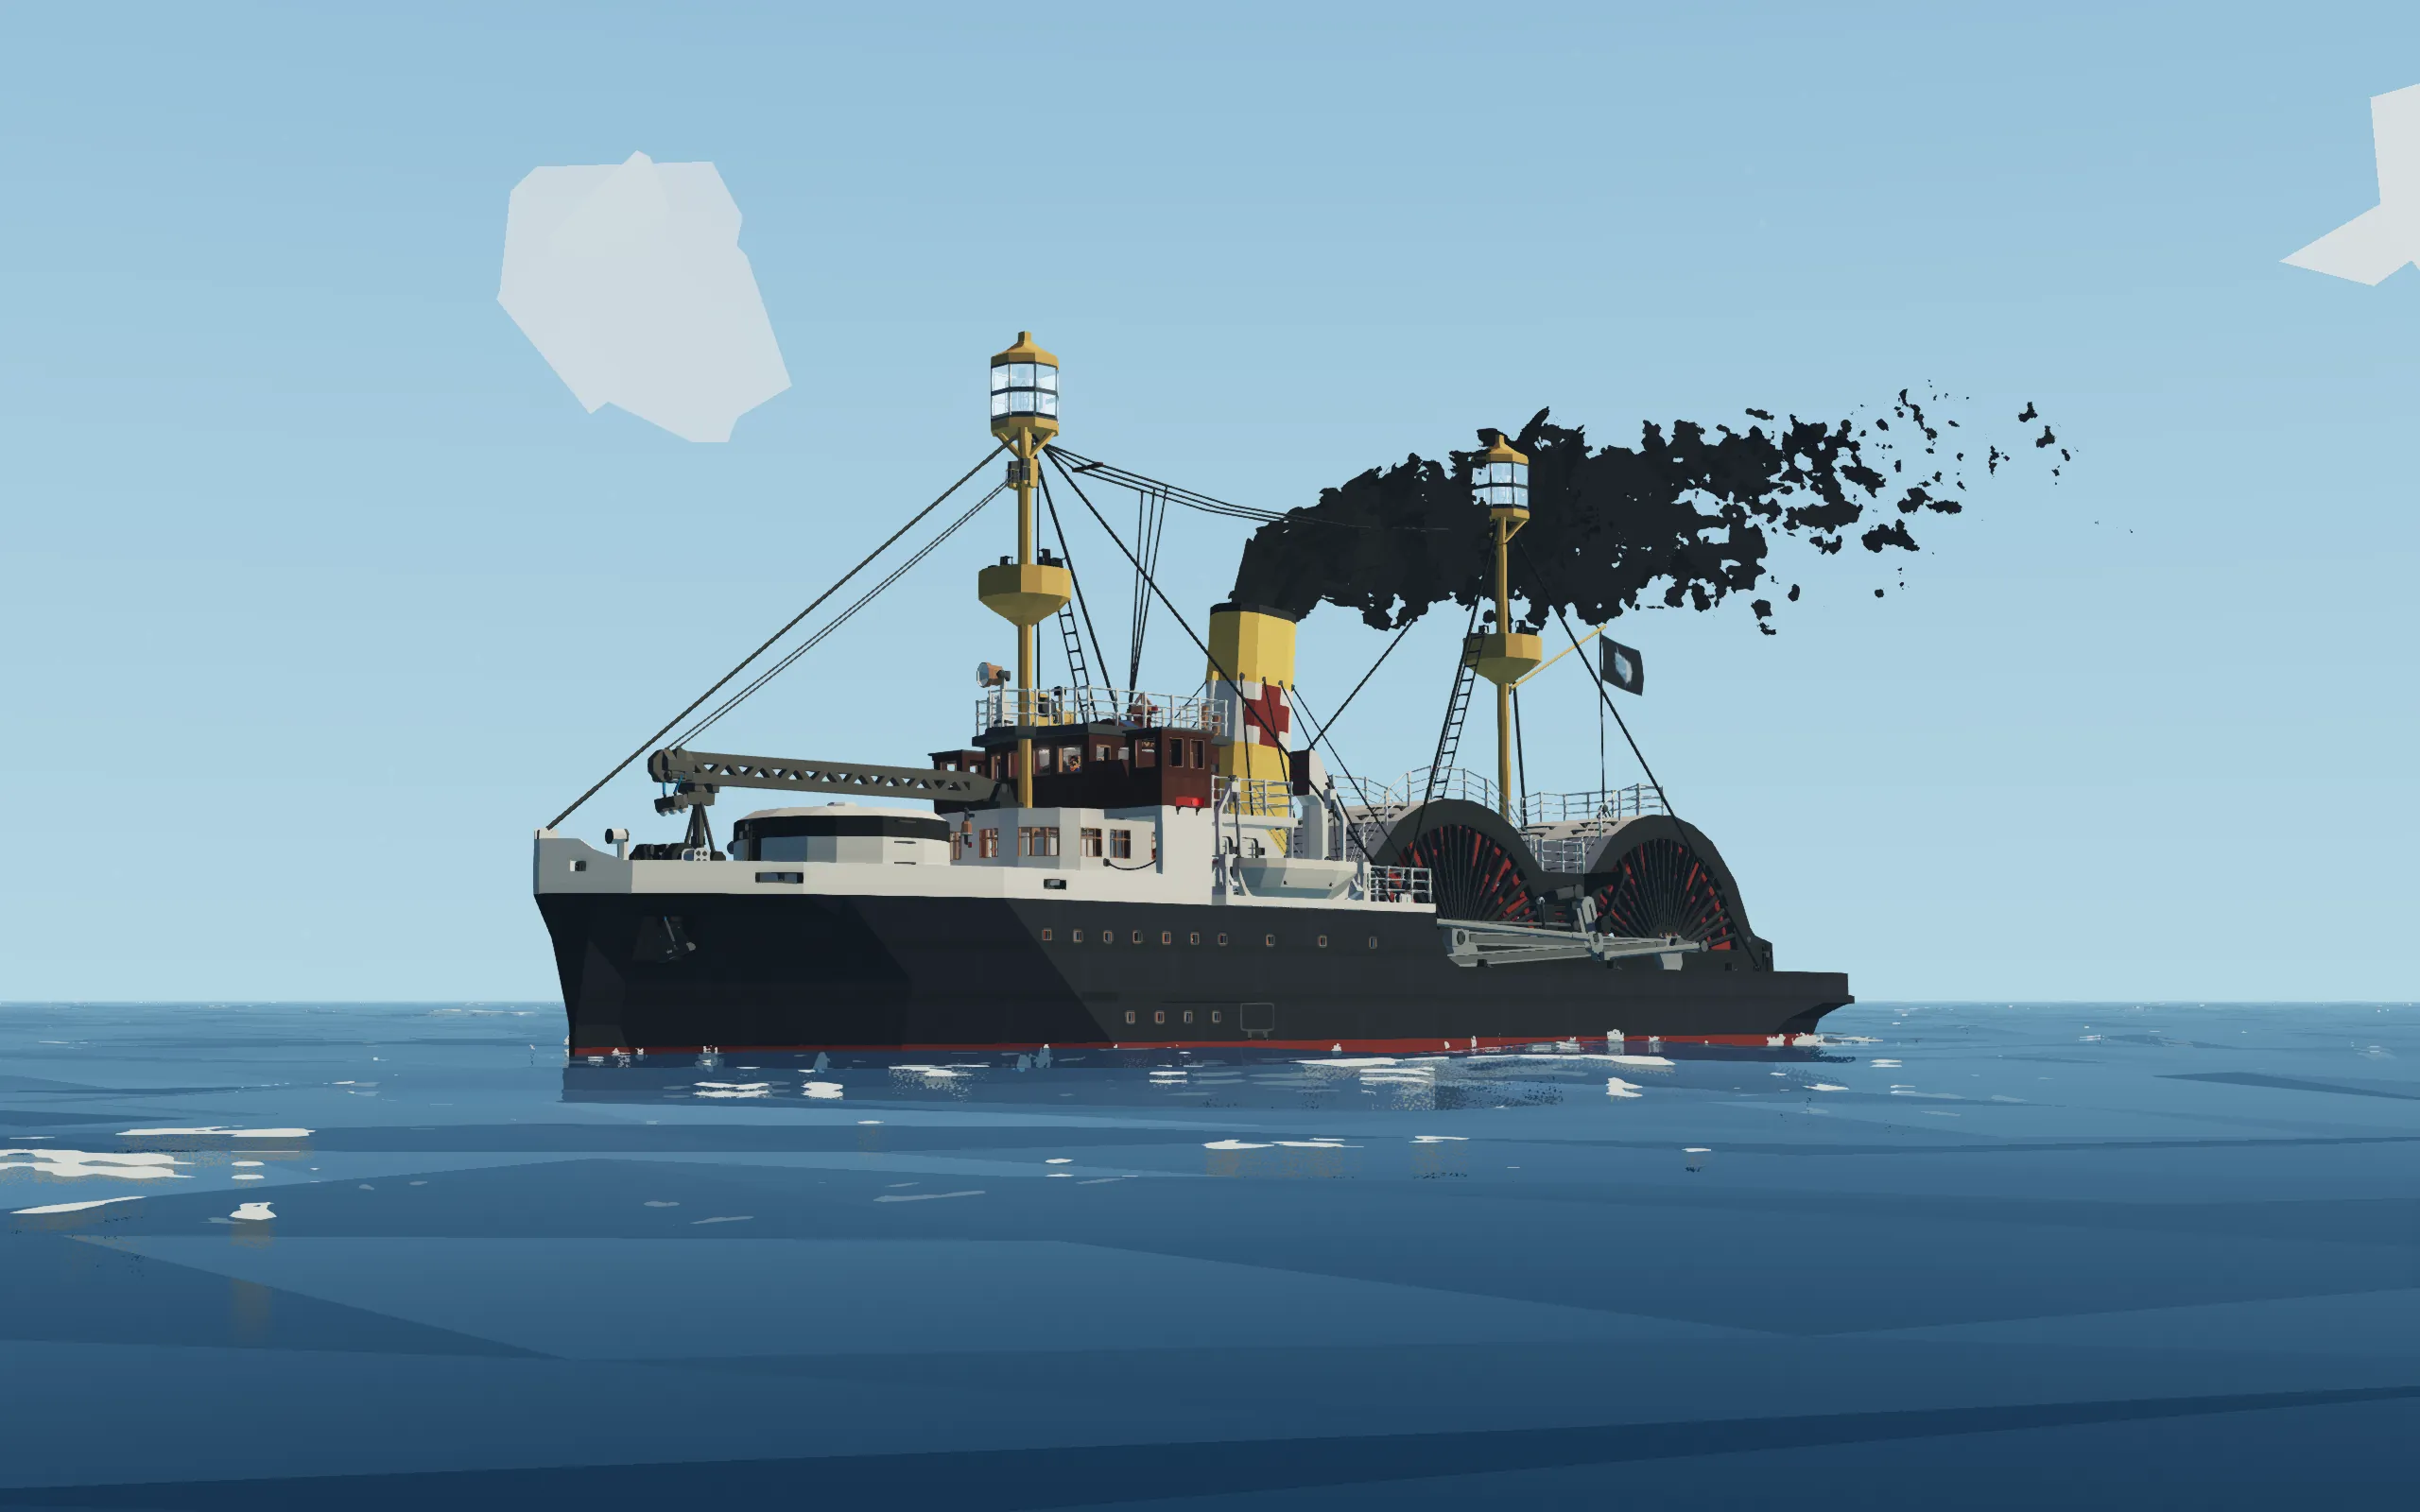
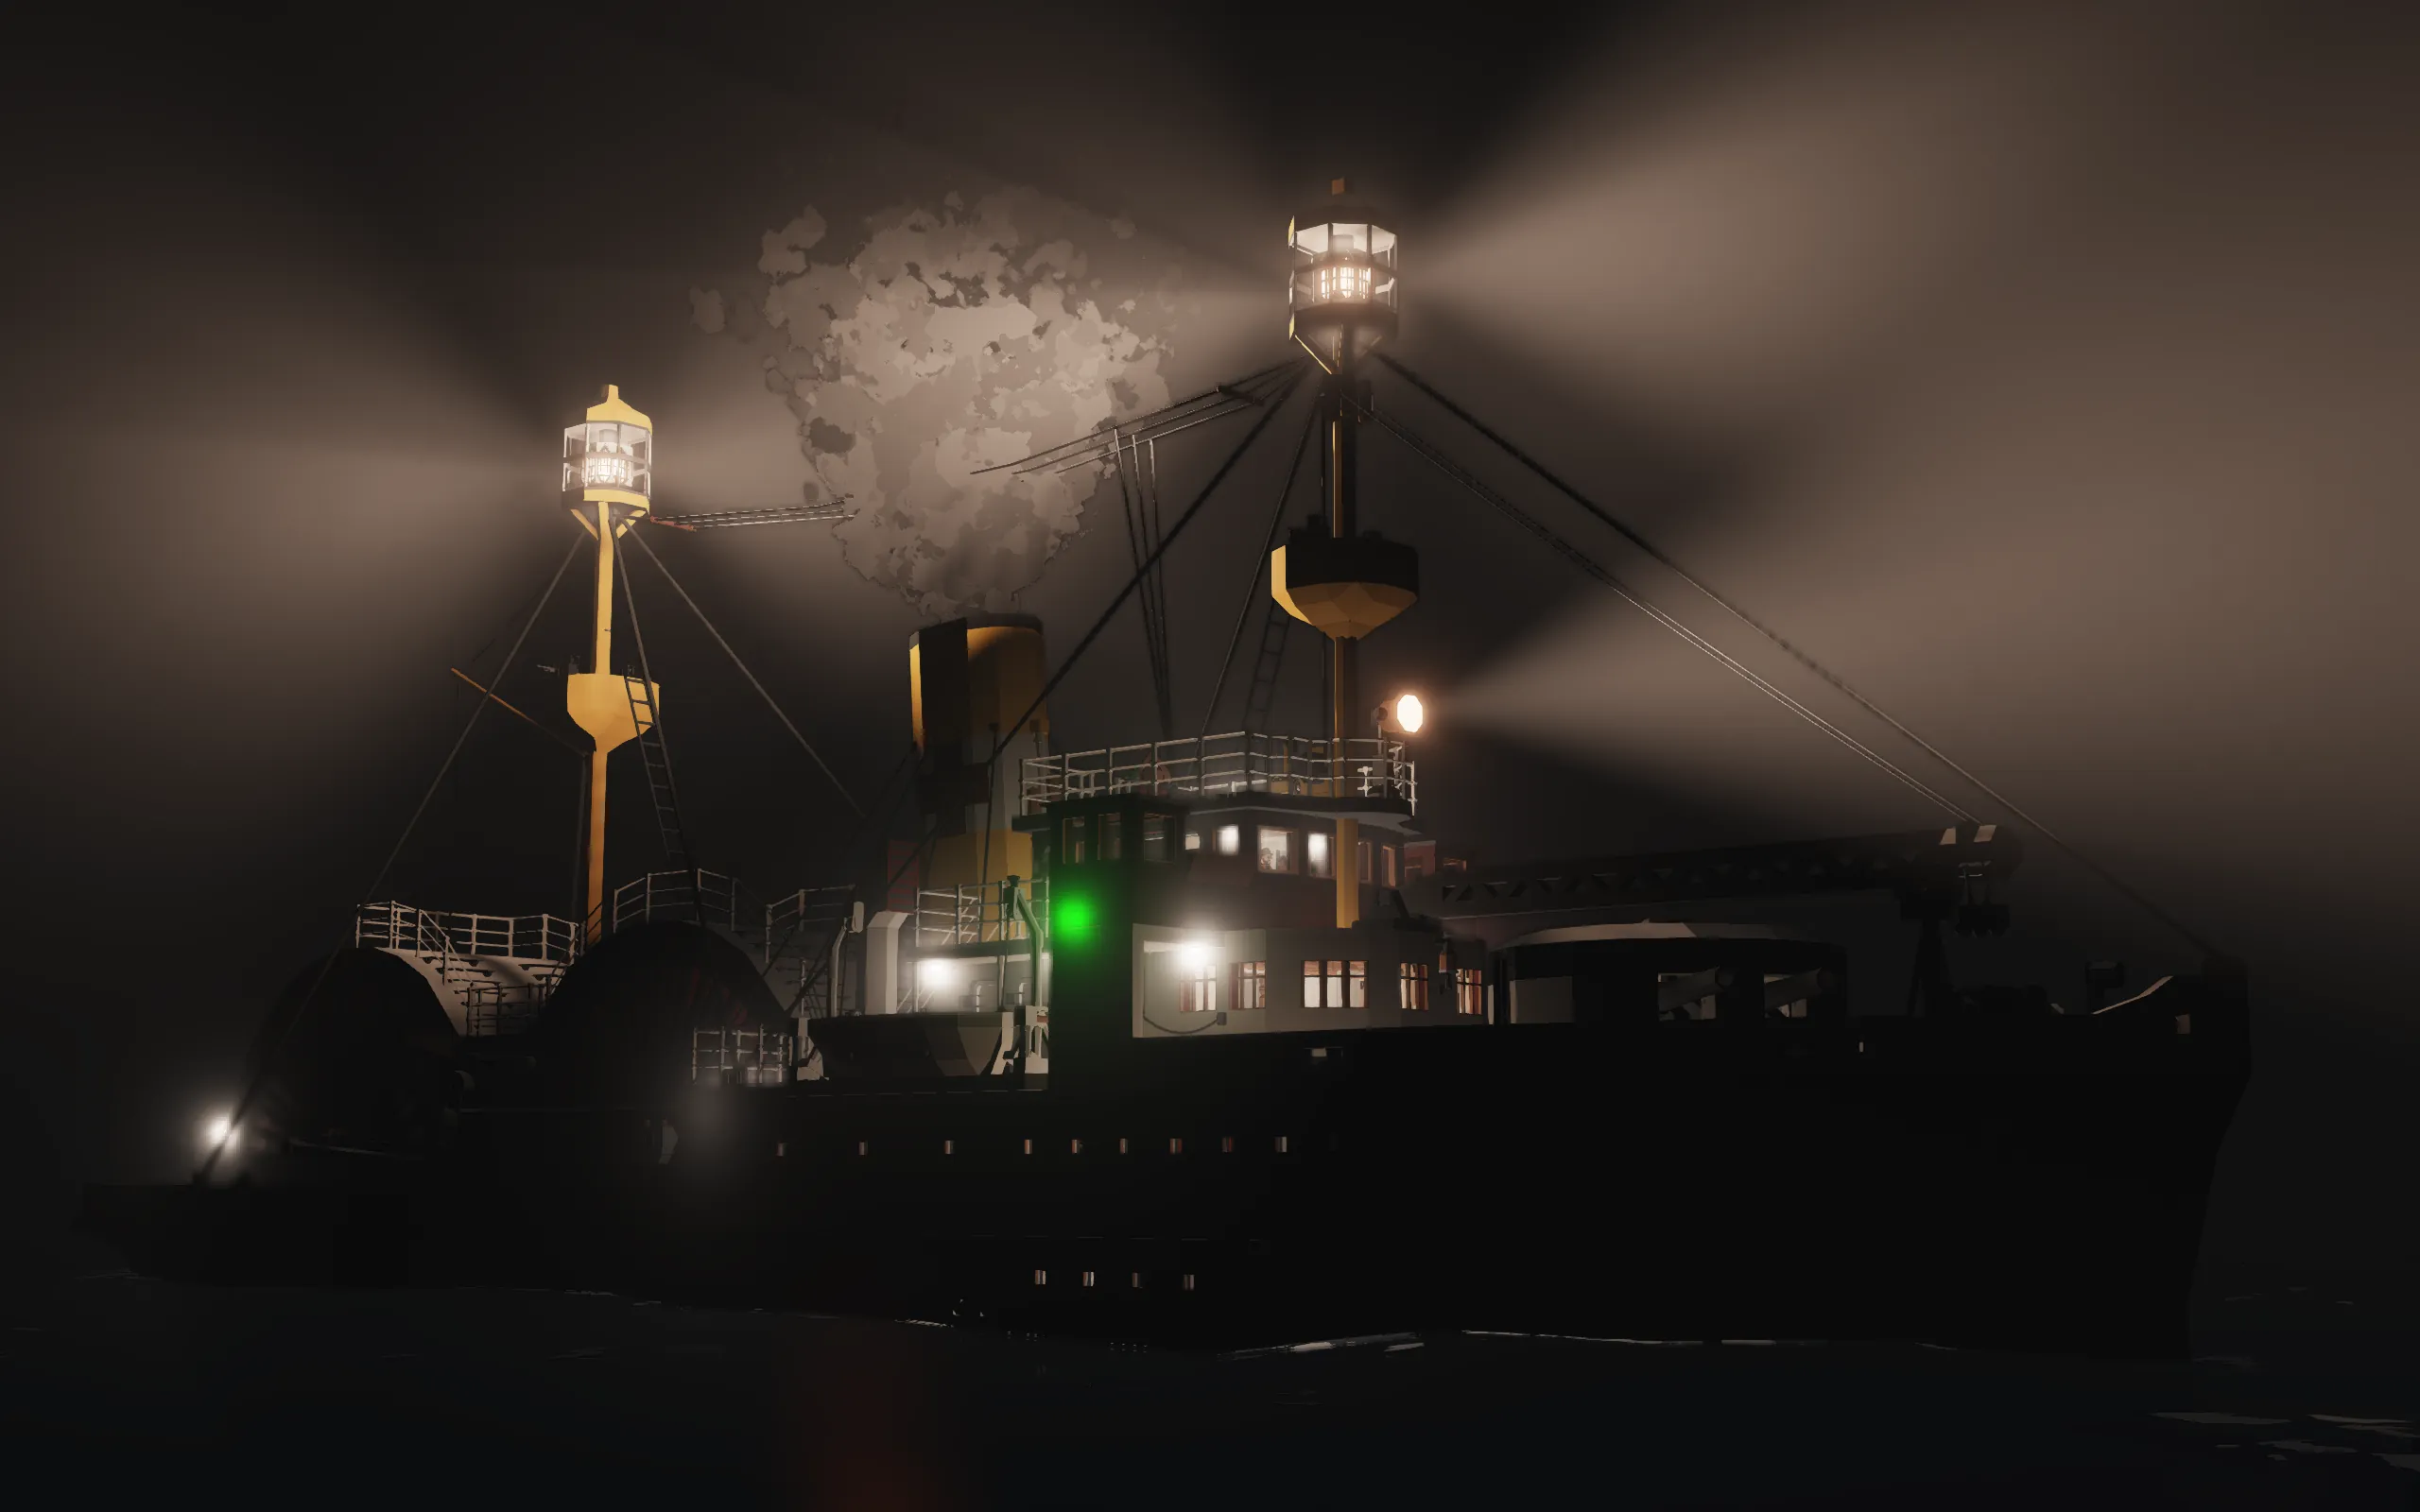
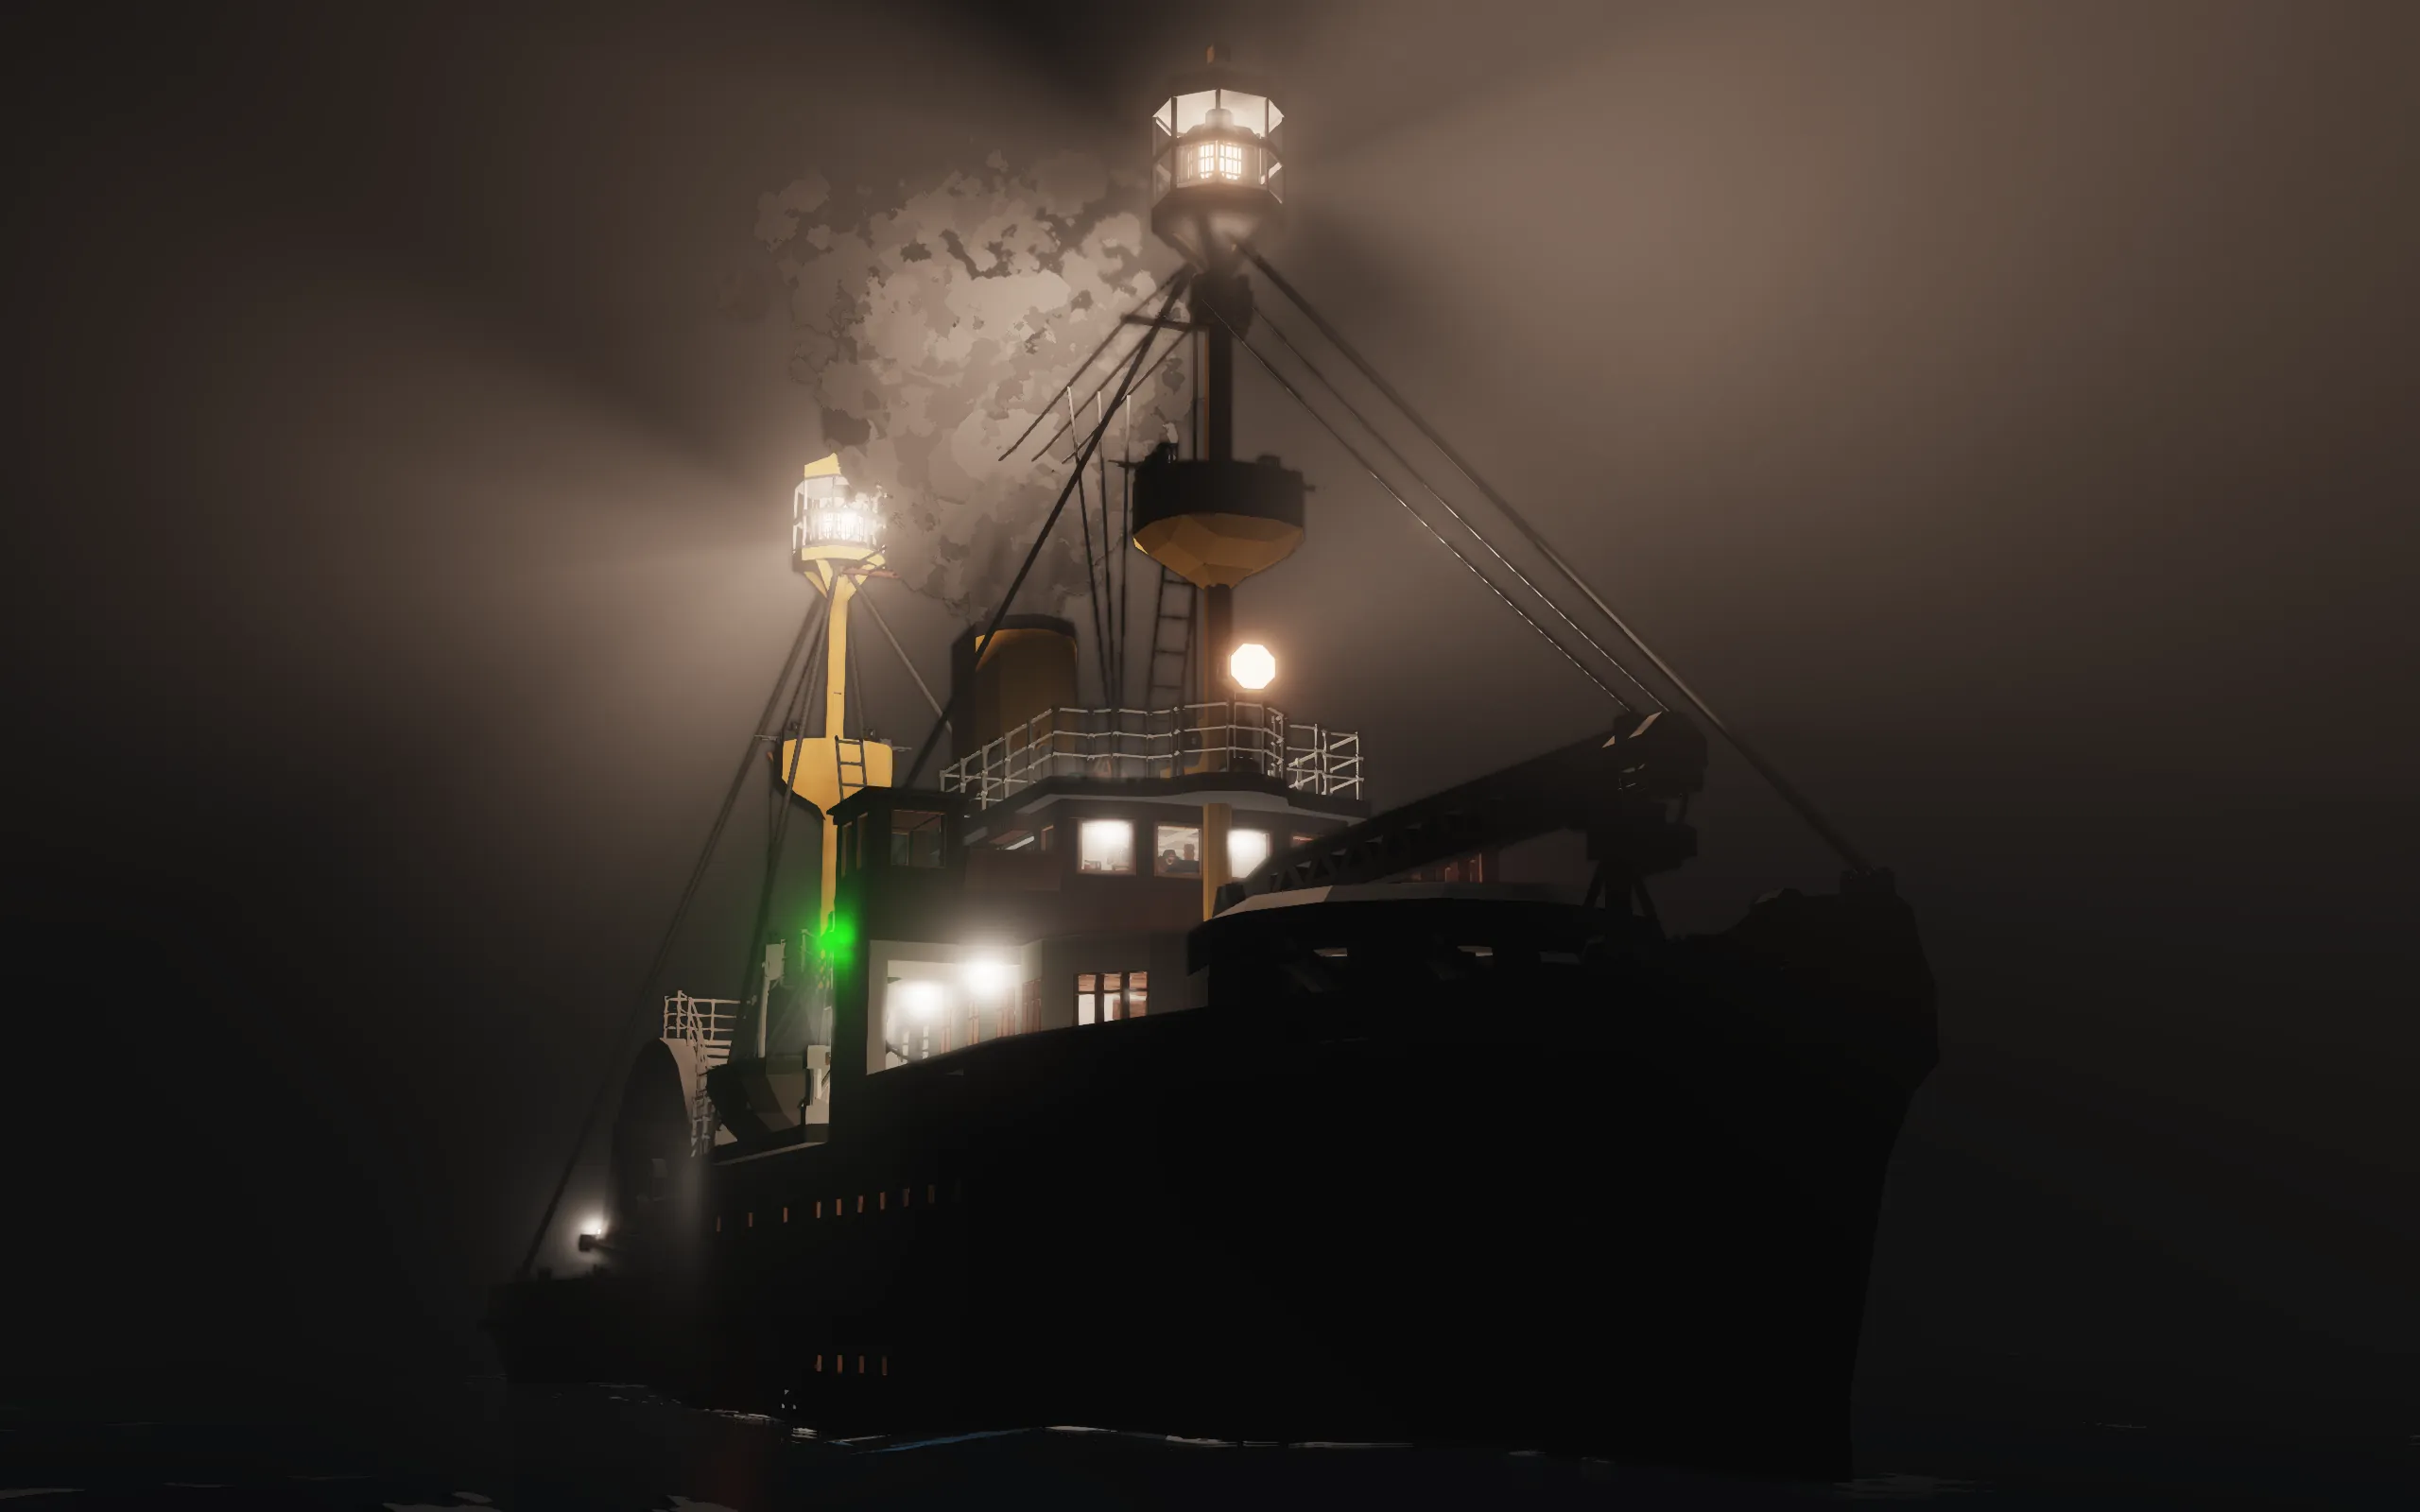
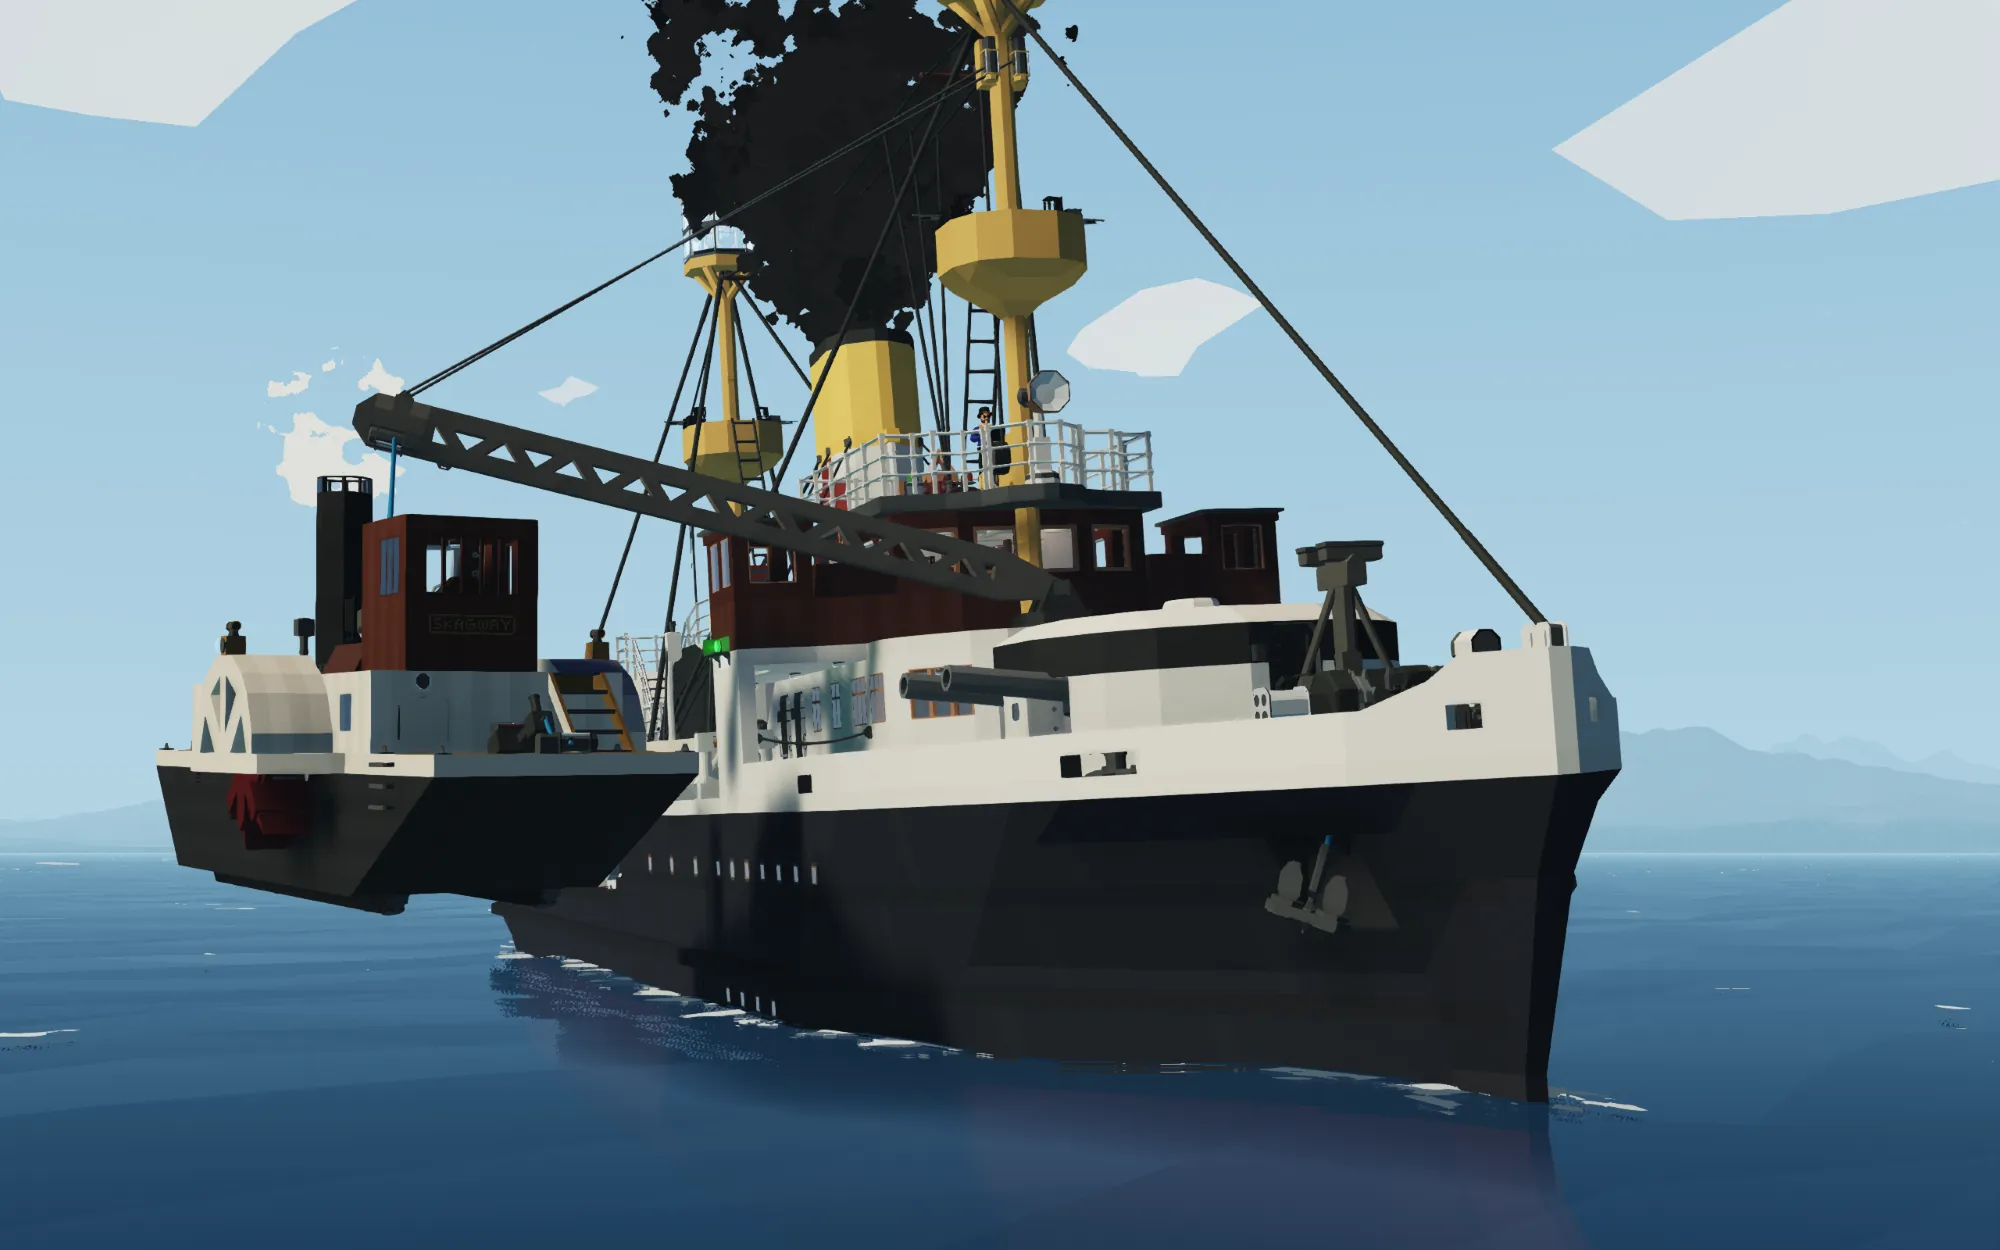
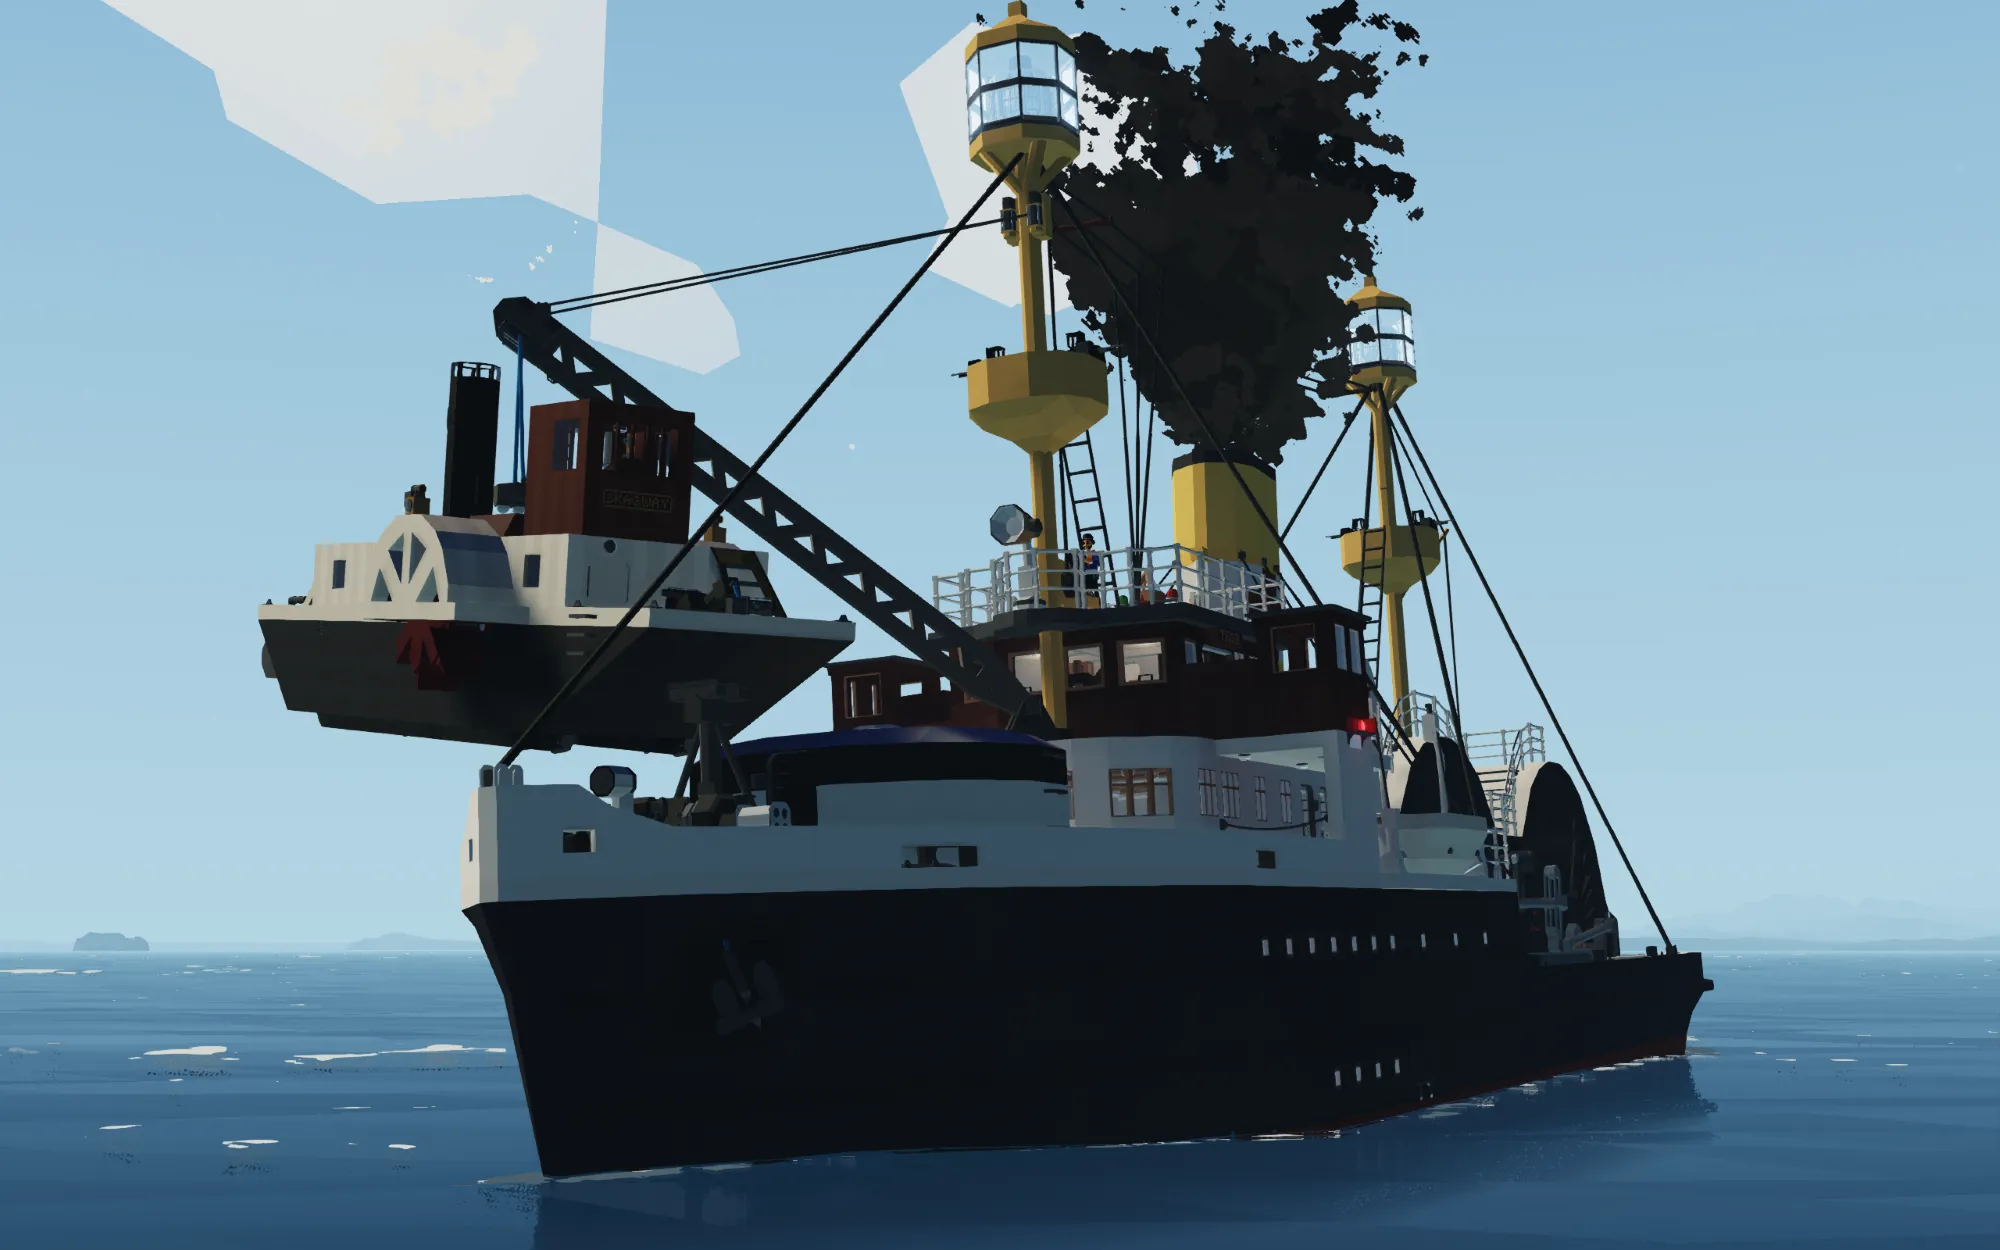
BULK FREIGHTER/HOSPITAL SHIP/SALVAGE TUG/OCEAN LINER/OIL TANKER/LIGHTSHIP/WARSHIP/PADDLE STEAMER/STEAM LOCOMOTIVE? SS THOR
(I seriously hope I don't need to tell you that this is fictional)
I RAN OUT OF SPACE IN THE DESCRIPTION SO I HAD TO CUT IT DOWN TO JUST THE NECESSARY STUFF BRUH
HOW TO START/OPERATE
1. Head down to the boiler room via a hatch in the engine room, next to the electric switchboard.
2. Light boiler
3. Open the water injector valve, ideally at about 51% (it's somewhat hidden behind the uptake on the left side)
4. Open the valves to the dynamo, water injector pump, feed tank pump, and condenser circulating pump (valves with green handles).
All valves (in the boiler room) with red handles are purely aesthetic and can be ignored.
5. Once steam pressure is up and the dynamo is running, head up to the engine room and turn on the 'Master Electrical Switch', then all the breakers.
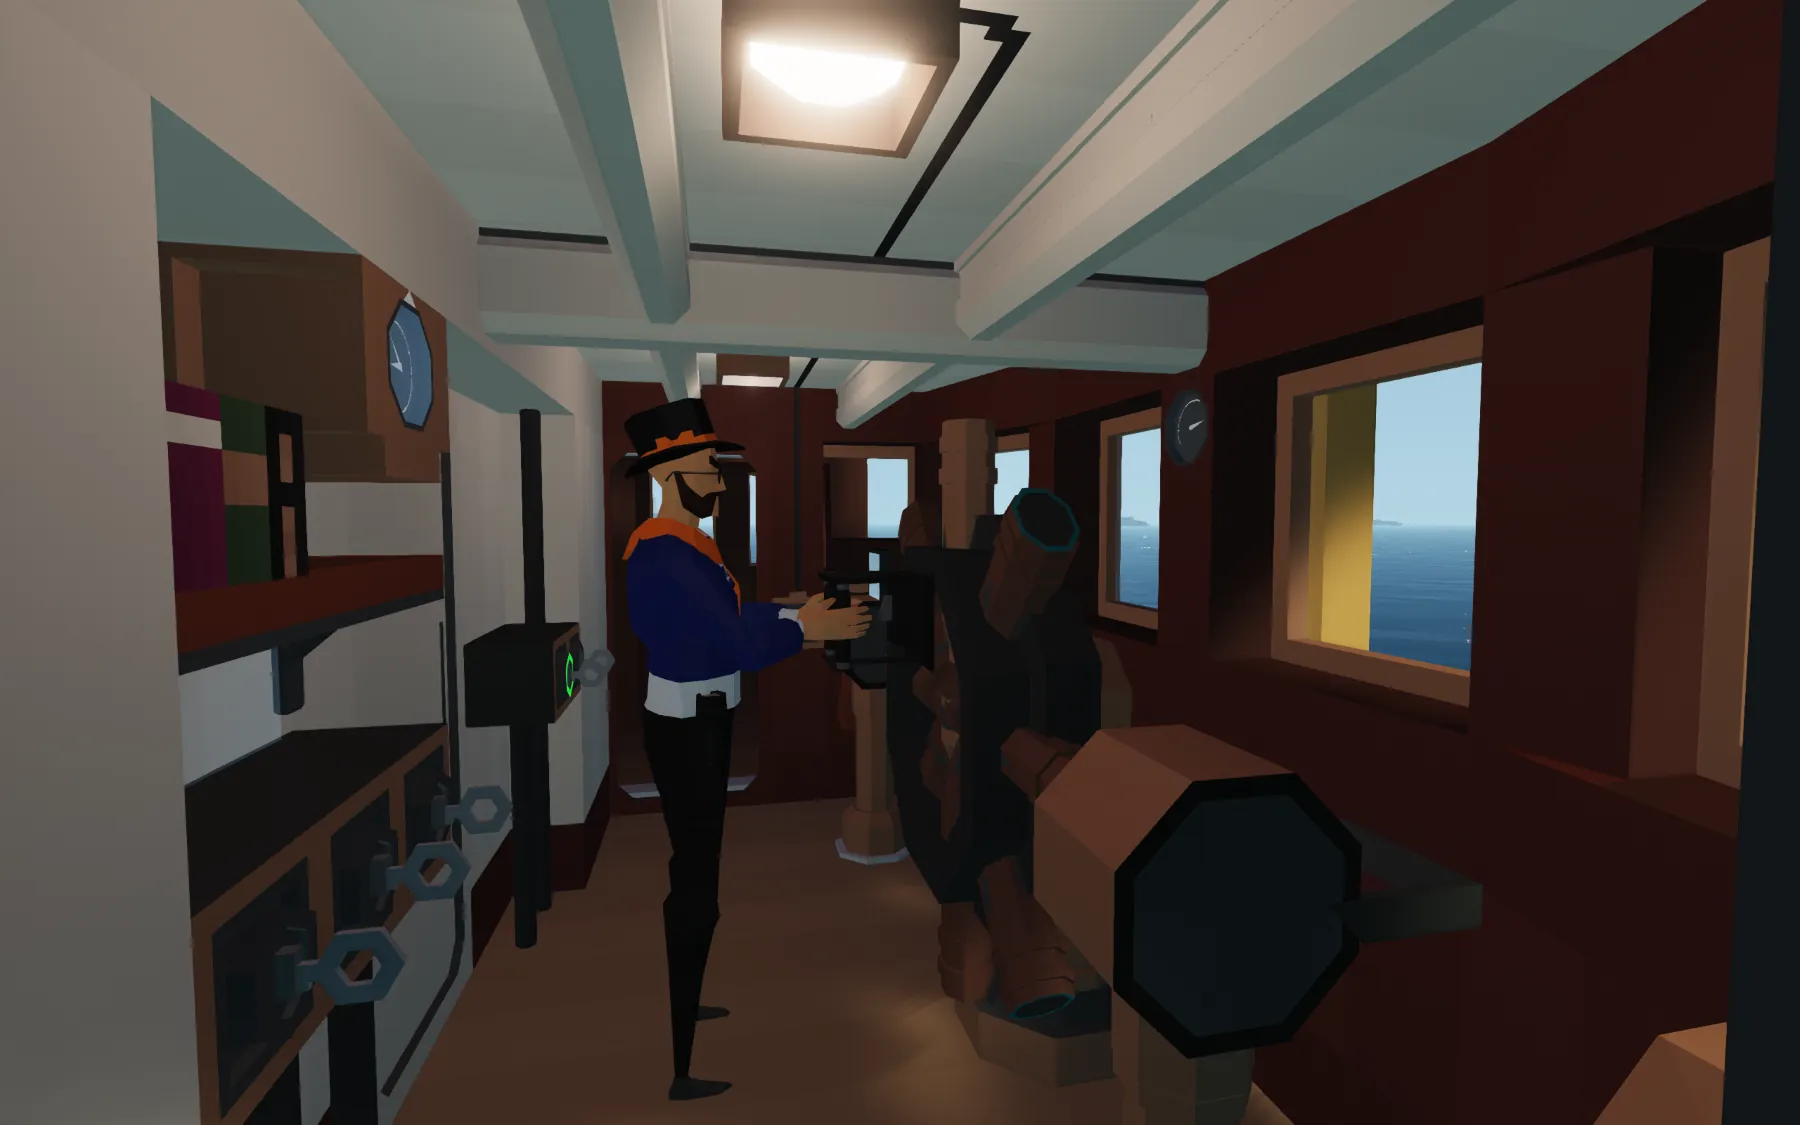
6. From there, you should be good to go. You can control the engine both from a telegraph in the engine room and from the helm at the bridge.
OIL TANKS/PUMPS OPERATION
- The ship features 4 oil tanks, 2 either side of the forward paddle box, and a pump room between the aft paddle box and the tow winch, with the connections for loading/unloading. In the pump room, there are two electric pumps. Each pump has a separate 3-valve valve chest for suction and dicharge.
- The SUCTION valve chest, on the side of the pump, controls where you're pumping oil FROM.
- The DISCHARGE valve chest, on top of the pump, controls where you're pumping oil TO.
- The light gray 'Suction' and 'Discharge' valves act as a sort of two-step verification, keeping the valve to the pump itself closed while the other valves are switched around.
1. At the oil tanks, open the valve for the tank you want to fill/drain. There is an invisible button above the decorative valve handle.
2. In the pump room, turn on the valves on the valve chests needed for how you want to pump oil.
3. Turn on the pumps.
-For pumping oil OUT OF the tanks, you need to open the following valves in the pump room:
- 'Cargo Tanks' and 'Pump 1or2 Suction' on the SUCTION valve chests
- 'Connecting Lines' and 'Pump 1or2 Discharge' on the DISCHARGE valve chests
- For pumping oil INTO the tanks, flip the cargo tank and connecting line valves around. So 'Connecting Lines' on the SUCTION valve chest and 'CARGO TANKS' on the DISCHARGE valve chest.
GENERAL SERVICE PUMP, BALLAST TANK AND BILGE PUMP OPERATION
The General Service pump, next to the feedwater pump and labeled with an orange-handled valve, singularly serves all the ballast tank and bilge pump operations. There is a corresponding valve chest up in the engine room to control what it pumps.
- There are two primary valve switches at the bottom of the valve chest, labeled 'Pump suction' and 'Pump dicharge'. There are then 7 valve controls above those corresponding to the 5 ballast tanks and 2 watertight compartments they go to.
- To pump water in or out of a ballast tank or compartment, you select the key corresponding to the tank/compartment you want, and either the 'suction' or the 'discharge' key.
- To pump water INTO a tank/compartment, you select the 'SUCTION' key.
- To pump water OUT OF a tank/compartment, you select the 'DISCHARGE' key.
-You can pump water into or out of as many tank/compartments as you want, but you cannot pump water into one tank/compartment and out of another at the same time.
-Yes, discharging water into one of the watertight compartments literally just means you're flooding the ship. Have fun with that
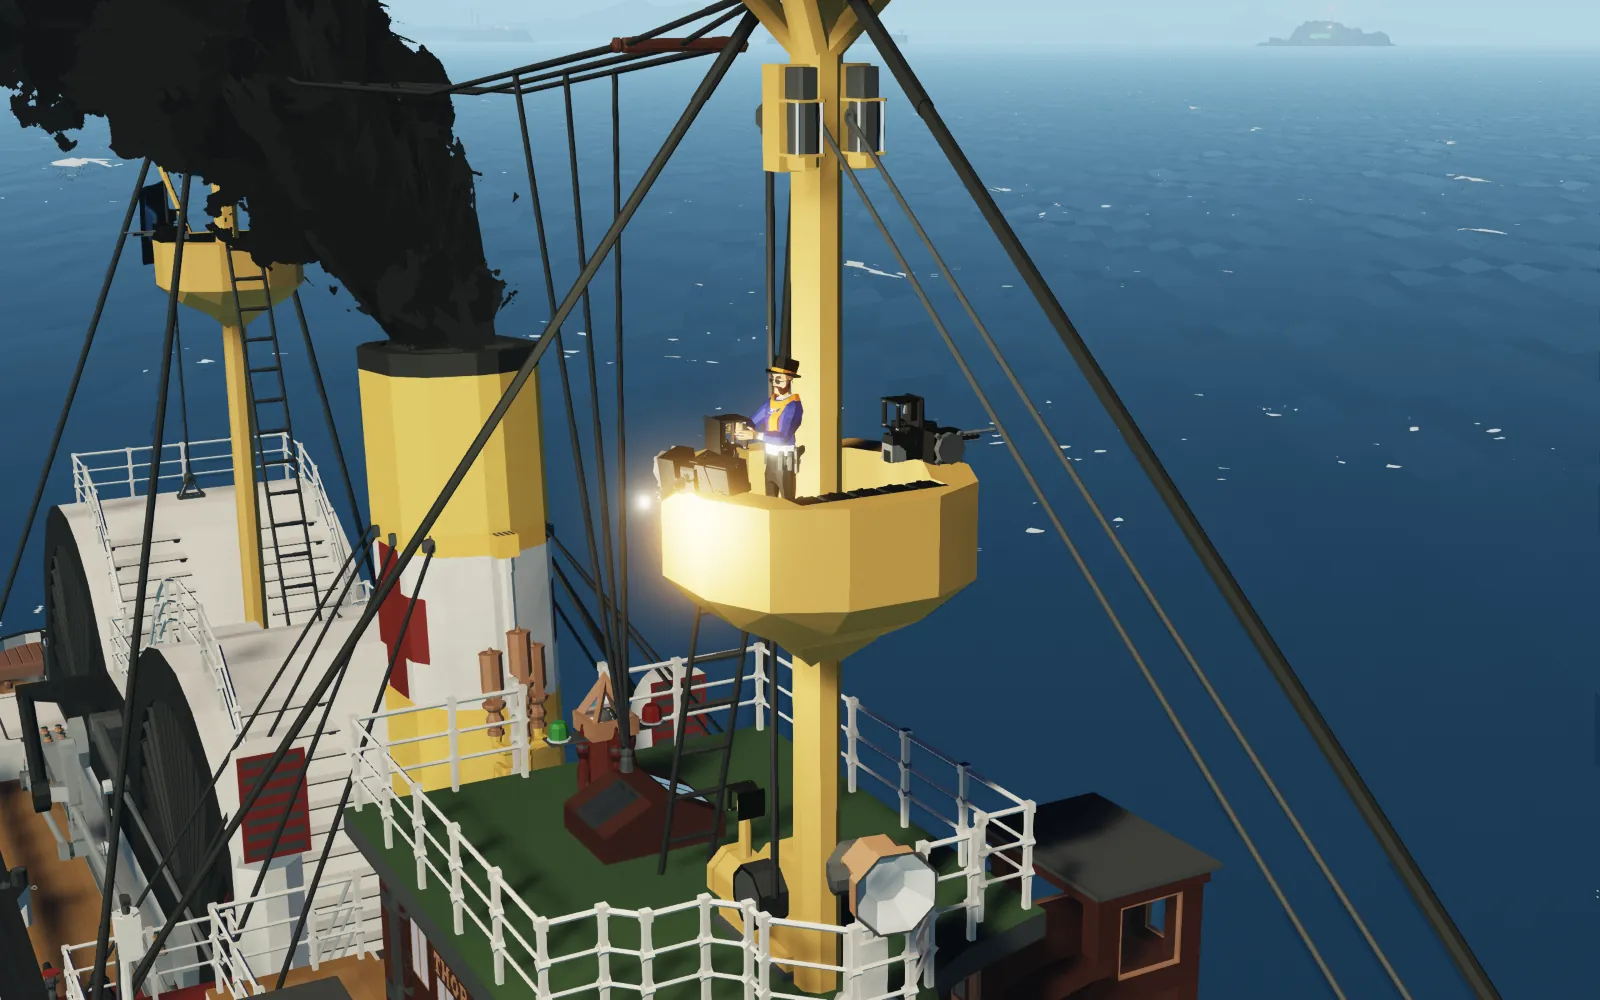
TURRET AND FIGHTING TOPS OPERATION
- The fighting tops can be climbed by the custom ladders going up to them. there are invisible handles between the rungs of the ladders, which you grab by alternating between the (default) keybinds Q and E. Finding where exactly to grab those handles may be a bit difficult at first, but it gets easier with practice. There is a final (visible) handle embedded into the mast to pull yourself into the fighting top. It's fastest climbing by grabbing every second rung
- Each fighting top has two machine guns, operated by camera tracking, and additional storage of 15 ammo boxes in 3 different ammo types.
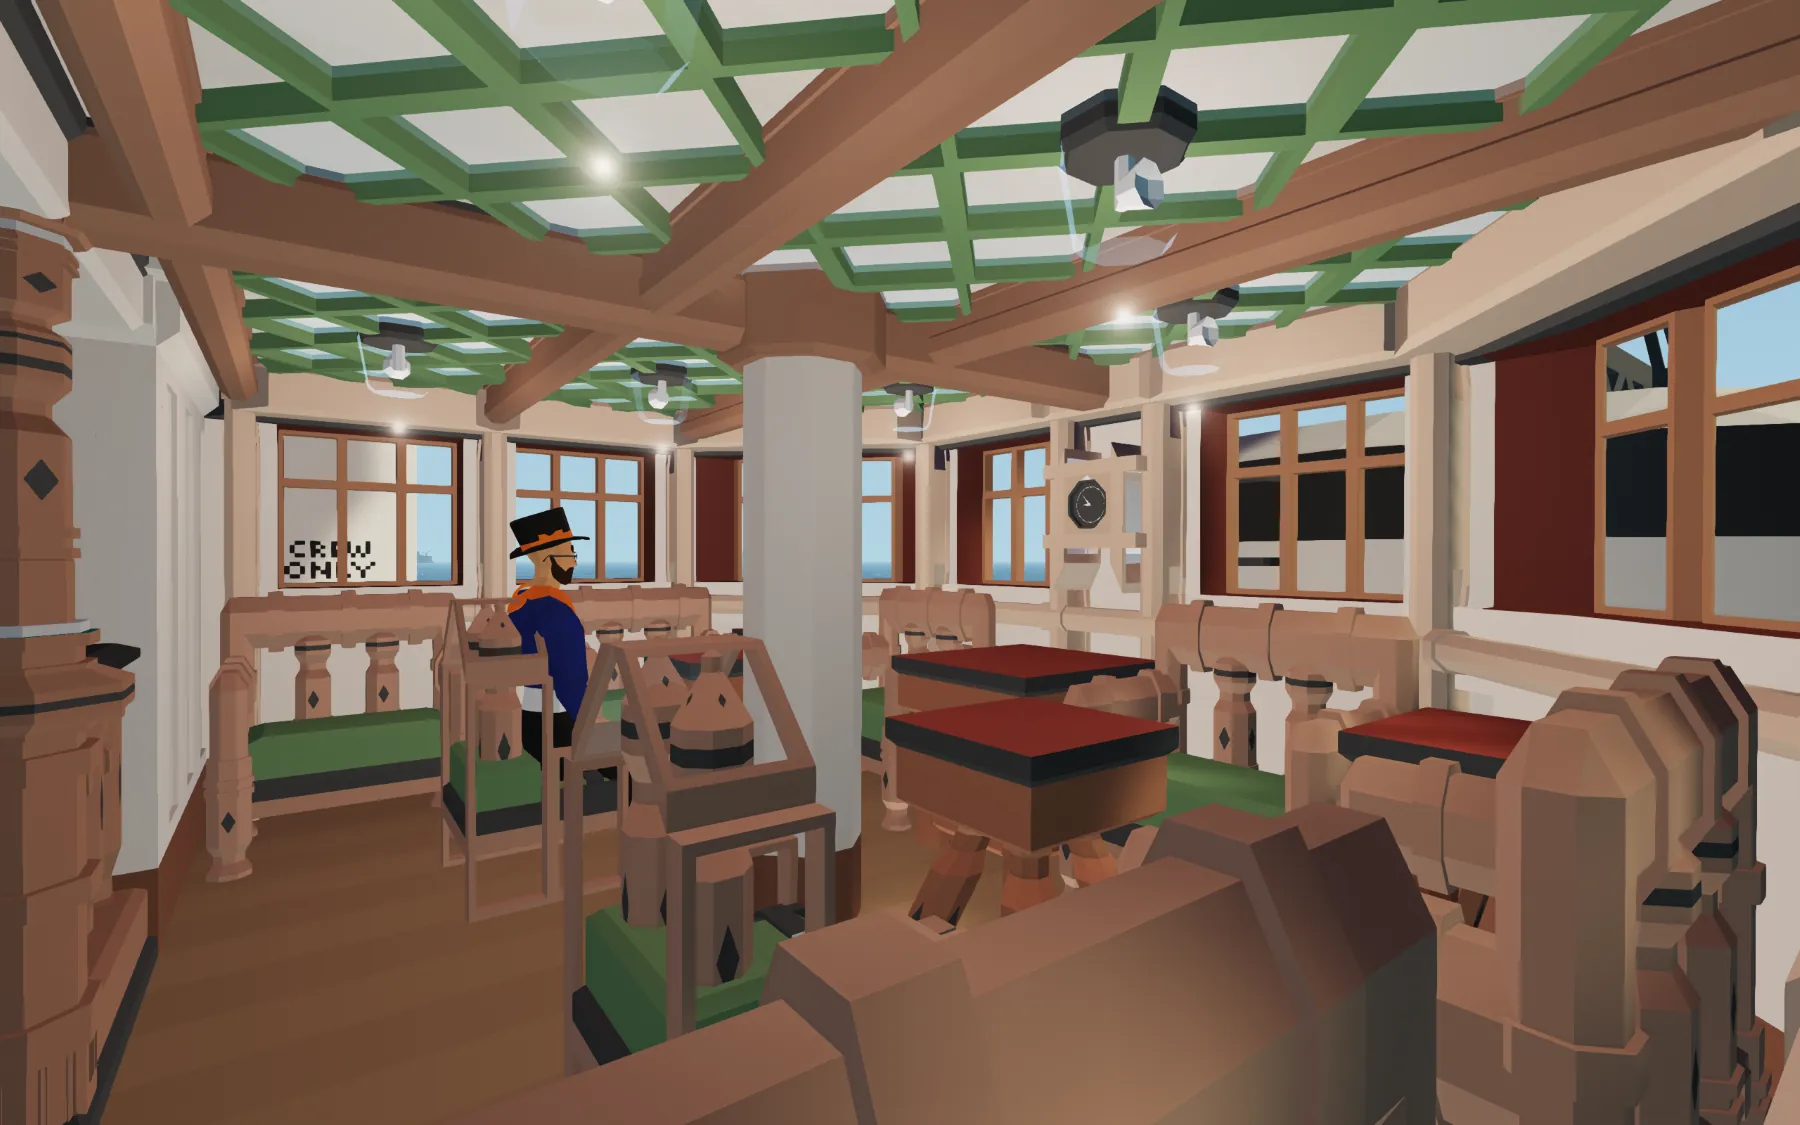
- There are also two additional lockers for extra machine gun ammo in the forward crew only area on B deck.
- The turret is electrically driven. It's operated entirely from inside via a control handle at the back. It has a monitor with a large camera that can be zoomed in.
- The guns are reloaded simply by a 'Reload' trigger.
- Being a twin turret, the guns have two firing modes.
- 'Double shot' or 'OFF' mode, means that both guns will fire at once when triggered.
- 'Separate Firing' or 'ON' mode, means that one gun (always left) will fire first when triggered, then the second (right) gun can be fired whenever you like by pressing fire again.
- There are no systems in place for preventing you accidentally shooting your own ship, so pay attention to where you're aiming.
SALVAGE CRANE OPERATION
- The salvage crane is entirely electric, and is controlled via a control handle mounted on its electric winch on top of the bridge.
- It can swing back about 100 degrees to either side, and elevate roughly 70 degrees.
- You can invert the left/right controls if you want to, but be careful to make sure to switch them while the crane is at or near center, as it otherwise will swing over violently.
-When the crane is lashed to its mounting, values from the control handle will all be switch to 0 to prevent drifting and wrenching. However, the values from the handle are still stored and can be changed while the crane is lashed, meaning that if you unlash the crane it may swing violently over to where it matches the values, so be careful not ot mess with the control handle when the crane is lashed.
ANCHOR/WINDLASS OPERATION
- The anchor windlass electric, and is controlled by a handle embedded inside the support column for the salvage crane
- The anchor controls function like the engine telegraph. keybinds 1-6 will control the anchors raising, lowering, and mags.
- The anchors have an invisible connector on them that keeps them locked in their anchor recesses. They are designed to face only one way, so there's a chance you may have to lower and raise the anchor once or twice slightly to help it position itself correctly.
- You cannot lower one anchor and raise another at the same time.
- There are additional W/S, Up/Down keybinds that control the winches for the port and starboard hawsers at the very bow, for mooring.R
SINK SWITCHES