If you liked the vehicle, give it a thumbs up

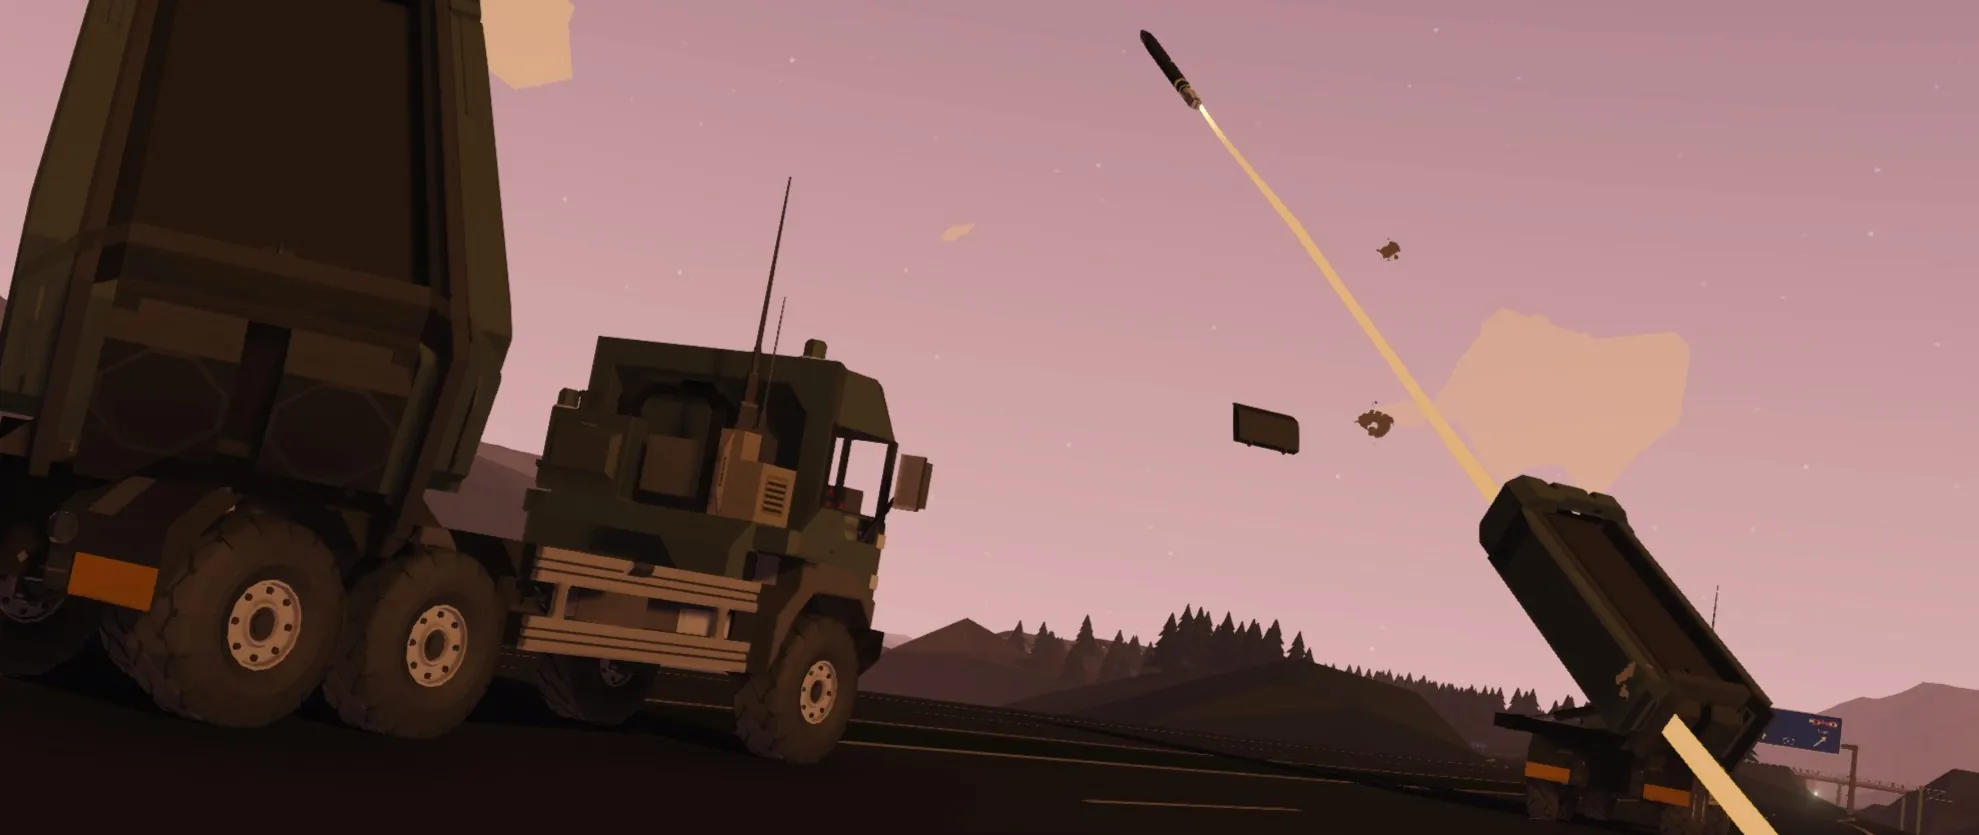
MPFS-A "Vörðr" | Federation of Reiss MLRS
Unit: 1st Panzer Division, 301th Lehrbataillon.
Conflict: Second Aethelian War (Year 933).
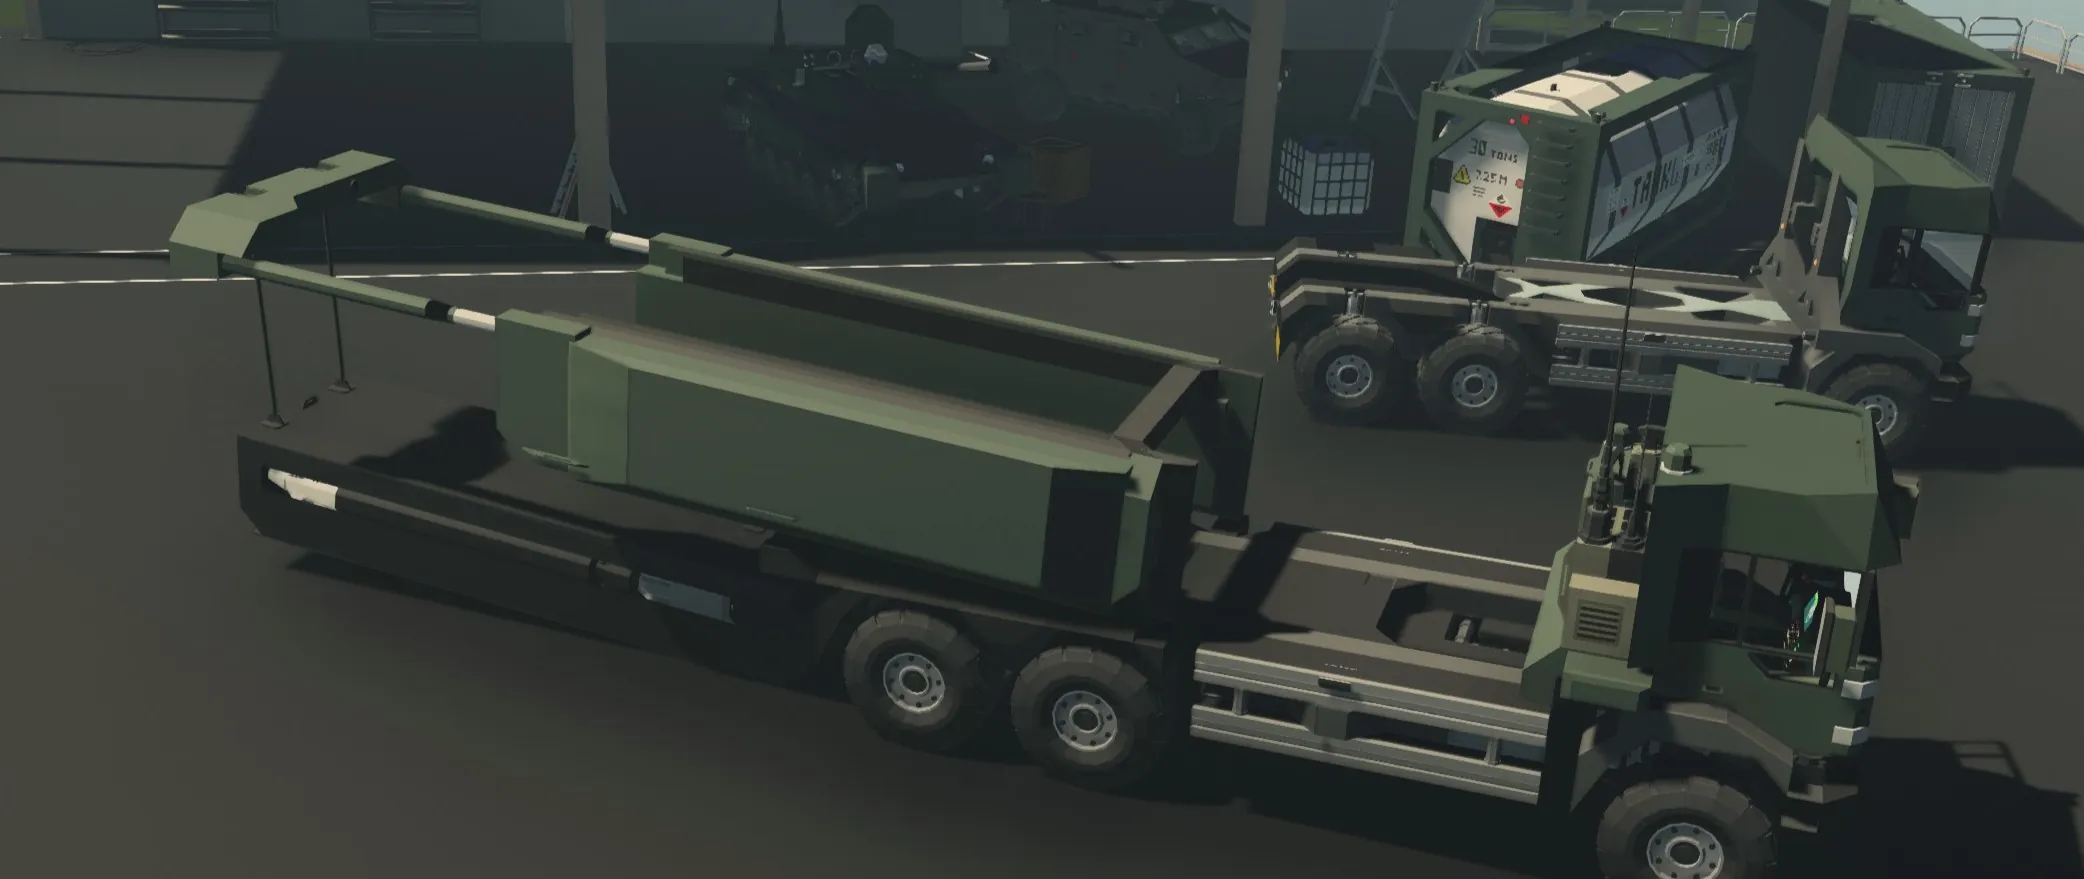
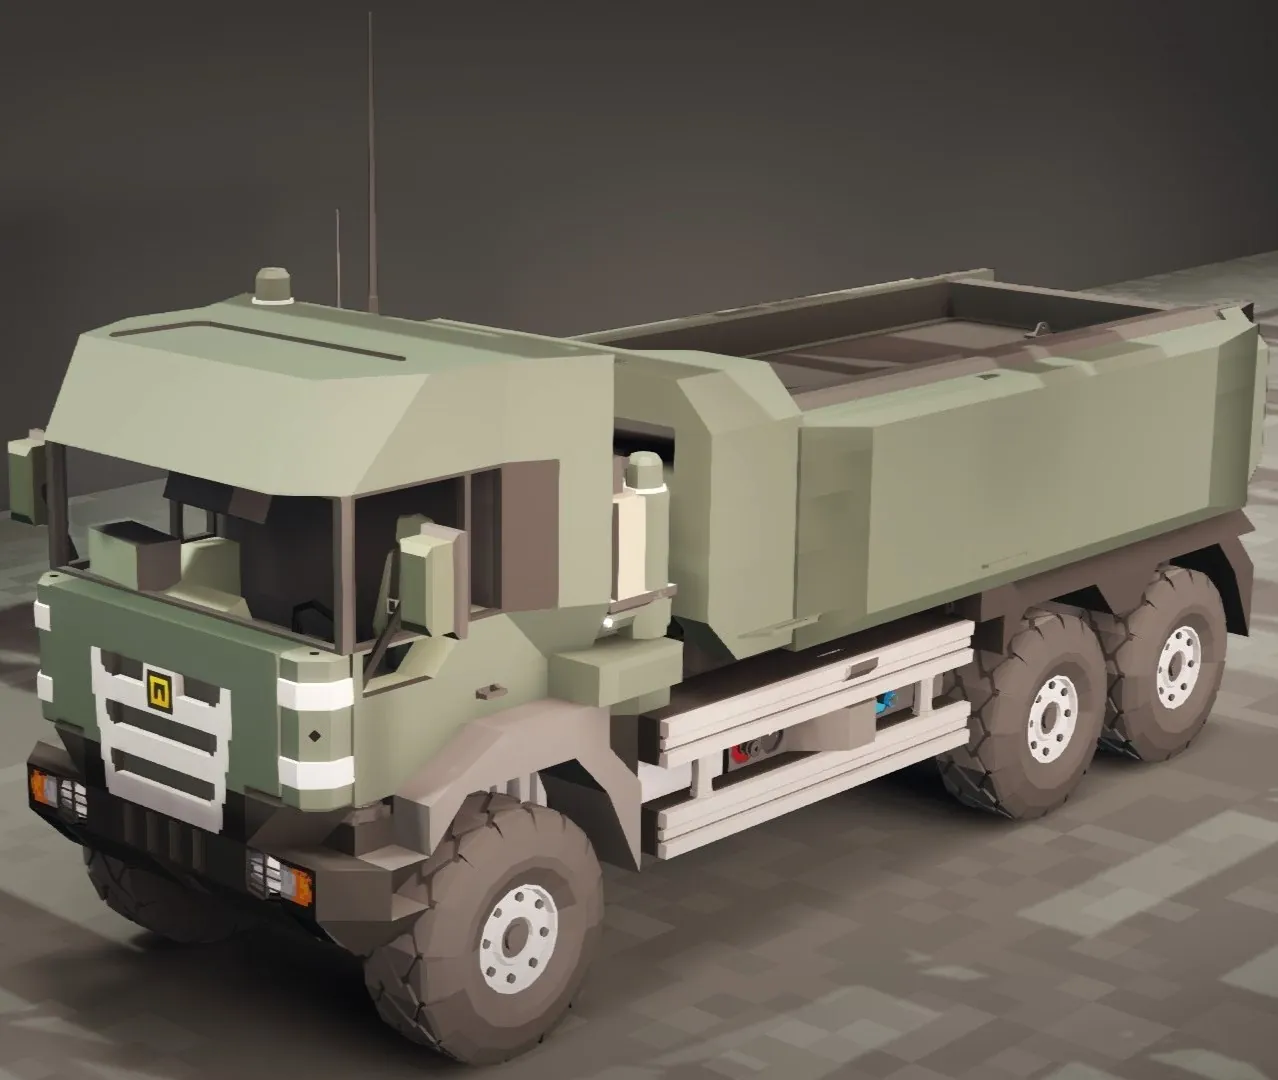
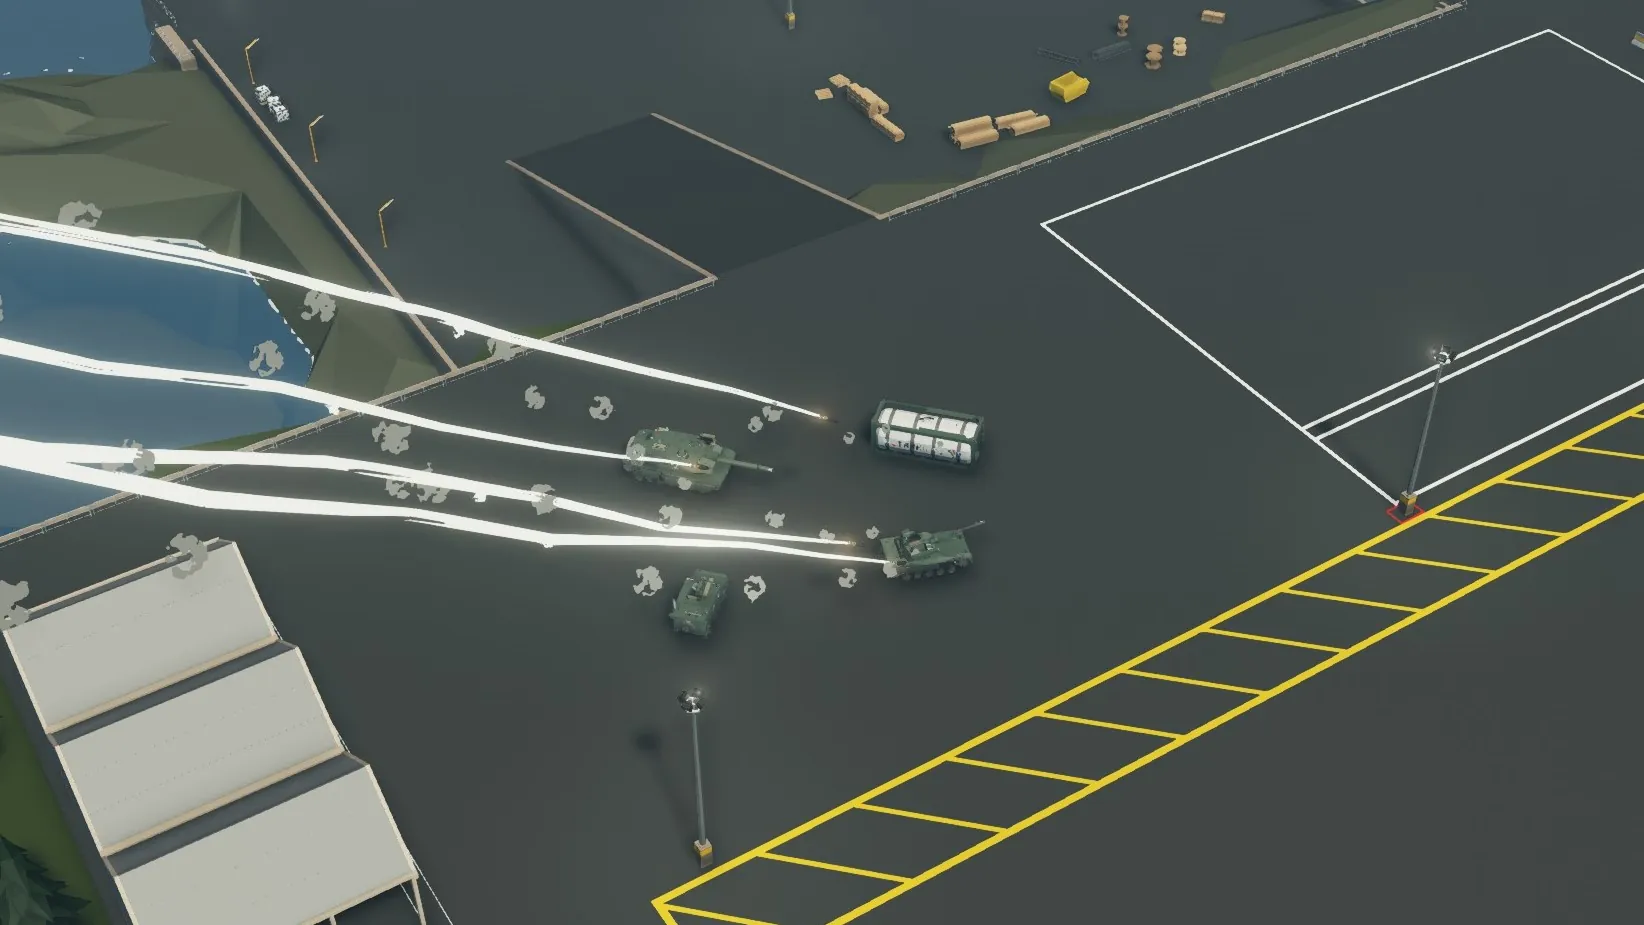
Historical Note: This vehicle belonged to the elite 301st Lehrbataillon (Demonstration Battalion), which was urgently deployed to the frontlines during the breakthrough of the "Siegfried II" line. During the defensive phase of the conflict, the 301st crews were the first to mass-deploy "roving battery" tactics, exploiting the wheeled chassis and modular reloading advantages to evade counter-battery fire. Thanks to deep integration into the digital battlespace via the DPKK system, MPFS units provided real-time fire support to forward elements, effectively stalling the San-Laurelian mechanized columns. This conflict cemented the system's reputation as the "Federation's Scalpel," capable of delivering surgical strikes in sectors where conventional tube artillery proved ineffective. The The MPFS-A "Vörðr" (pronounced as Vorthr) is a highly mobile, wheeled multiple launch rocket system optimized for "shoot-and-scoot" operations. Built on a KVZ GR-30 6x6 chassis, it features a modular packet loading system that allows for rapid ammunition replenishment and multi-mission adaptability in the field. The launcher is fully integrated into the Federation's tactical network via the proprietary DPKK datalink, enabling instant coordinate reception and fire execution within seconds of halting. The system supports a diverse family of munitions:
- PRK-60-A: A long-range tactical cluster missile delivering 20 submunitions for area denial.

- PR-23-C: A 230mm GPS-guided precision rocket with an effective range of up to 55 km. Basic pre-installed package. They will target different targets. The last missile in the package has antichaff.

- BATS-A: A specialized short-range missile deploying four independently guided anti-armor submunitions.

User Manual / Instructions
To start all systems, you must switch the ignition ON!
1.Weapons operator / Commander.
1.1 Preparing the launcher for firing
- Vehicle must be on the handbrake and with the ignition on.
- Press the "Extend launcher" button
- Enter target coordinates manually or enable DCC mode*
- HOLD the FIRE button on fire computer display.
1.2. Fire computer.
- M button will turn of fire computer display.
- T button enables terminal guidance for the PR-23-C missile.
- DCC button allows you to fire at selected target coordinates received from the DPKK
- Hold the FIRE button to launch missiles. PRK-60 and BATS missiles take longer to launch.
1.3. DPKK.
- Control the map by pressing the D-pad on the display. The R button resets the map position. Adjust zoom with the slider on the right side of the screen.
- Pressing an allied unit marker shows the allied unit type and its ID. Pressing anywhere else on the screen clears the text.
- *Pressing an allied unit DCC mark (small red circle) will select it as a target.
- The standard configuration supports communication with up to 10 units simultaneously. For larger numbers, the upper frequency threshold must be configured in the datalink microcontroller property.
1.4 Reloading.
- 1.Enable "Launcher loading mode" button. If the launcher does not extend, repeat this step. (Stormworks physics moment)
- 2.Leave the cabin and go to the front right corner of the launcher.
- 3.Click the "Drop" button
- 4.Return to the cabin. Position the Vehicle correctly next to the new package. Note: The missiles must point away from the MPFS.
- 5.Exit the cabin. Grab the ropes from the top front of the launcher (near the winches).
- 6.Connect the rope anchors of the package and the launcher winch.
- 7.Press the UP button.
- 8.Once connected, turn off the UP button and be sure to return the ropes to their original location.
- 9.Return to the cockpit and press the "Launcher loading mode" button.
 *SEM-21 - basic voice receiver / transmitter
Credits
Datalink protocol by STFU
GR-30 by STFU
Beautiful photoshoot scene by T