[img]https://i.imgur.com/WMIi8V3.gif[/img]
[hr]
[img]https://i.imgur.com/pBK5ykR.png[/img]
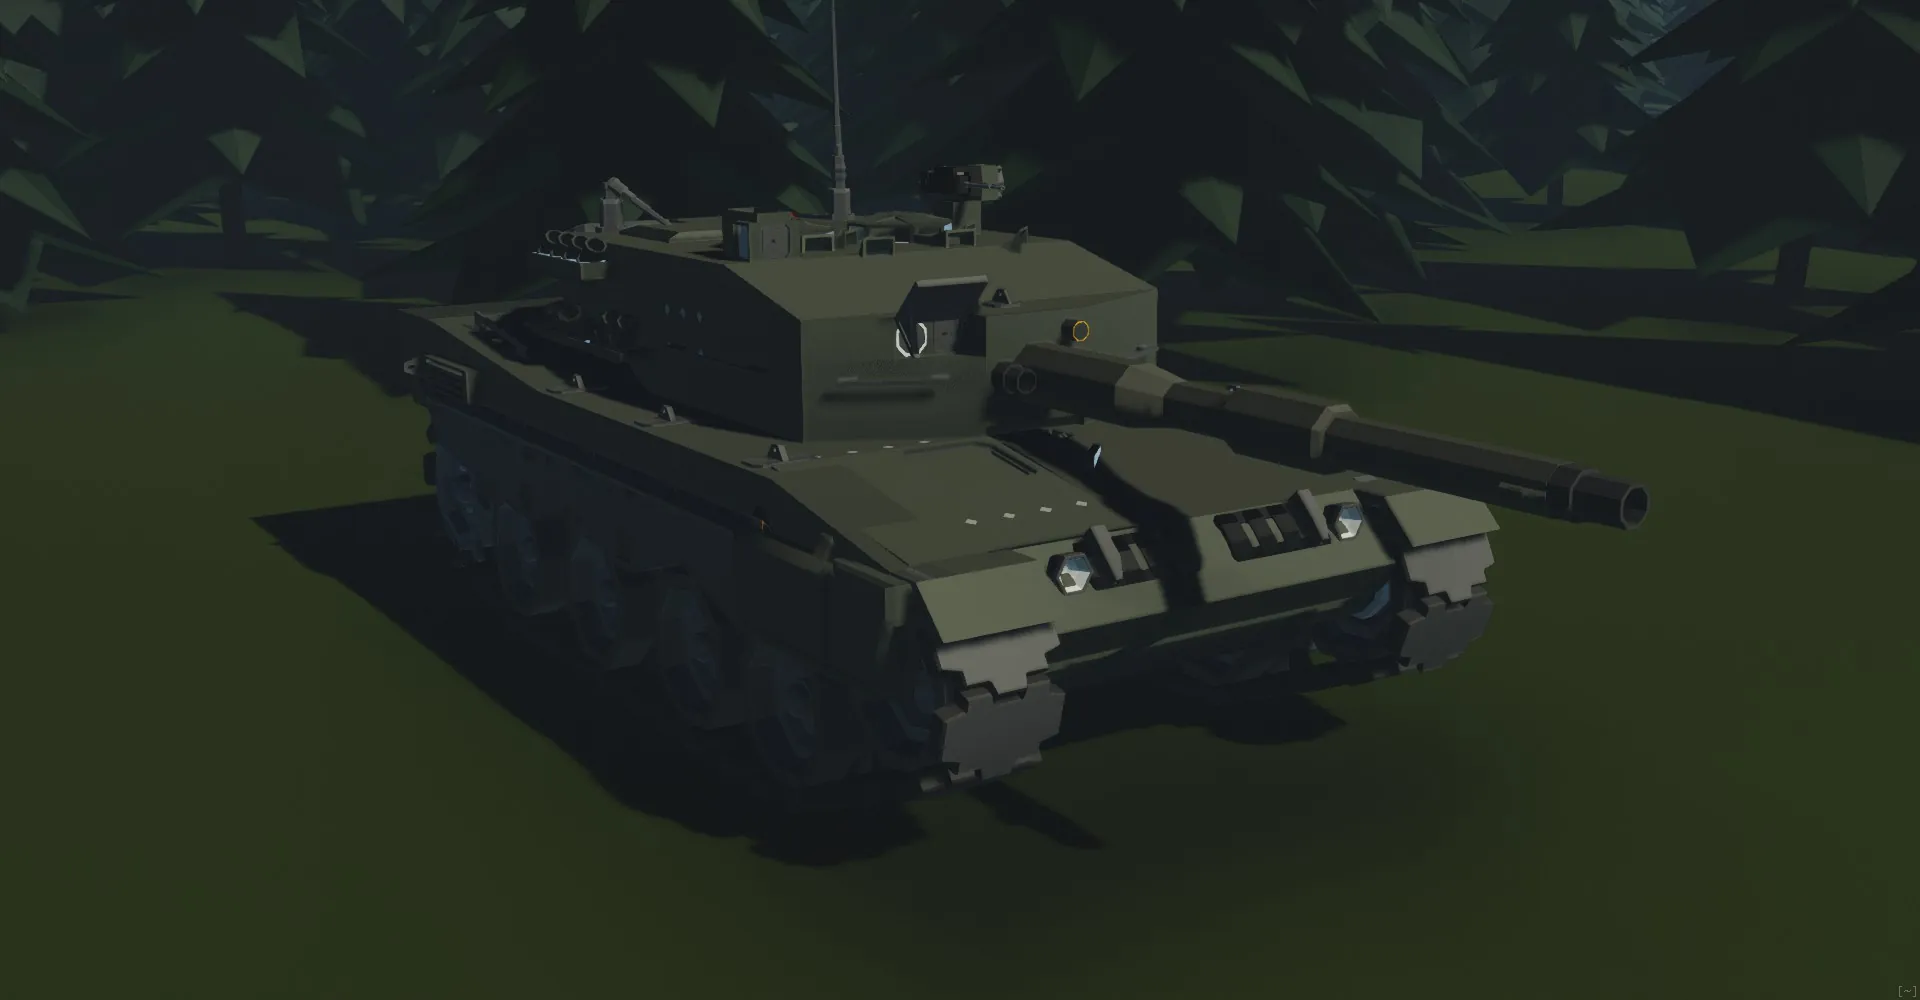
The Leopard 2A4 is a main battle tank developed by Krauss-Maffei in Germany as part of the Leopard 2 family. It features a 120 mm smoothbore gun, advanced fire control systems for its time, and composite armor for crew protection. Powered by an MTU MB 873 Ka-501 diesel engine, it offers high mobility on and off-road. The 2A4 variant introduced improved turret armor and an automated fire suppression system. It served as the backbone of many NATO armored forces from the 1980s into the 21st century
[hr]
[img]https://i.imgur.com/c1d3btS.png[/img]
[img]https://i.imgur.com/iC39Nmv.png[/img]
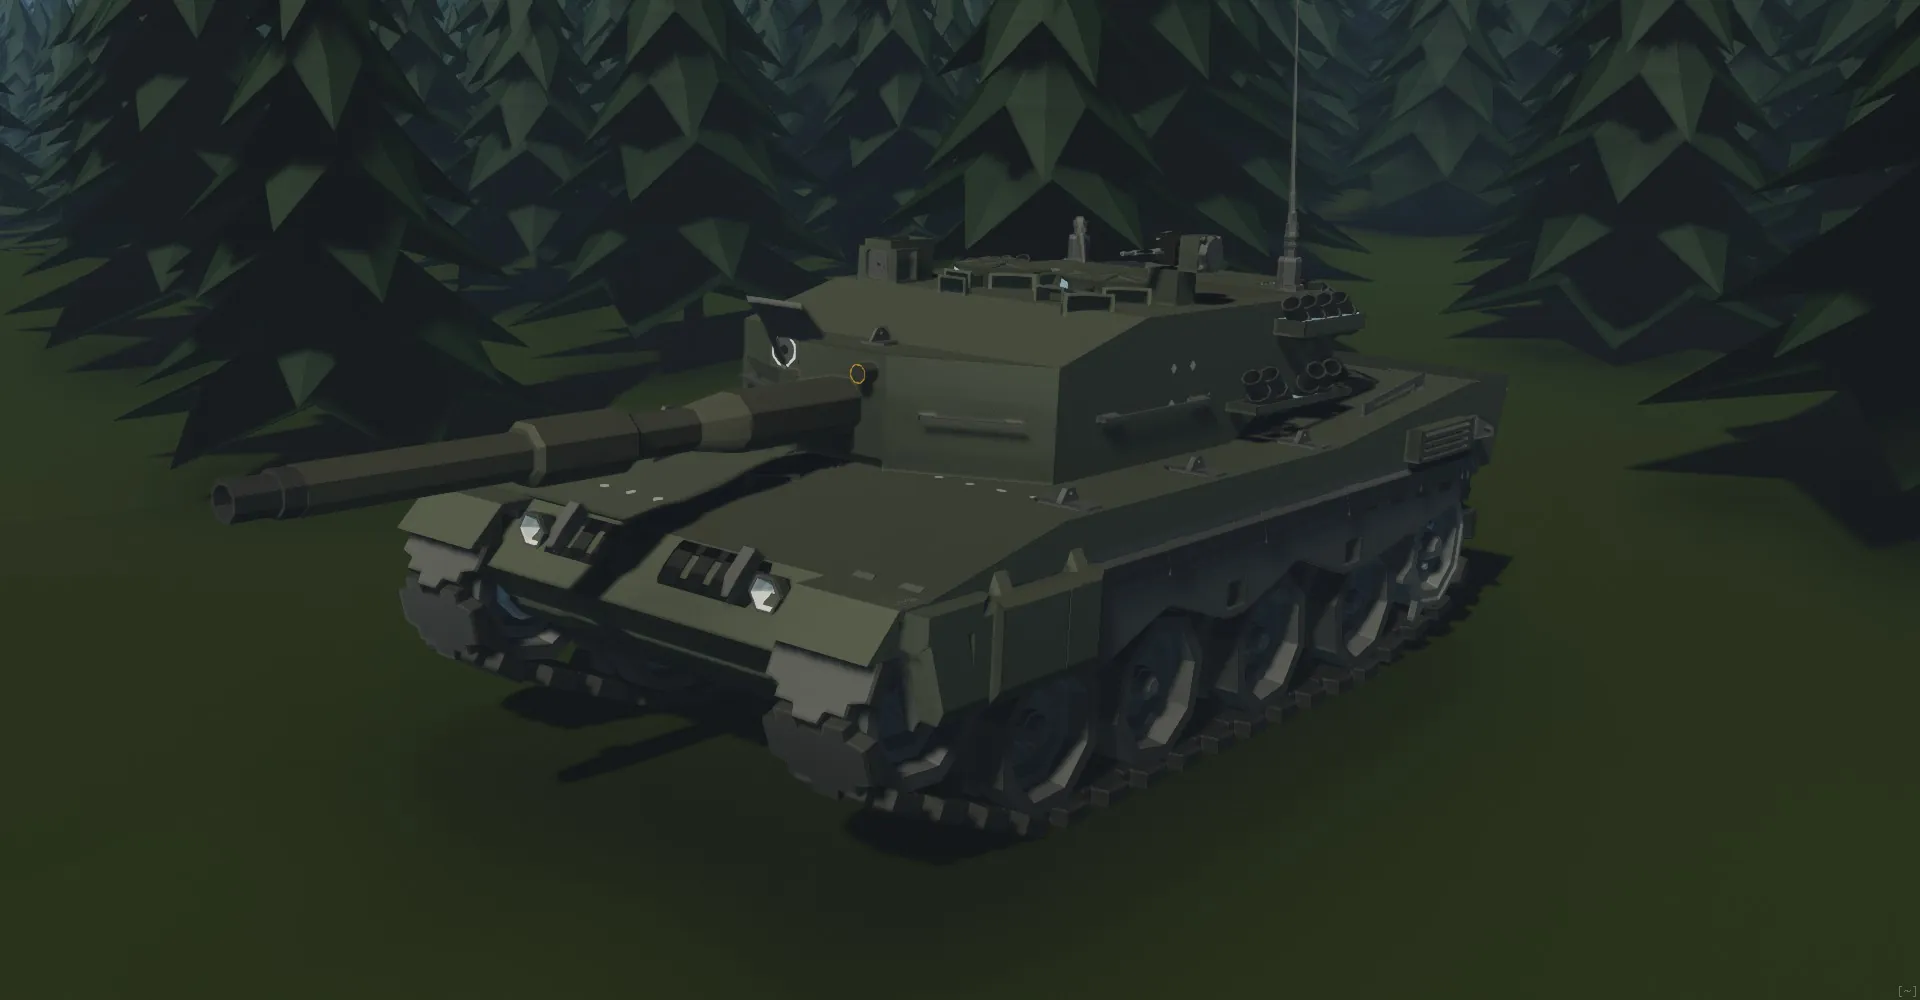
Dimensions
10.5m(With Barrel) X 4.25m X 3.5m
Speed(Km/h)
68Km/h Forward and 30 Km/h Reverse
Armor
Front(70%BattleCannon) Sides(LightAutoCannon) Rear(LightAutoCannon)
Fuel Tank Capacity
650 Liters
Armament
1 BattleCannon(34 Rounds), 2 MachineGuns(1000 Rounds)
Fire Control System
HorizontalVertical GunStabilizer, Laser Rangefinder, Commander Master ARM
Engine
MB 873, 11 Idle RPS, 14 Max RPS, 12 Small Cylinders
[hr]
[img]https://i.imgur.com/TYBo9JH.png[/img]
[hr]
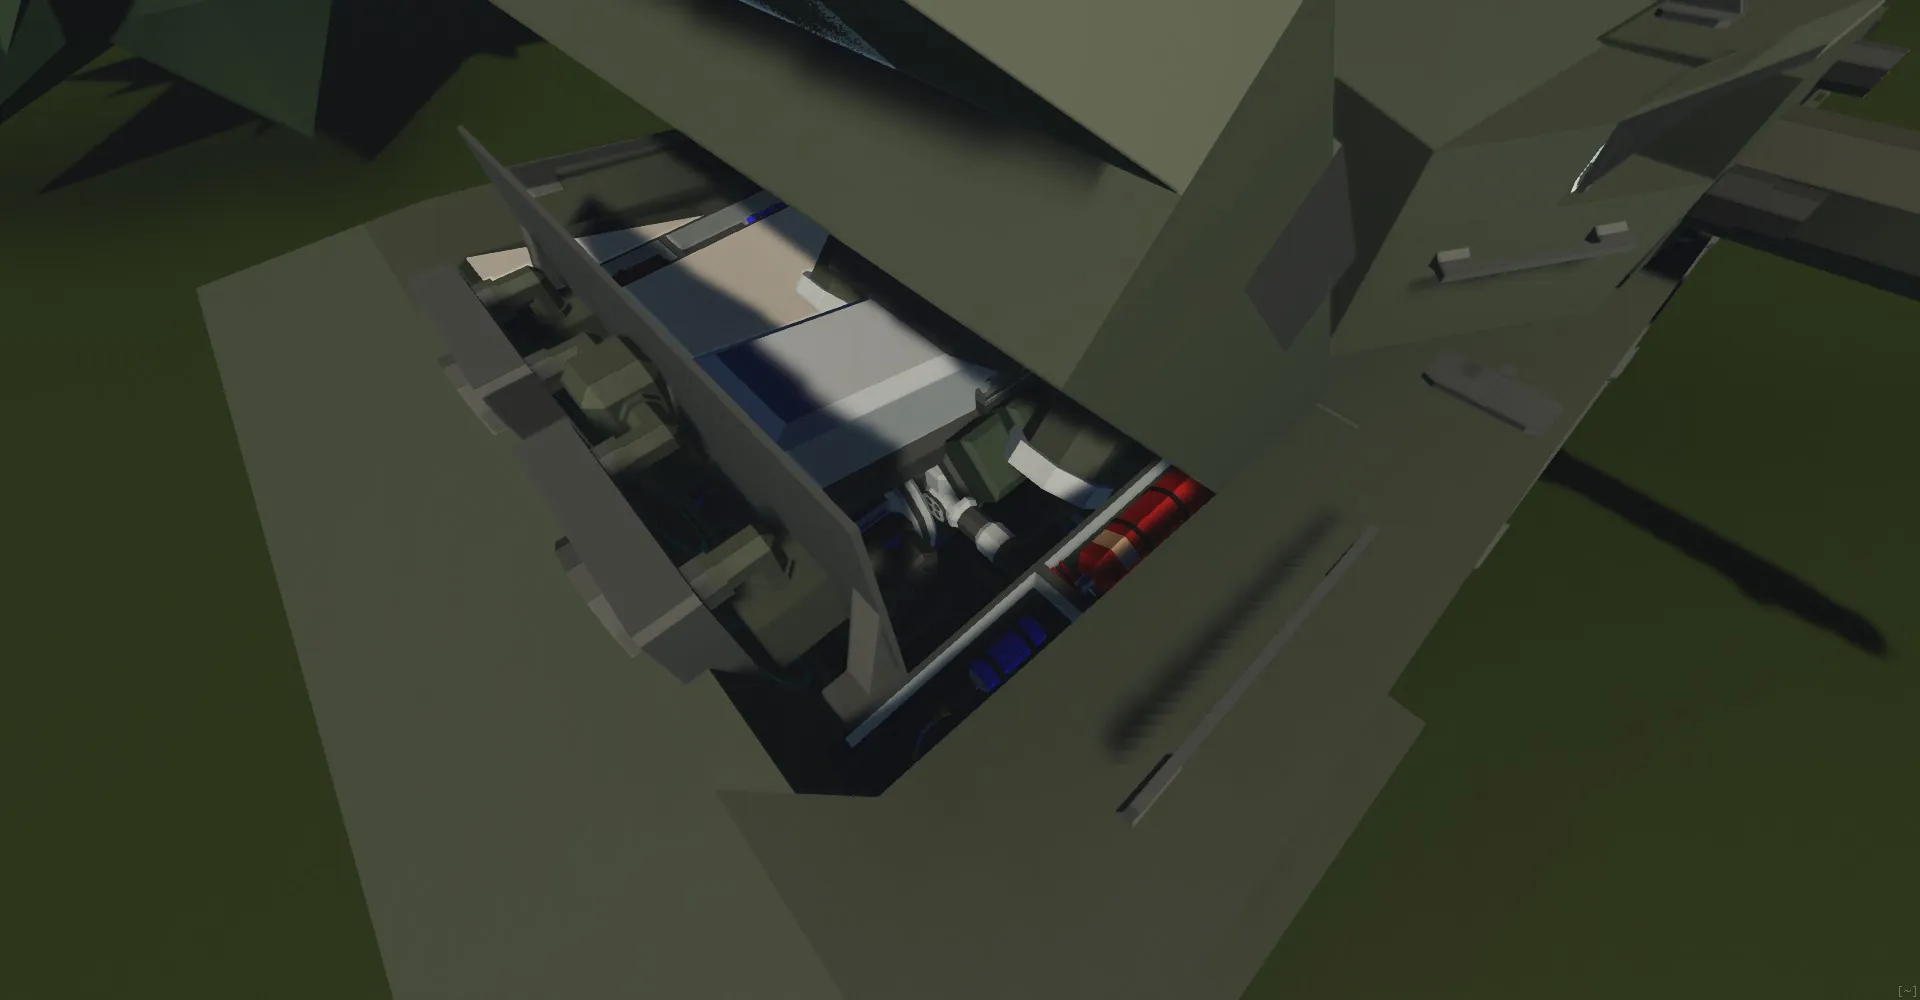
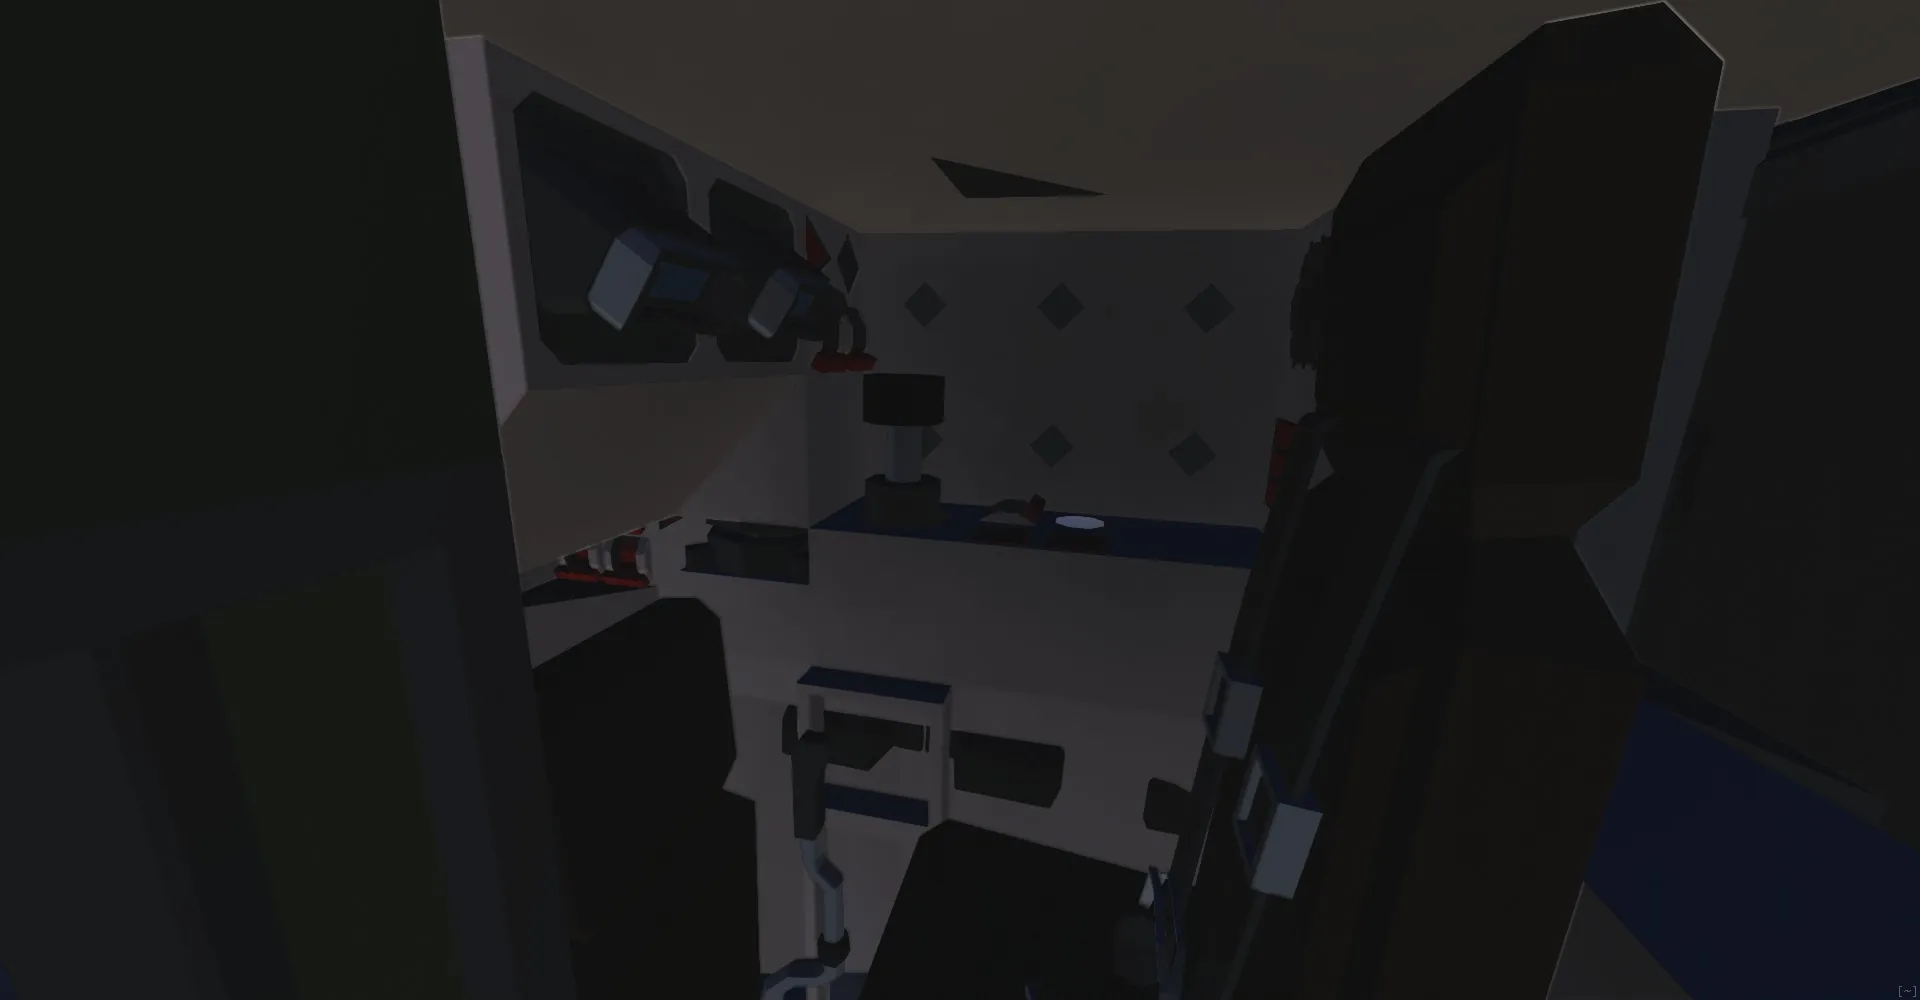
[img]https://i.imgur.com/KweZLVZ.png[/img]
Entry – Climb onto the hull, open the driver’s hatch, and take position in the seat.
1) Engine Start – Locate the left-side control panels. Press Starter to engage the engine.
2) Transmission –
Manual mode: 4 reverse gears, neutral (engages parking brake), 8 forward gears.
Automatic mode (select Auto Transmission): 1 reverse gear, neutral, 1 forward gear.
Current gear displayed on Current Gear indicator.
3) Performance – Maximum speed: 68 km/h forward, 30 km/h reverse.
4) Monitoring – Check engine temperature, RPS, fuel gauge, and fire indicator.
5) Fire Response – If fire indicator is lit, hold Key 1 to activate extinguisher.
6) Auxiliary Controls
2) – Open engine compartment (turret must face left/right).
3) – Activate heater.
4) – Headlights.
5) – Lower bulldozer blade (if fitted).
[hr]
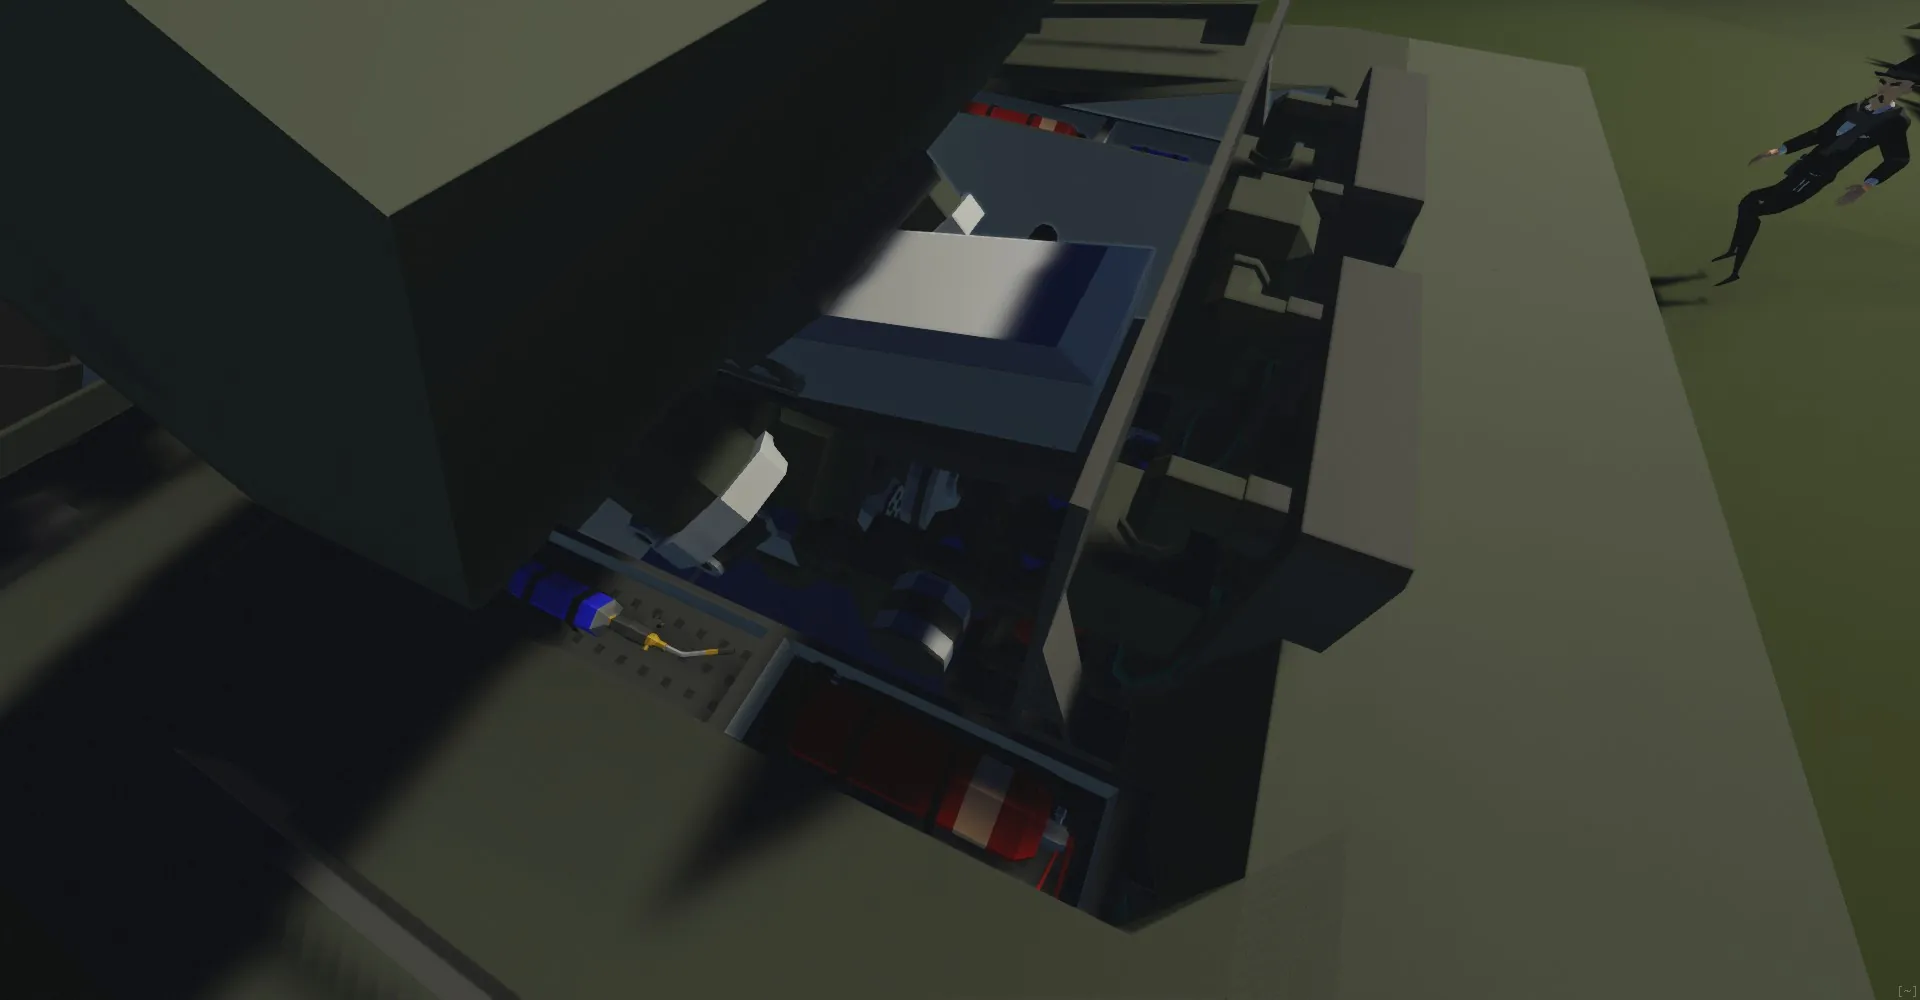
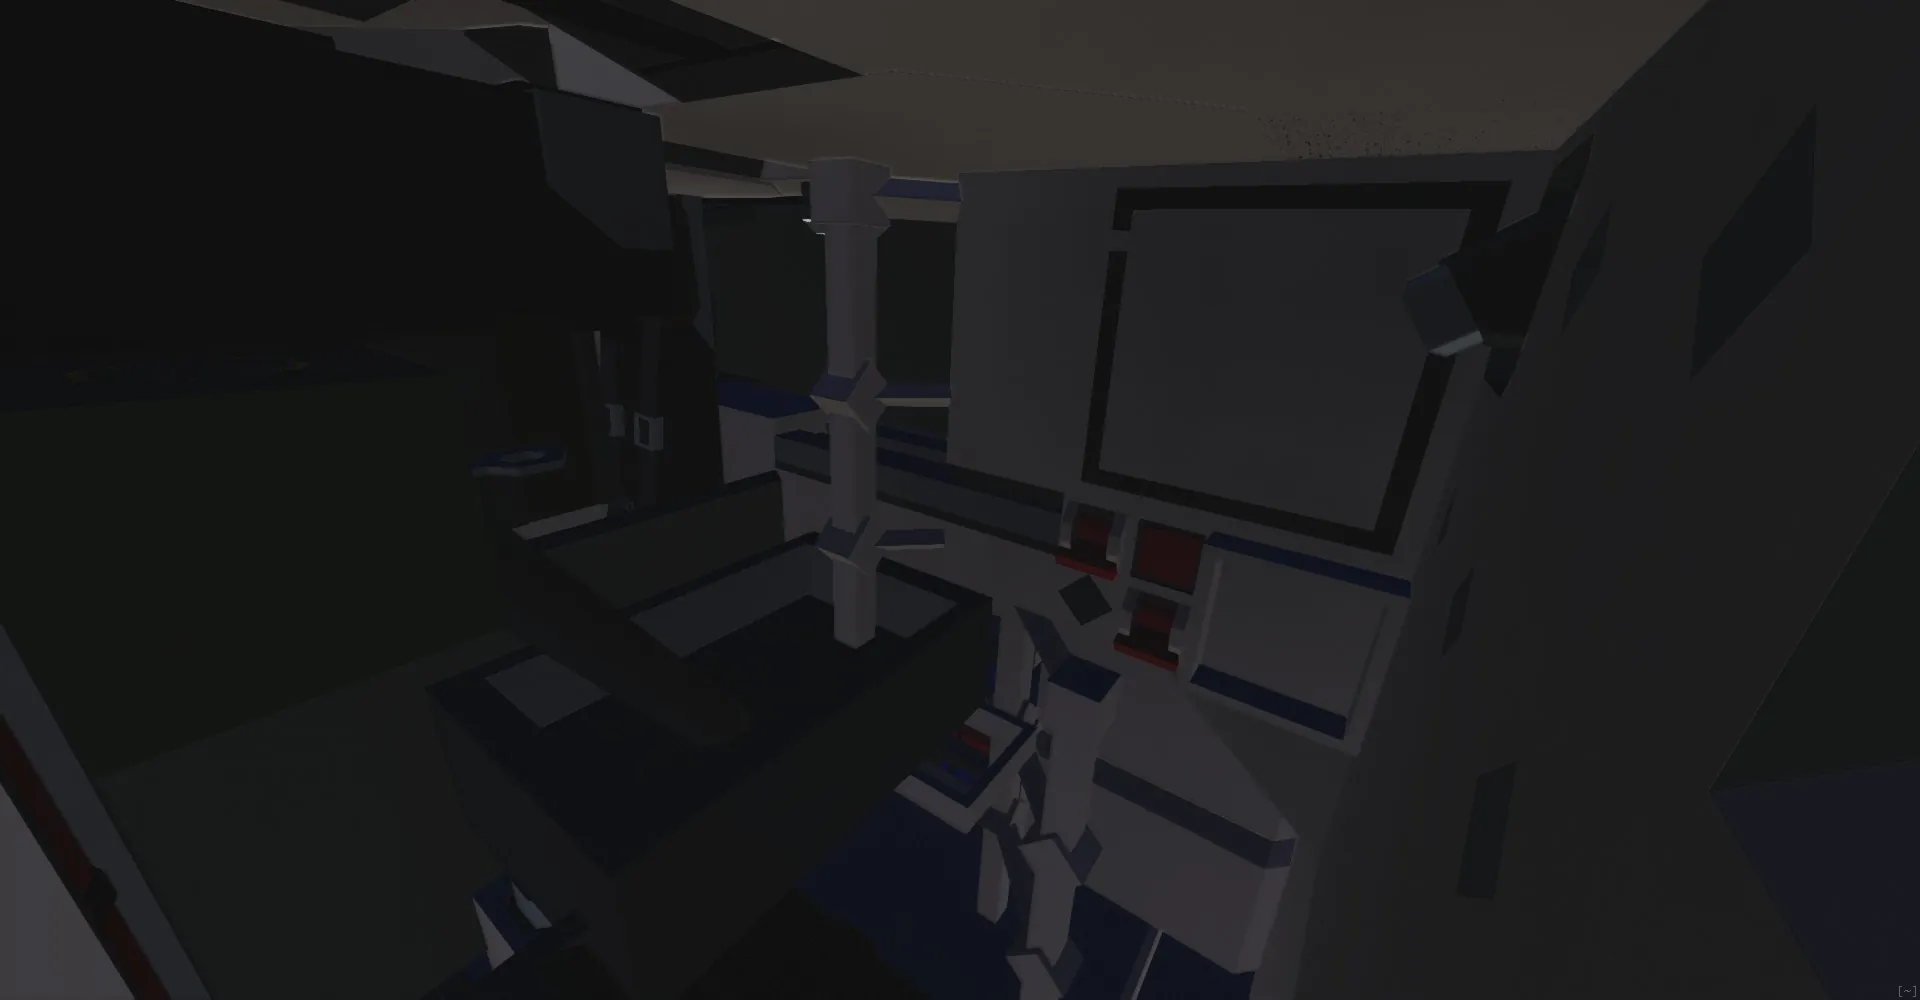
[img]https://i.imgur.com/8aJysCH.png[/img]
Entering the Gunner’s Seat
1) Enter the gunner’s position through the driver’s or commander’s hatch.
2) Sights
You have two sights: the main sight and a backup sight, used in case the main one fails.
3) Right-side Control Panel
System — activates the turret and all its control systems.
IR Mode — enables infrared mode for the main sight.
Horizontal Stabilizer — engages the turret’s horizontal stabilizer.
Vertical Stabilizer — engages the turret’s vertical stabilizer.
4) Backup Control System Panel
Master ARM — switches turret control between the gunner and the commander.
You Control indicator — if lit, you currently have control of the turret.
5) Seat Controls
1) Fires the coaxial machine gun.
2) Sets the range for the ballistic rangefinder.
3) Resets the range for the ballistic rangefinder.
[hr]
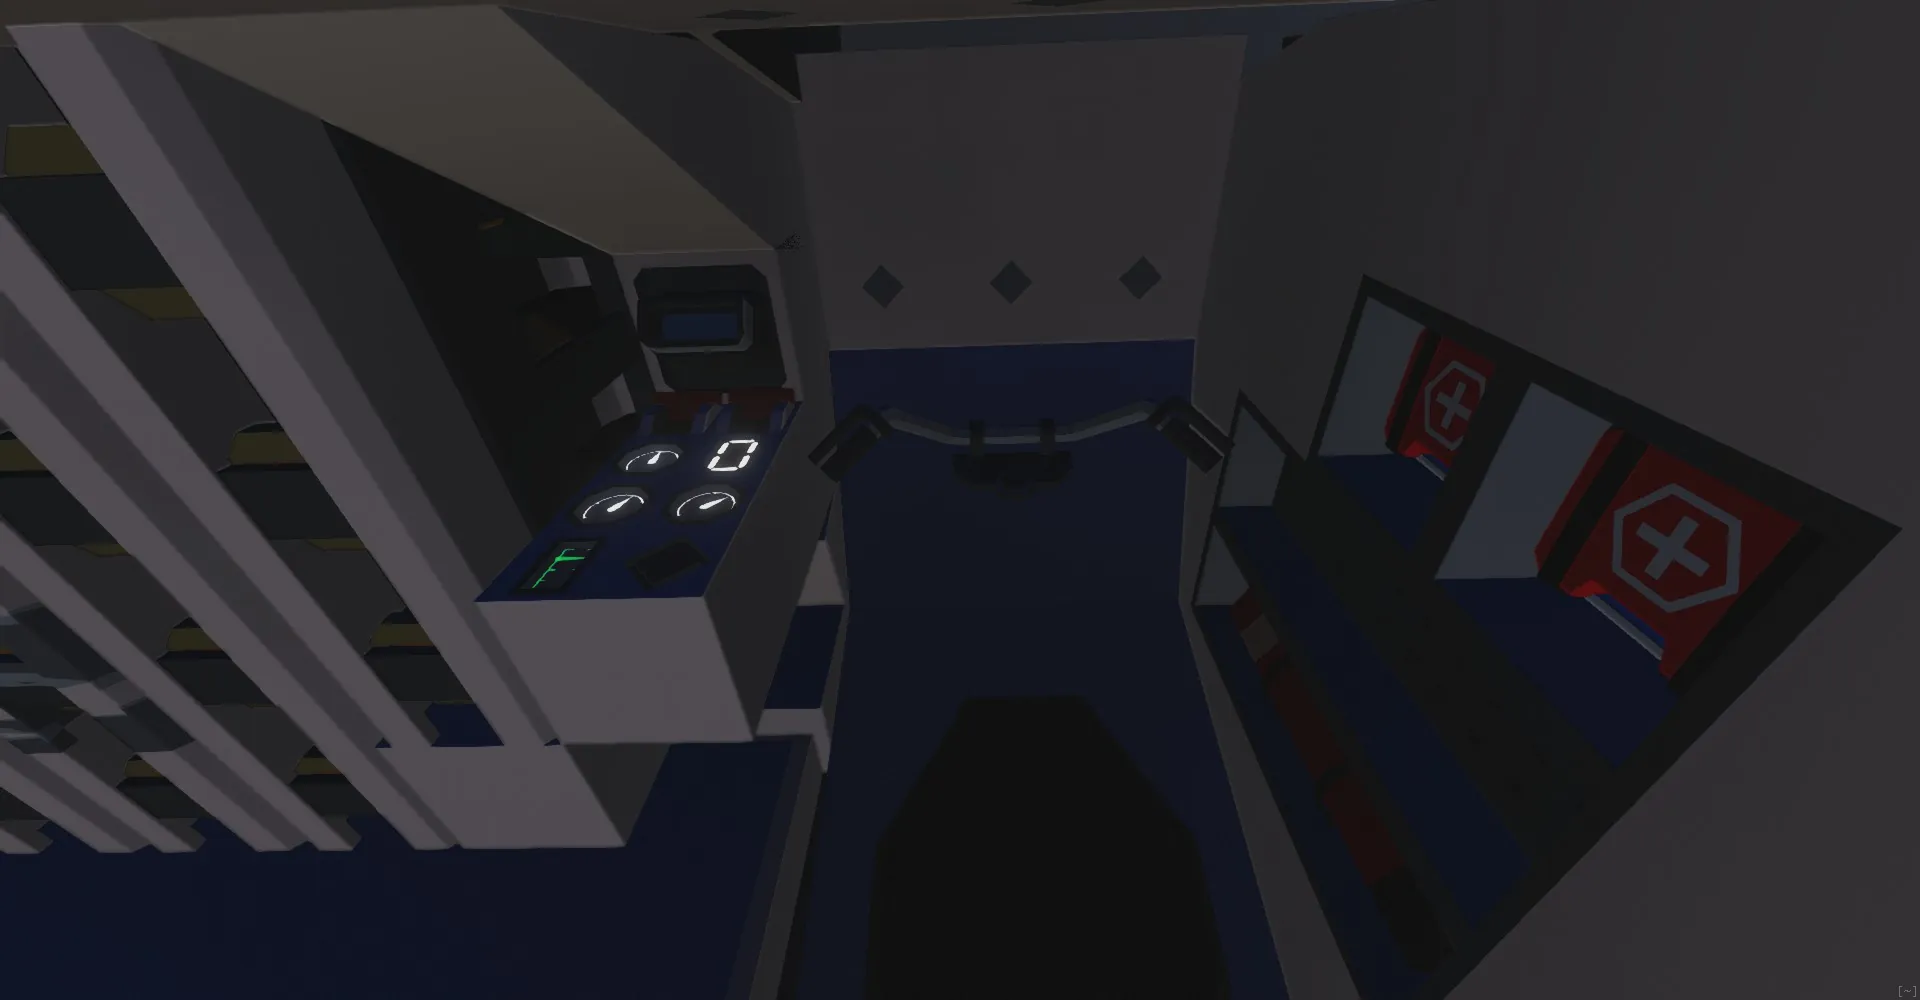
[img]https://i.imgur.com/H8hpLvm.png[/img]
1) Sights
The commander has two sights: the commander’s primary sight and the same backup gun sight as the gunner. The
commander’s sight can be used for observation as well as for designating targets to the turret.
2) Sight Control Panel
Master ARM — switches turret control between the gunner and the commander.
You Control indicator — if lit, you currently control the turret.
Master ARM Stabilizer — activates the turret stabilizer when you have control of the turret.
IR Mode — enables infrared mode for the commander’s sight.
3) Secondary Panel (to the right)
Light — pressing once turns on the interior lights; each press increases brightness, and on the 11th press the lights
turn off.
Commander Sight Stabilizer — activates the stabilizer for the commander’s sight.
Microphone — enables the microphone for radio communication.
4) Seat Controls
1) Fires the coaxial machine gun.
2) Sets the range for the ballistic rangefinder.
3) Resets the range for the ballistic rangefinder.
4) Rotates the turret to where the commander’s sight is aimed at the moment the button is pressed.
5) Closes the commander’s hatch if it is open.
6) Locks the commander’s hatch.
[hr]
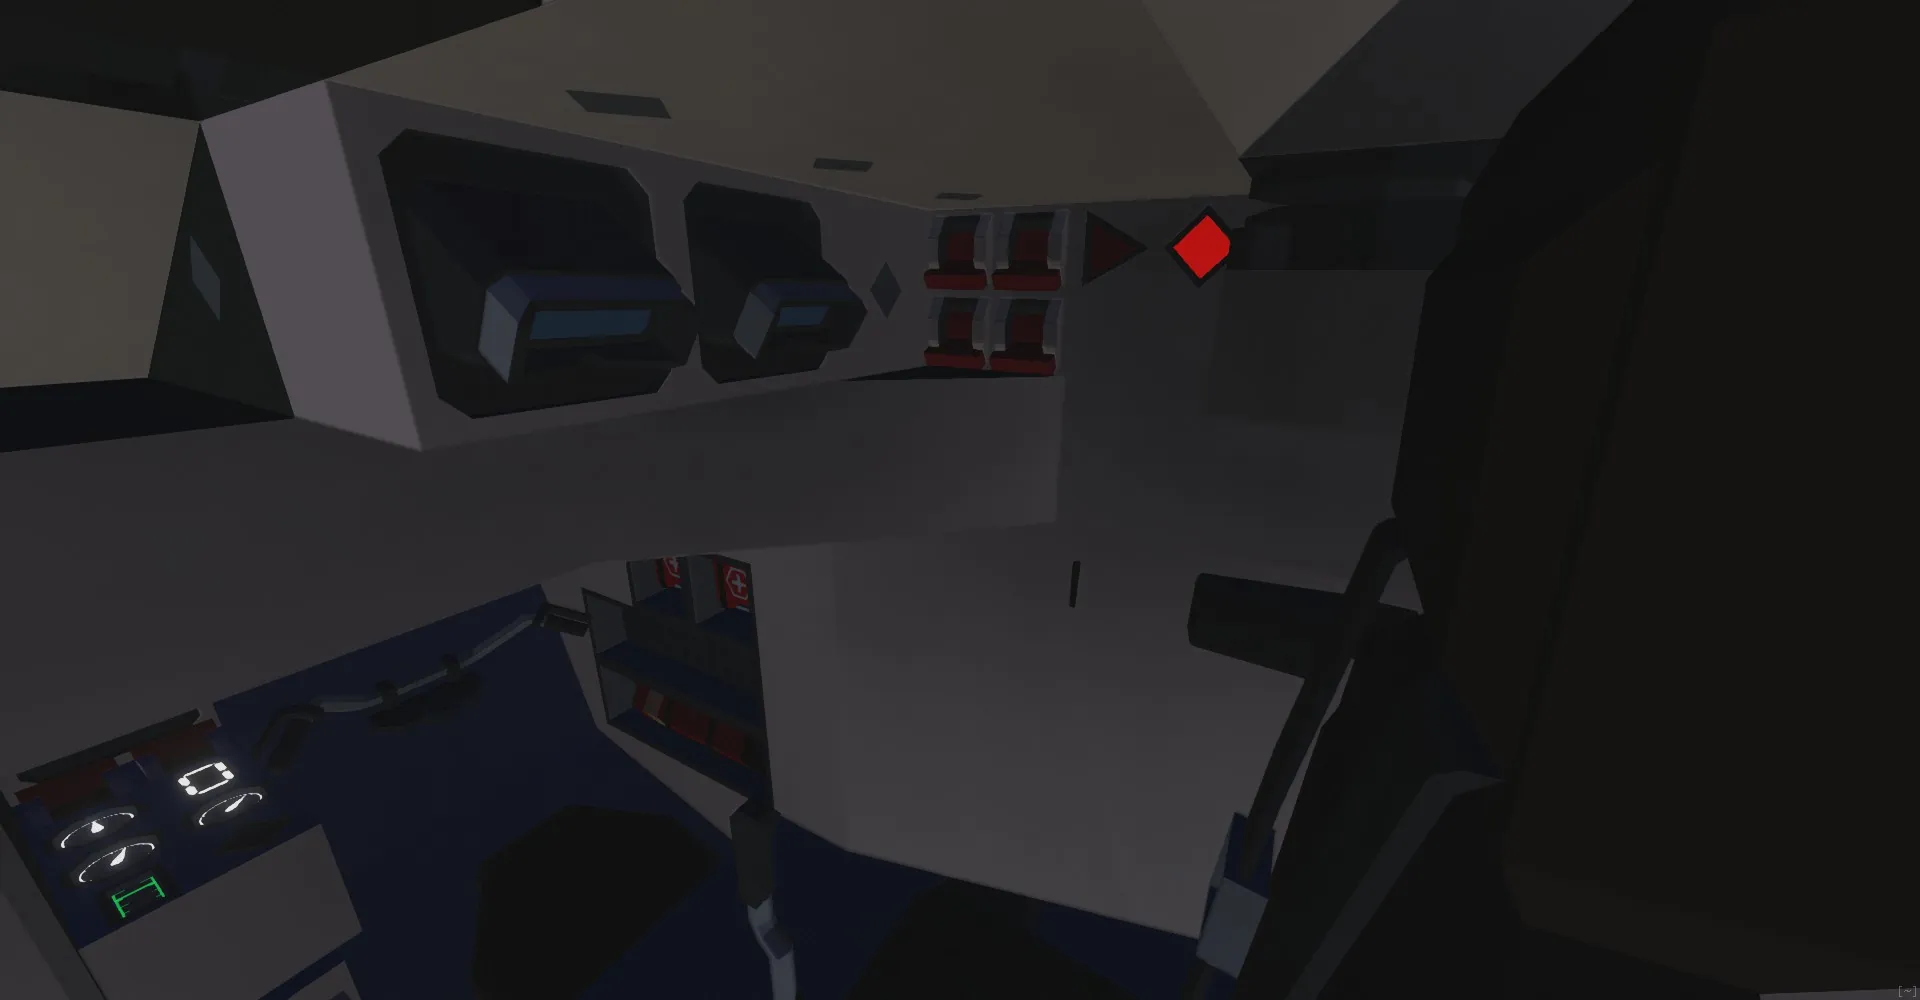
[img]https://i.imgur.com/hls5fL3.png[/img]
1) Control Panel
Feeder — activates the feeder, pushing shells toward your position.
Ammo Door — opens the ammunition bunker door for 2.5 seconds.
Loaded Indicator — lit when the main gun is loaded.
Hatch Lock — locks the loader’s hatch.
2) Observation
The loader has a personal periscope for viewing the area to the left of the tank.
3) Loader’s Machine Gun
The loader has a personal manual machine gun. To operate it, open the loader’s
hatch and take position at the weapon’s handle.
[hr]
[list]
[img]https://i.imgur.com/nWHZUK5.png[/img]
[*] [url=https://steamcommunity.com/sharedfiles/filedetails/?id=2416132817&searchtext=ZE]Engine Controller by UranWind[/url]
[/list]
[hr]
[list]
[img]https://i.imgur.com/WJMRPVN.png[/img]
[*] [url=https://steamcommunity.com/sharedfiles/filedetails/?id=3544887517]Additional Dozer Blade [/url]
[/list]
[hr]
[img]https://i.imgur.com/PQEPAgM.png[/img]
[img]https://i.imgur.com/qa6dVVJ.png[/img]