JRS 70ACe EVO (TMS) Livery 2
WIP
New cabin interior. New anti wheel-slip system. New auto speed control (for regions south of arctic) and train manager UI (TMS).
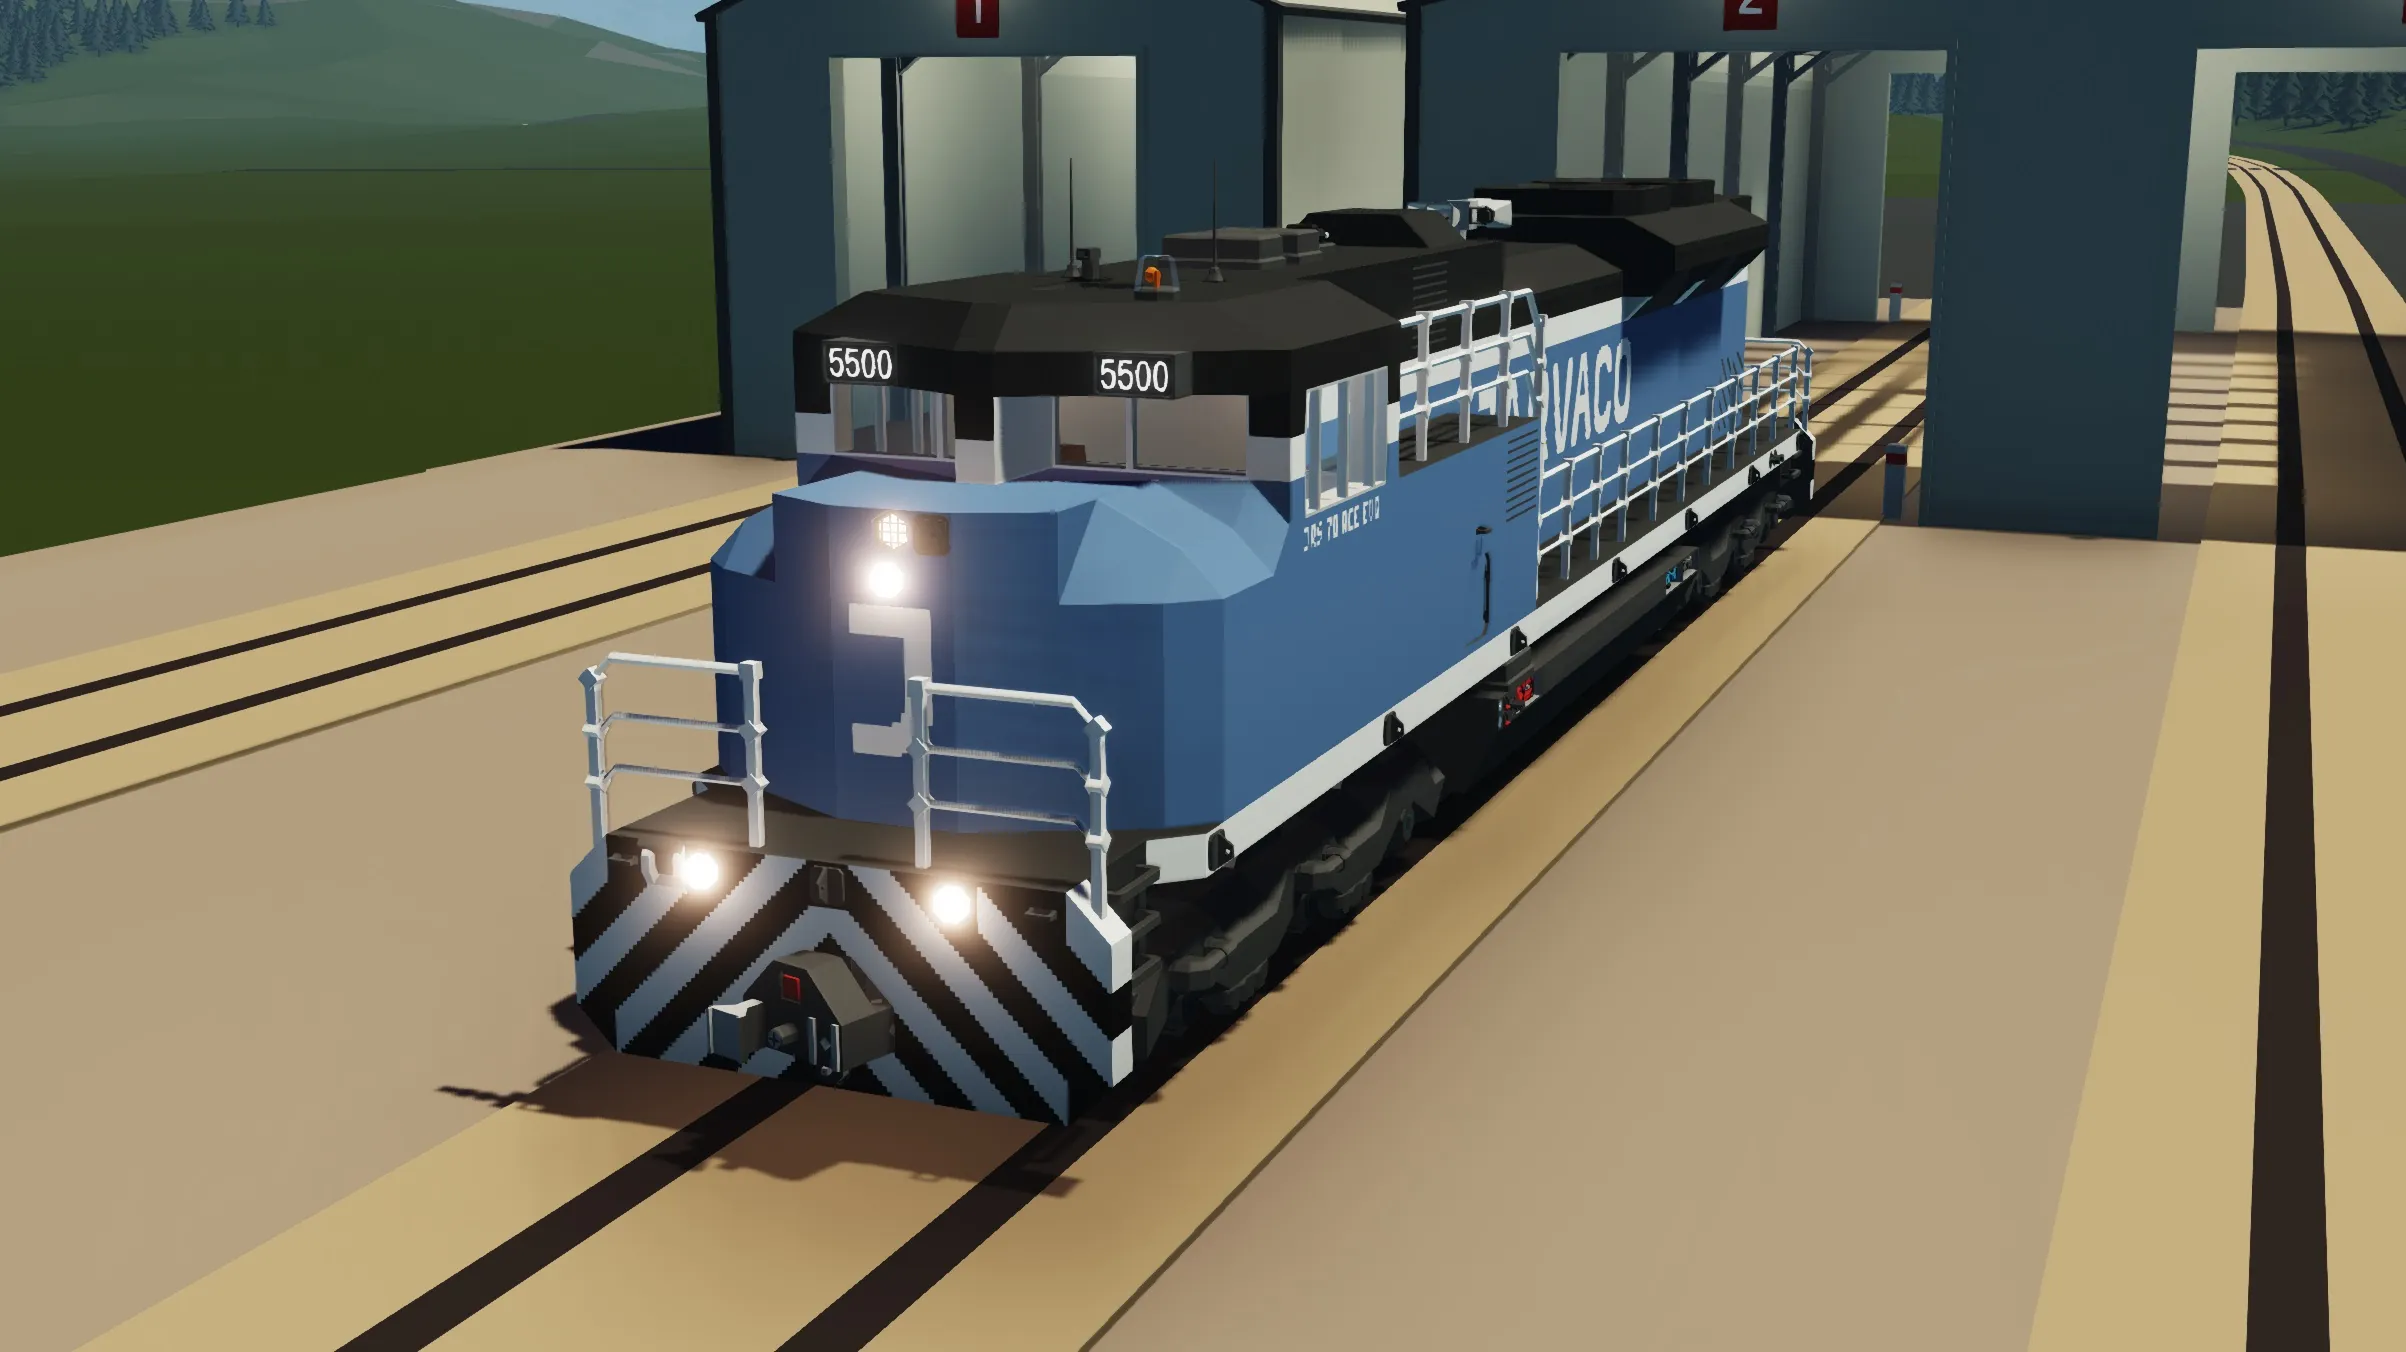
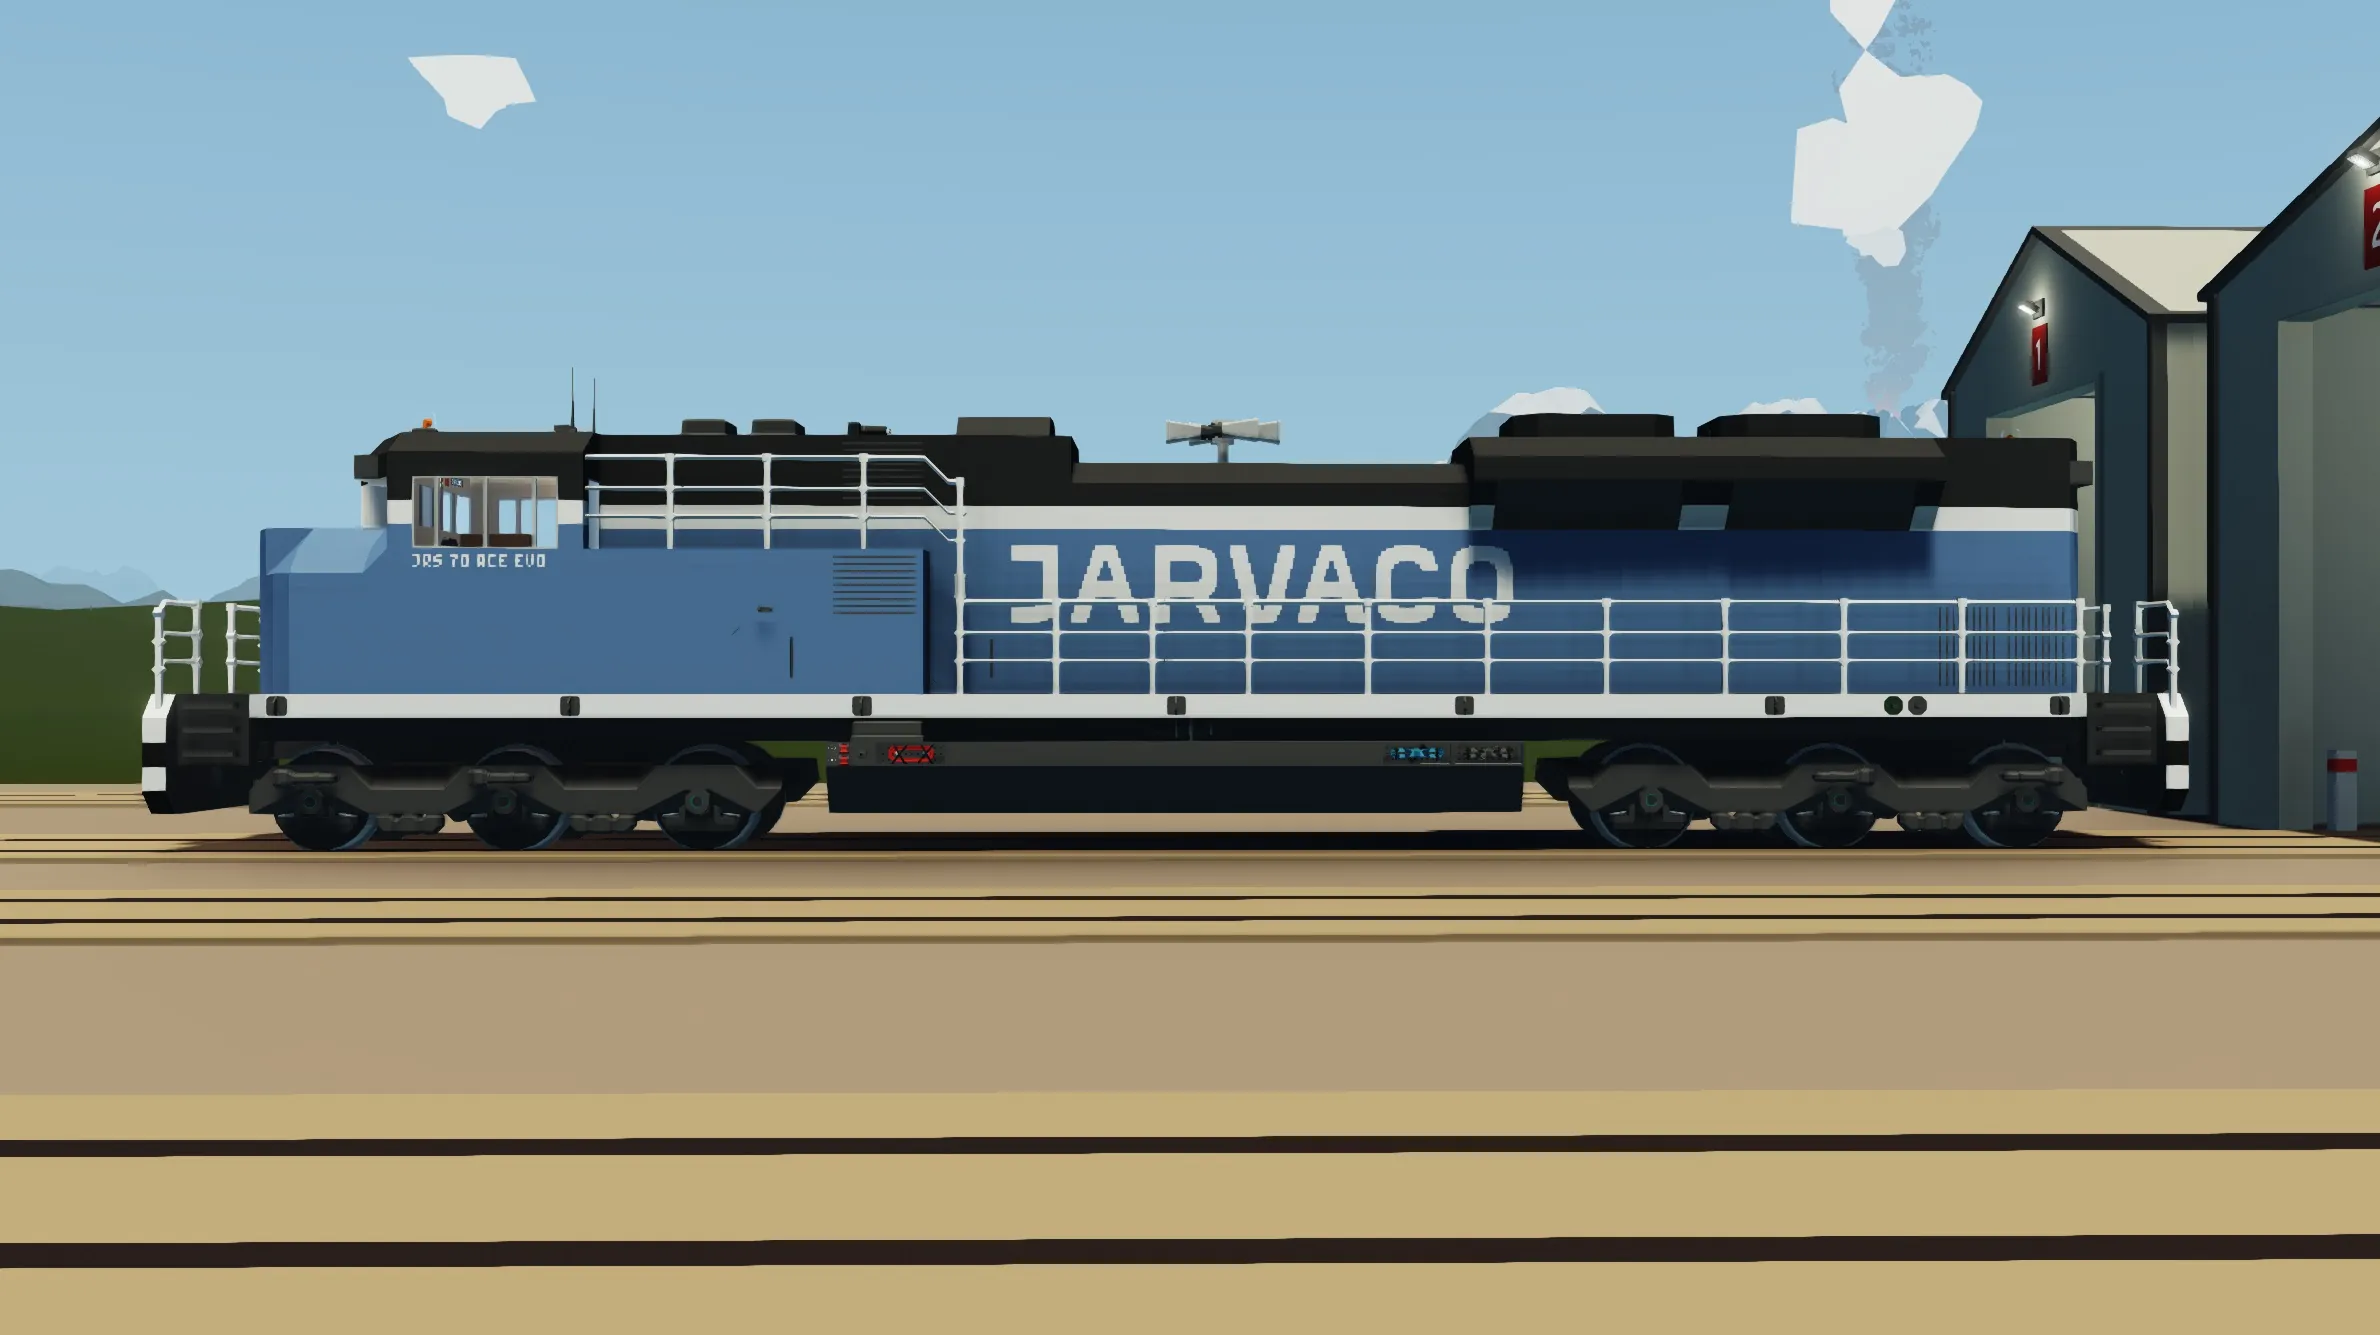
JRS 70Ace EVO (Livery 2)
This is a large diesel-electric locomotive based on the EMD SD70ACe. It is slightly more expensive than the [url=https://steamcommunity.com/sharedfiles/filedetails/?id=3154335168]base model[/url]. It has additional exits in the case of derailment.
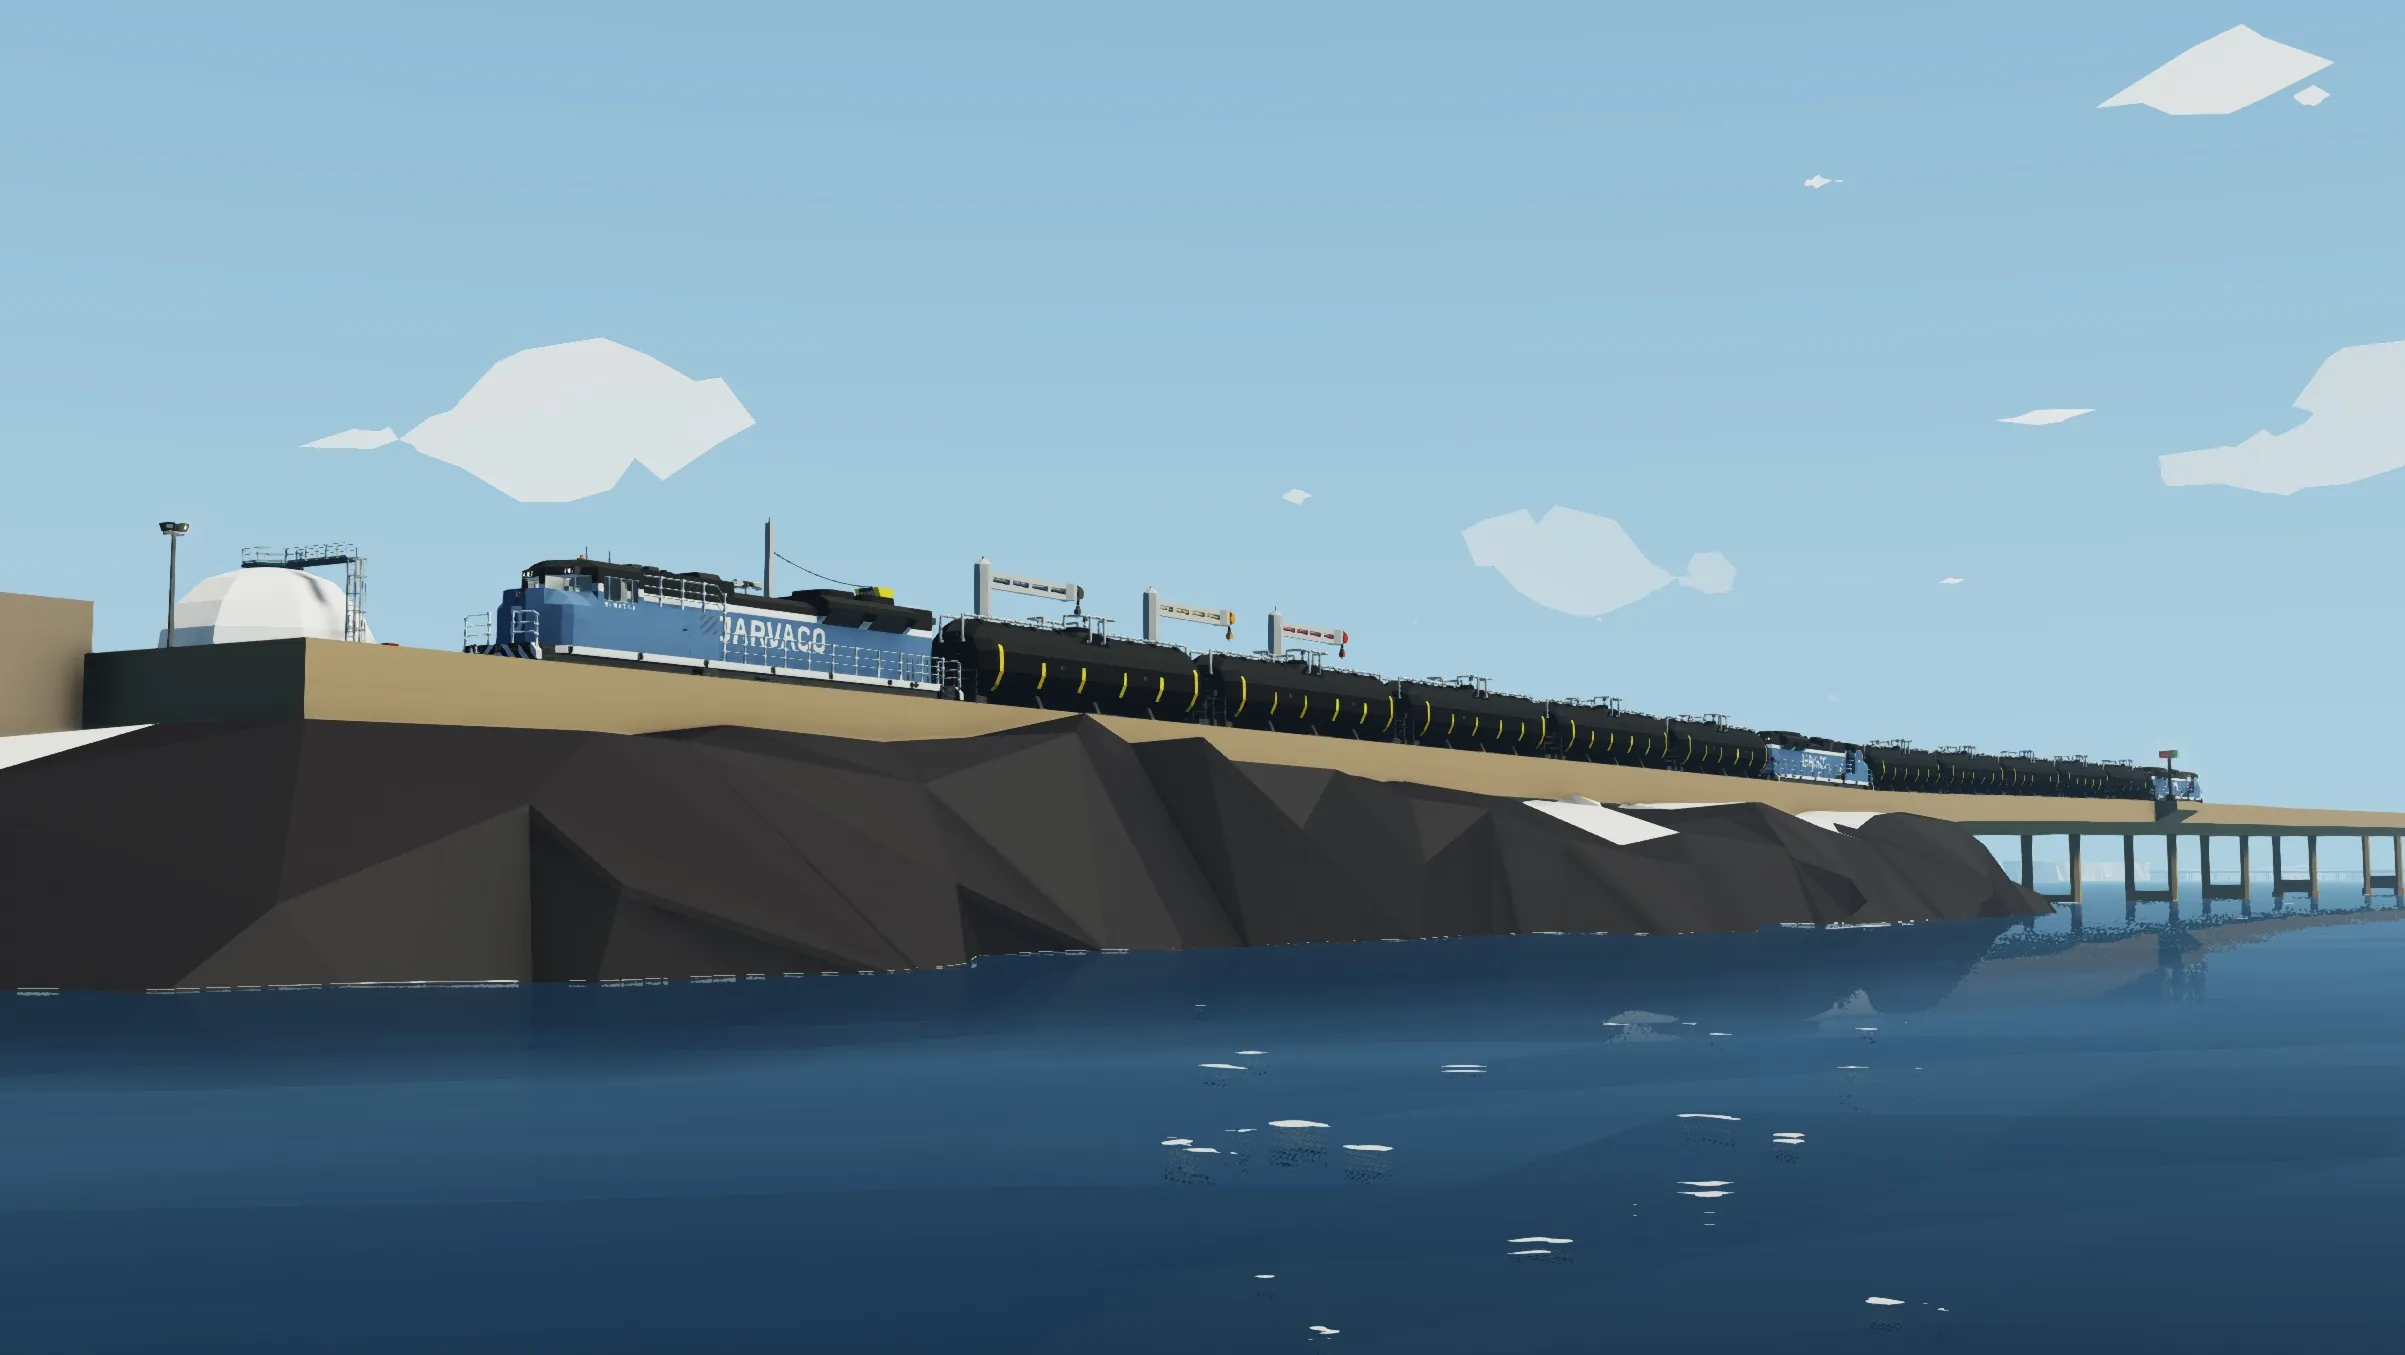
It costs $92 000 and holds roughly 17 000 liters of diesel; it can make several round trips between the arctic and DLC islands depending on how many cars it is hauling. It has a top speed of around 100 m/s, it can haul 50 000 mass at around 45-50 m/s. It has a timer you can use to keep track of how many minutes your cargo containers have left.
It is compatible with other JRS vehicles, it can be used with other [url=https://steamcommunity.com/sharedfiles/filedetails/?id=3167885486]JRS locomotives[/url] as it has a master-slave system. The trains communicate through the connectors using composite data, ensure any stock cars you use allow composite to pass through them. It can also be remotely controlled using the Remote Control Unit tool (directions below).
There are no XML modified components. The diesel generator uses a flywheel clutch system to achieve better efficiency.
CONTROLS:
Drive Control Levers (straight ahead, below display):
[b]Brakes Lever[/b] – Goes between 0 (no brake) to 1 (full brake). Has anti-lock system to prevent wheel slipping, keep tapping the brake to slow to a stop in an emergency to prevent fighting the anti-lock system. Activates when leaving train (dead man’s switch).
[b]Throttle Lever[/b] – Below brakes lever. Goes between 1 (full speed forward) to -1 (full speed reverse). It has a dead zone between -0.05 and 0.05, you do not need to get it to 0 to stop the motors. It also attempts to avoid wheel slipping by lowering throttle and will be set to 0 when the driver exits the train (dead man’s switch).
Display Control Panel (straight ahead, below display, right of brakes lever):
[b]Power Button (Square Button)[/b] – Bottom right of instrument panel (lights green). Activates the display.
[b]Front/Rear Camera Button (Left Arrow)[/b] – Top left of instrument panel (lights blue). Toggles between the front and rear camera input. Camera input can come from other locomotives as well, ensure connected stock cars have video passthrough. Will default to the furthest camera feed in the line in either direction.
[b]Local/Global Camera Button (Down Arrow)[/b] – Top right of instrument panel (lights pink). Toggles between the camera feed coming through the connectors and the cameras on the locomotive. If no signal is coming through the front or rear connectors it will default to the locomotive’s cameras.
[b]Display Map [M] (On Display)[/b] – Bottom right corner of display. Toggles between the camera feeds and the world map. Updates direction and position on the display and allows you to zoom in or out, estimates range with fuel remaining.
Loco Control Panel (to the right, below front windscreen, left of speedometer):
[b]Horn Button (Left Arrow)[/b] – Top left of instrument panel (lights green). Blows the horn. Does not work when infinite electricity is on. Horn is disabled by default, flip Enable Horn switch to activate.
[b]Enable Horn Switch (Flip Switch)[/b] – Bottom left of instrument panel. Activates horn relay. Default off, must flip to use horn. (Makes playing with infinite electricity better, otherwise the horn would blow constantly).
[b]Toggle Bell Button (Up Arrow)[/b] – Bottom right of instrument panel (lights yellow). Toggles the bell.
[b]Switch Track Button (Square Button)[/b] – Top right of instrument panel (lights blue). Switches track signals using radio. Activates signals almost as far as the player can see without zooming in.
Master Control Panel (below front windscreen, directly beneath speedometer):
*This only functions with other JRS locomotives*
[b] Master Indicator (Indicator Light)[/b] – Top left of instrument panel (lights yellow). Indicates if the locomotive is a master or slave. Defaults to master if there are no other locomotives connected in the network.
[b] Request Master Button (Square Button)[/b] – Top right of instrument panel (lights cyan). Requests master from network of other locomotives. This will need to be pressed if your locomotive is joined to another locomotive. Hold the Master Request button until the Master Indicator lights up. The locomotive will now be the master and will control all other locomotives it is connected to.
[b] Radio Receive Indicator (Indicator Light)[/b] – Bottom left of instrument panel (lights orange). Indicates if the locomotive is receiving a radio signal. This should activate if a locomotive is in Remote Control Mode and receiving a signal from a Remote Control Unit or if the loco is a slave and receives radio from the master loco.
[b] Enable Remote Control Button (Square Button)[/b] – Bottom right of instrument panel (lights dark blue). Activates Remote Control Mode. The locomotive will behave as normal until a Remote Control Unit’s signal is found.
[b] Remote Control Unit (Inventory Equipment)[/b] – One RCU is stored in the back wall of the cab. [w/s] controls the throttle, it maps like the Throttle Lever but is limited to low speeds. [1] activate headlights. [2] toggle bell. [3] switch track signals, but because the RCU can only toggle, make sure to press [3] twice to turn it on AND off so that it does not switch tracks next time you turn the RCU on. When the locomotive is paired the orange lights on top of the cab will flash and the ditch lights will turn on (if they weren’t already).
Linkage Panel (directly right of master control panel):
[b] Front Linked Indicator (Indicator Light)[/b] – Top left of instrument panel (lights white). Indicates if a car is connected to the front of the locomotive.
[b] Release Front Switch (Flip Switch)[/b] – Top right of instrument panel. Toggles release of front connector.
[b] Rear Linked Indicator (Indicator Light)[/b] – Bottom left of instrument panel (lights white). Indicates if a car is connected to the rear of the locomotive.
[b] Release Rear Switch (Flip Switch)[/b] – Bottom right of instrument panel. Toggles release of rear connector.
Light Control Panel (directly right of linkage panel):
[b] Head Lights Switch (Flip Switch)[/b] – Top left of instrument panel. Activates headlights of locomotive, direction is controlled by Throttle Lever.
[b] Ditch Lights Switch (Flip Switch)[/b] – Bottom left of instrument panel. Toggles ditch lights of locomotive. Same behavior as headlights, only the front of the train and in direction of Throttle Lever. Also activates the End Of Train light at the rear of the train, any JRS locomotive or car will flash red.
[b] Cabin Light Switch (Flip Switch)[/b] – Top right of instrument panel. Toggles light inside the cabin.
[b] Heater Switch (Flip Switch)[/b] – Bottom right of instrument panel. Toggles heater inside cabin.
Other Controls / Gauges (below front windscreen, closer to floor):
[b] Enable Generator Key (Key Button)[/b] – Directly below Linkage Panel. Primes the diesel electric generator. The generator only runs when the battery charge is below 99%, it will make more energy in proportion to how much charge has been lost and will turn off after it reaches 99.9%. Defaults to on (no harm in leaving it on).
[b] Generator Gauge Cluster (4 dials)[/b] – Directly right of Enable Generator Key. Displays engine RPS, engine temperature, battery charge, and fuel level.