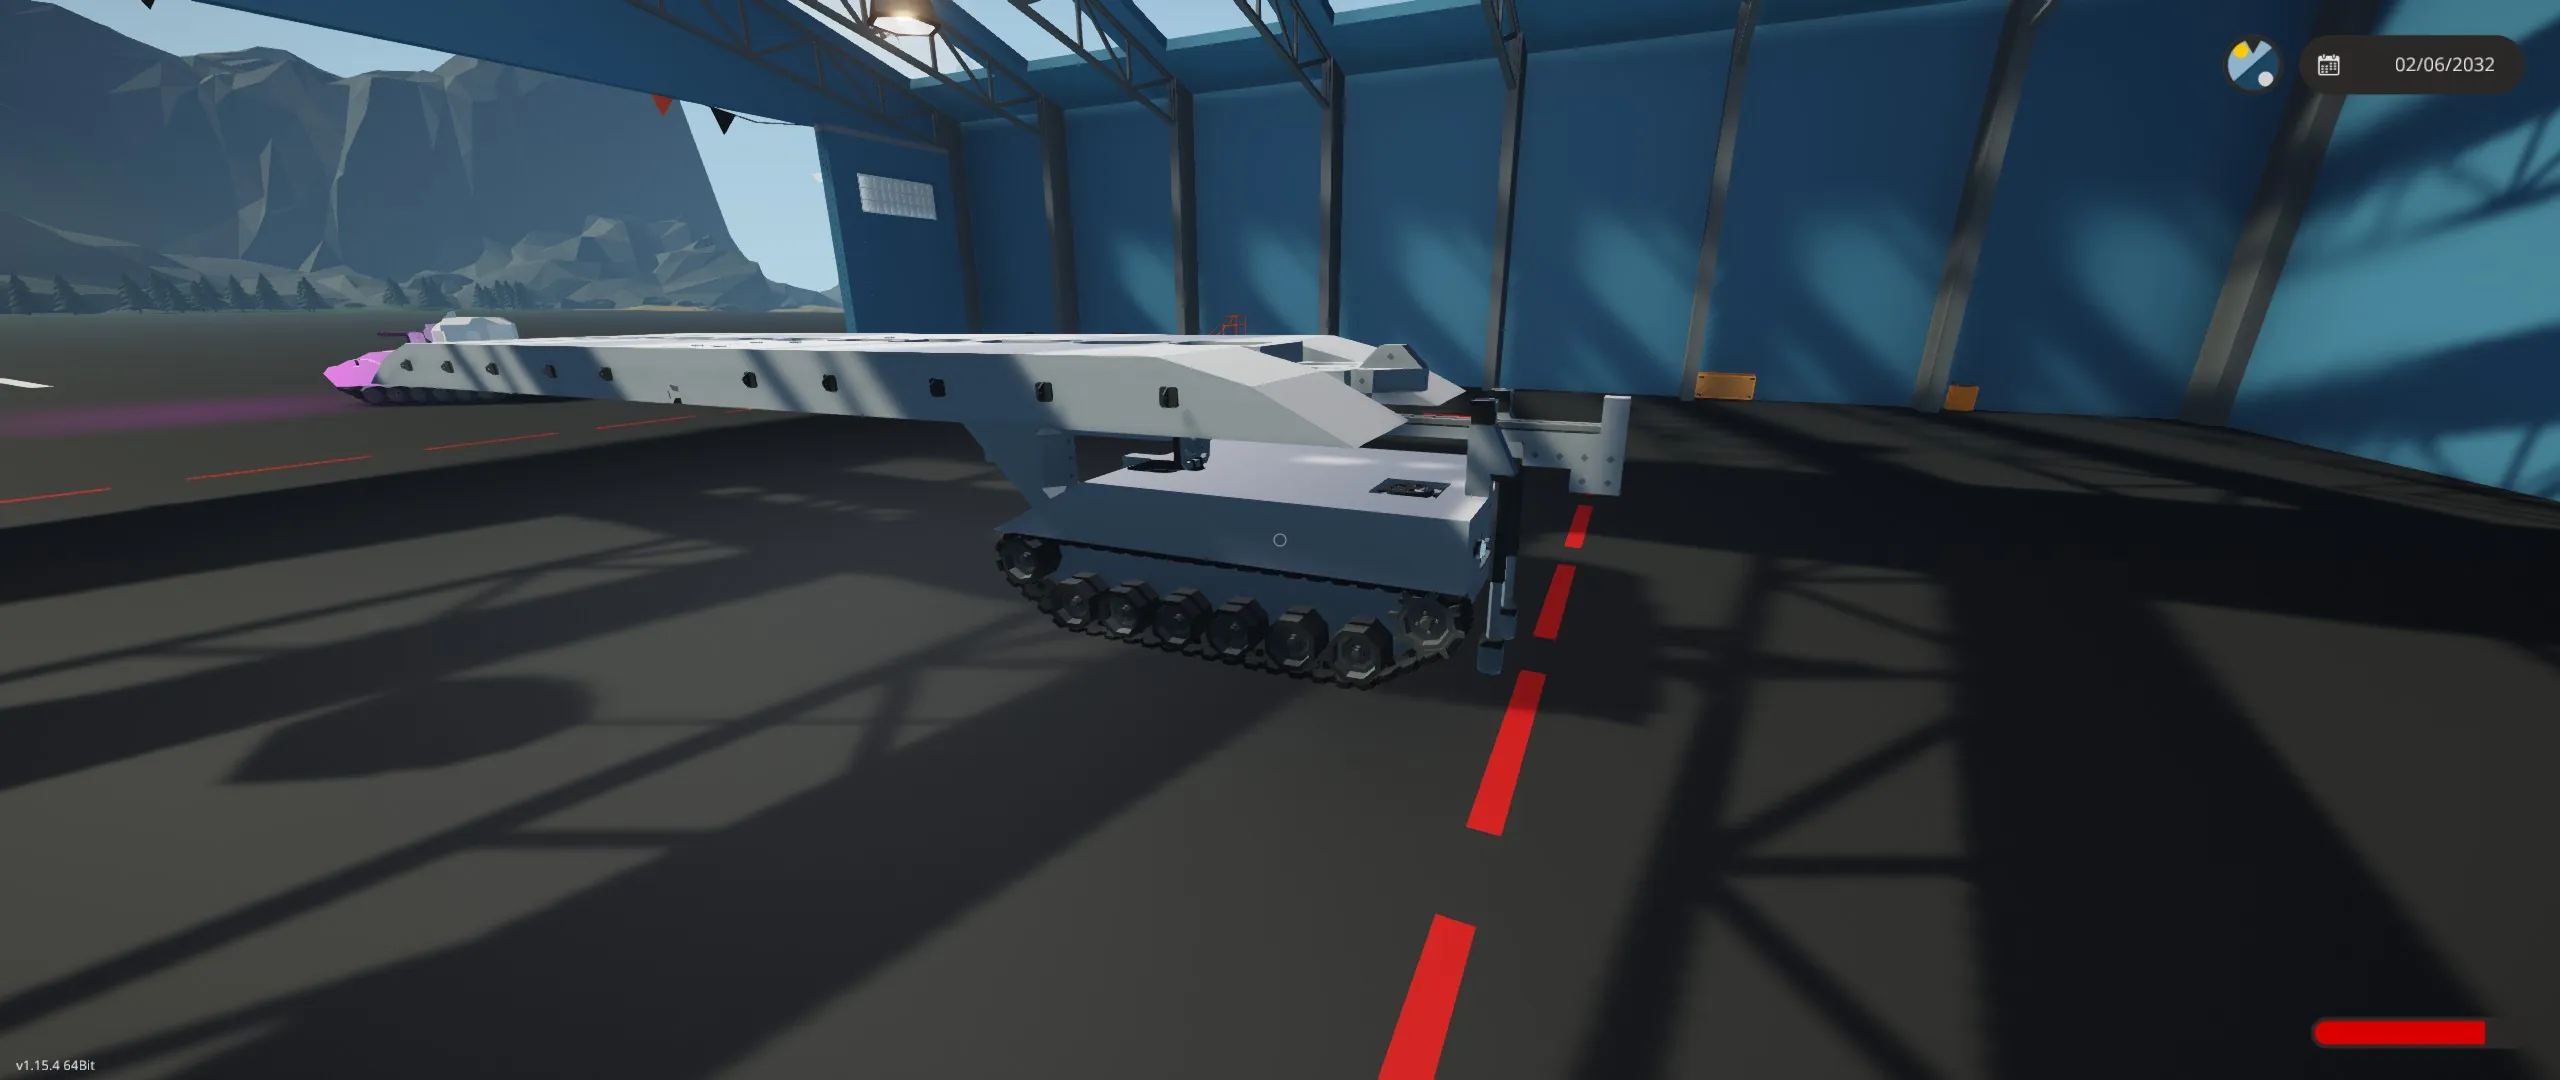
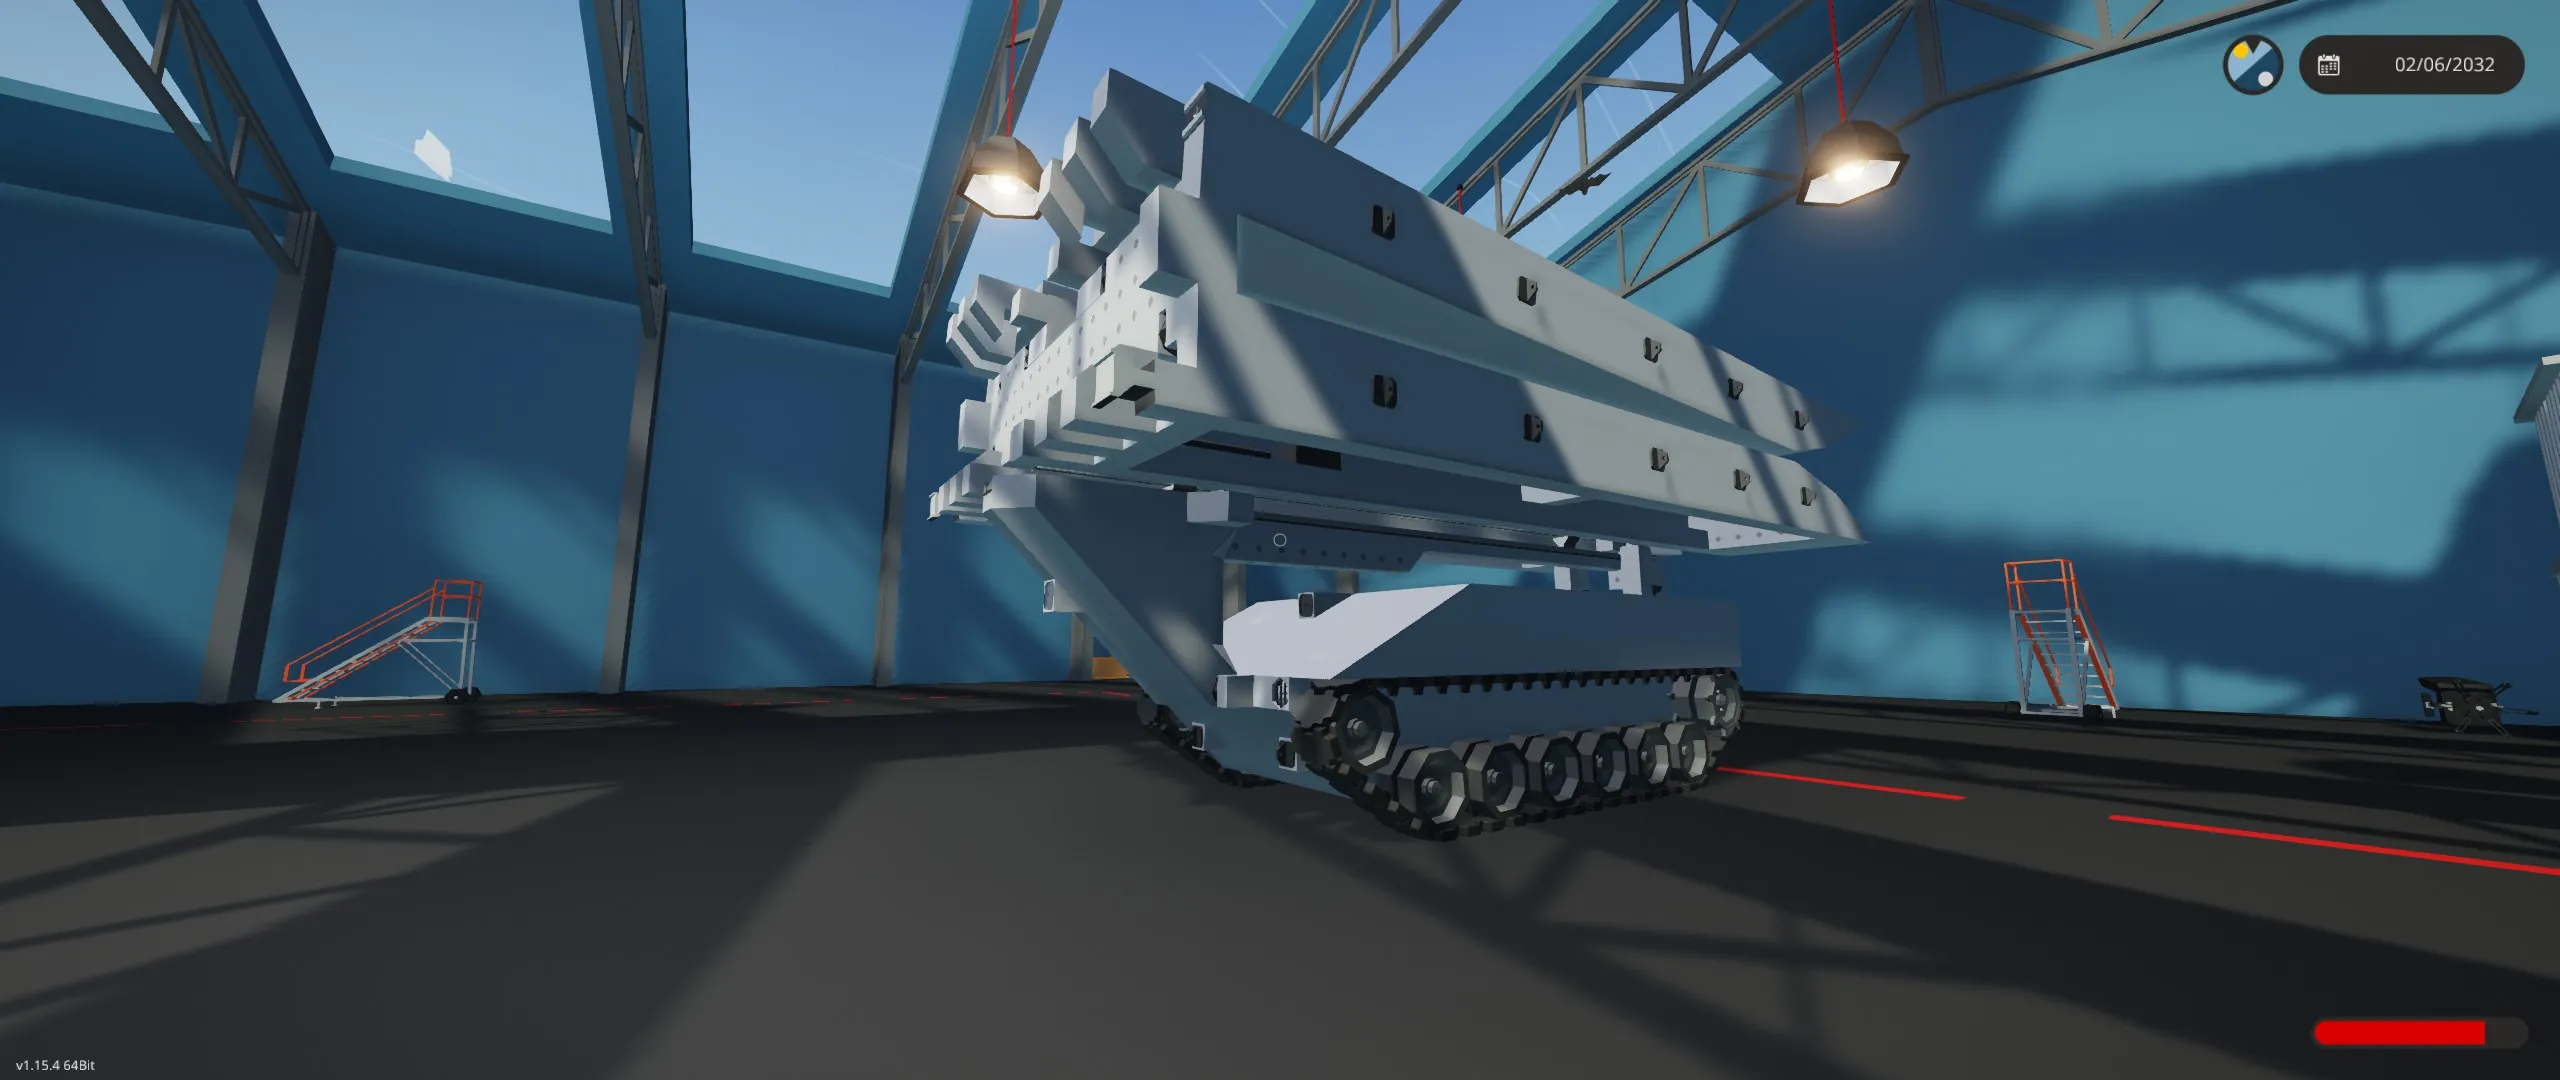
My H2M Bridgelayer built on the chassis of my H2M AFV.
The bridge is 19.5m long. Admittedly the chassis isn't very good as its my first ever AFV. No paintjob on it, just a simple grey for any camouflage scheme for your own preferences.
The bridge itself has a battery to power the pivots that folds the bridge, this can be recharged by simply connecting to the electrical connectors on either end of the bridge.
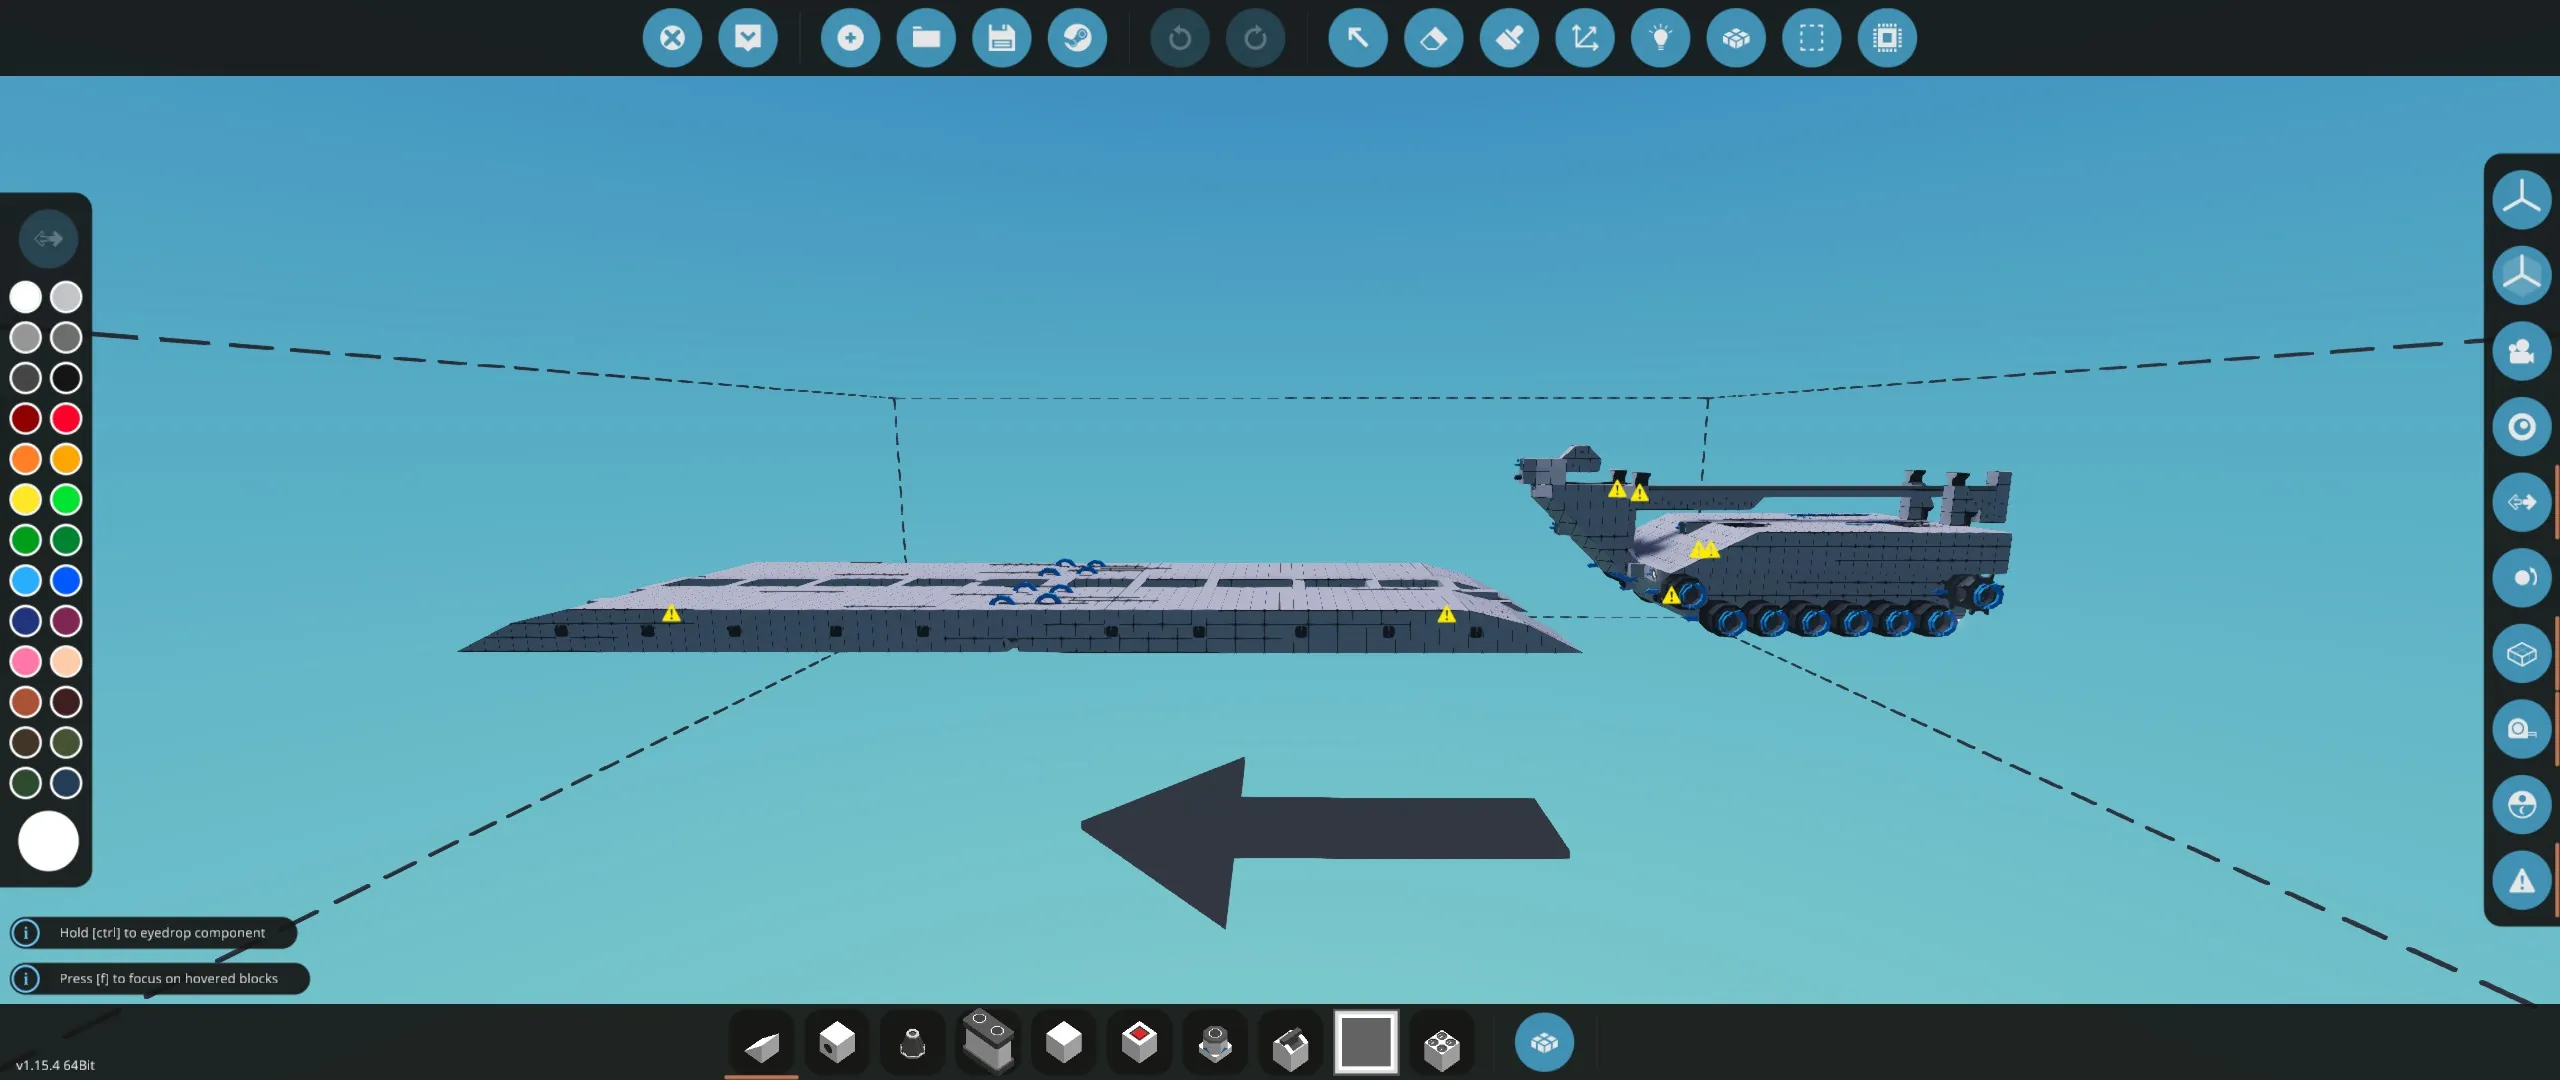
The bridge can be picked up and launched from either sides.
Thanks to Uran_Wind for the ZE Modular Engine Controller and the ZE 6-speed transmission controller.
Gear 2: Forward Low Speed
Gear 1: Forward
Gear 0: Neutral
Gear - : Reverse
See the attached video for a demonstration of the bridgelaying process.
Alternate link to the demonstration: [url=https://youtu.be/4lJ1z6UO8RI]https://youtu.be/4lJ1z6UO8RI[/url]
Steps to retrieve the bridge.
1. Align the H2M Bridgelayer to the bridge
2. Turn ON stabilisers, turn ON the laying arm release
3. Using the left bridging screen as an aid, lower laying arm.
4. Turn ON the stabiliser magall, and turn OFF the laying arm release. Wait for the bridge to connect to the laying arm.
5. Once bridge is connected, raise the laying arm till the laying arm is parallel to the bridge
6. Engage Bridge Pull, bridge will be pulled in
7. When the bridge passes the front connectors and is secured(You may see the bridge suddenly snap into position while being pulled), you may raise the laying arm all the way.
8. Once bridge is fully pulled in, turn ON the Bridge Brake and turn OFF Bridge Pull.
9. Press Bridge Fold once to fold the bridge(Ignore this step if you are retrieving a folded bridge)
10. Once bridge is folded, turn off stabiliser magall and stabilisers, in that order
11. H2M Bridgelayer is ready to move now
Steps to launch the bridge.
1. Turn ON stabilisers and stabiliser magall, in that order
2. Press Bridge Fold to unfold the bridge(Ignore this step if you intend to launch the bridge in its folded state)
3. Turn OFF Brake Bridge and Turn ON Bridge Push
4. When the bridge is almost out of the front connectors, stop the Bridge Push and turn ON Bridge Brake
5. Lower laying arm till the bridge contacts the other end of your gap
6. Turn off Bridge Brake and Turn ON Bridge Push
7. Once the bridge has been fully pushed to the front, lower the laying arm all the way
8. Turn ON Laying Arm Release to disconnect the bridge.
9. Turn off stabiliser magall and stabilisers, in that order
10. Bridge is now launched out and H2M Bridgelayer can be moved now